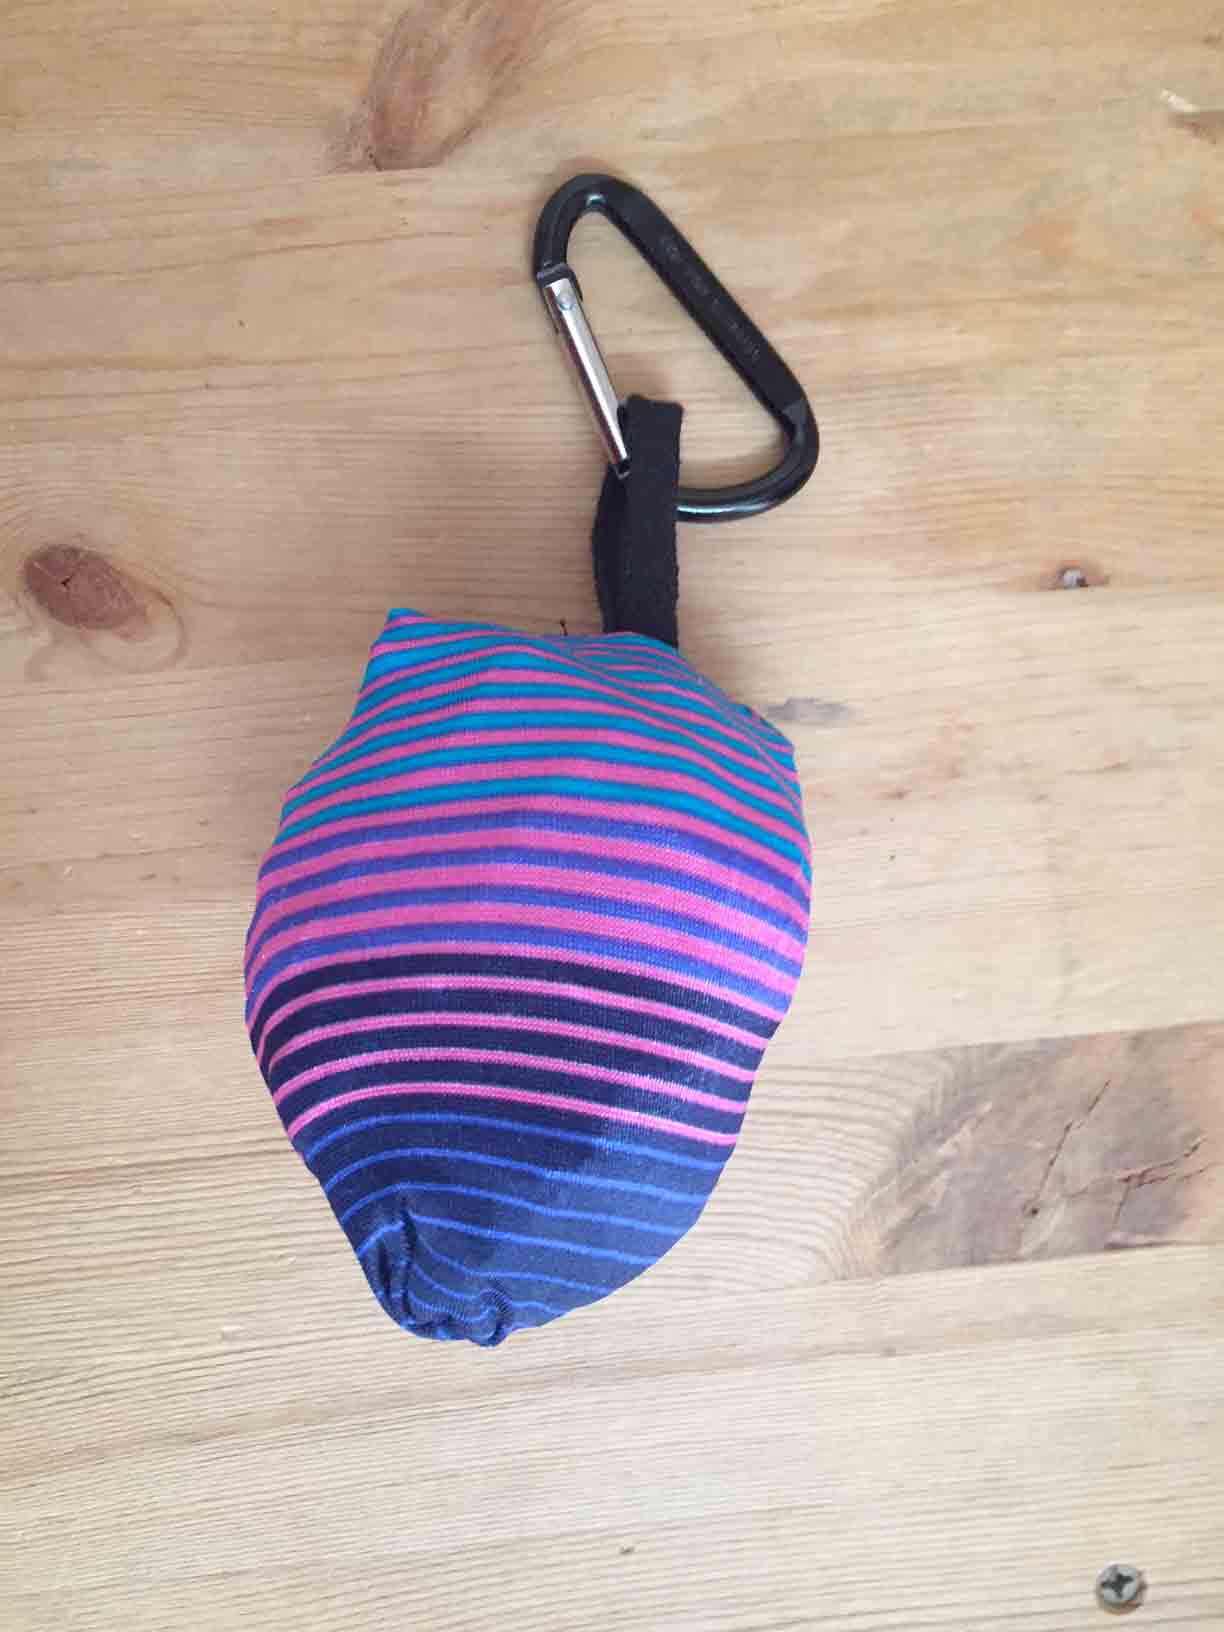
Today I am very pleased to share my new favorite hand made accessory. It is a compressed nylon bag that tucks into a tiny ball. I like and so cary it every day and so actually make good use of it.
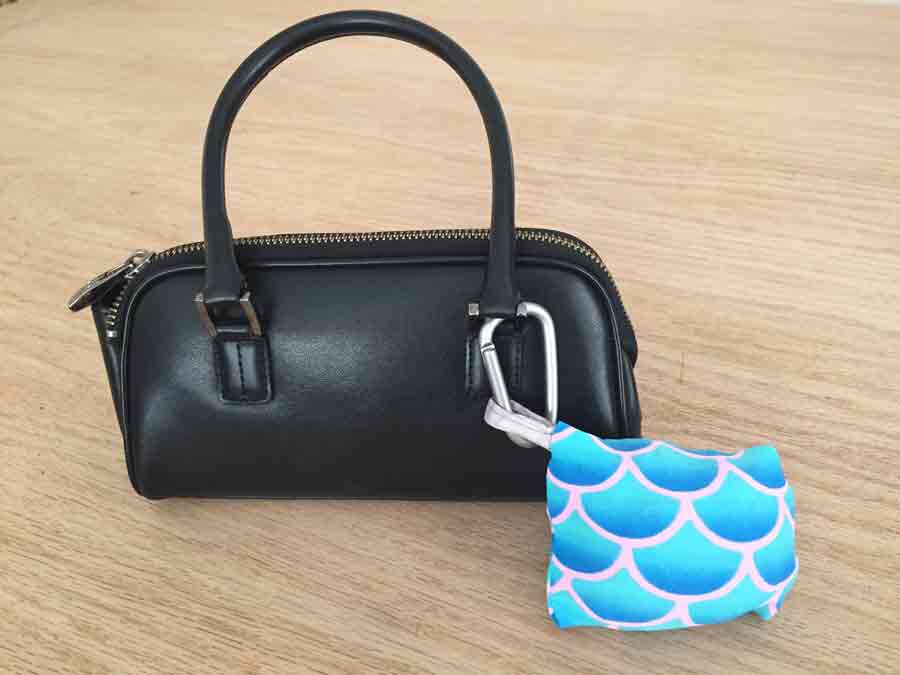
This is my own hand made nylon bag. You can buy similar bags but I prefer using found materials and customizing details like mermaid scales instead of flashing corporate logos.
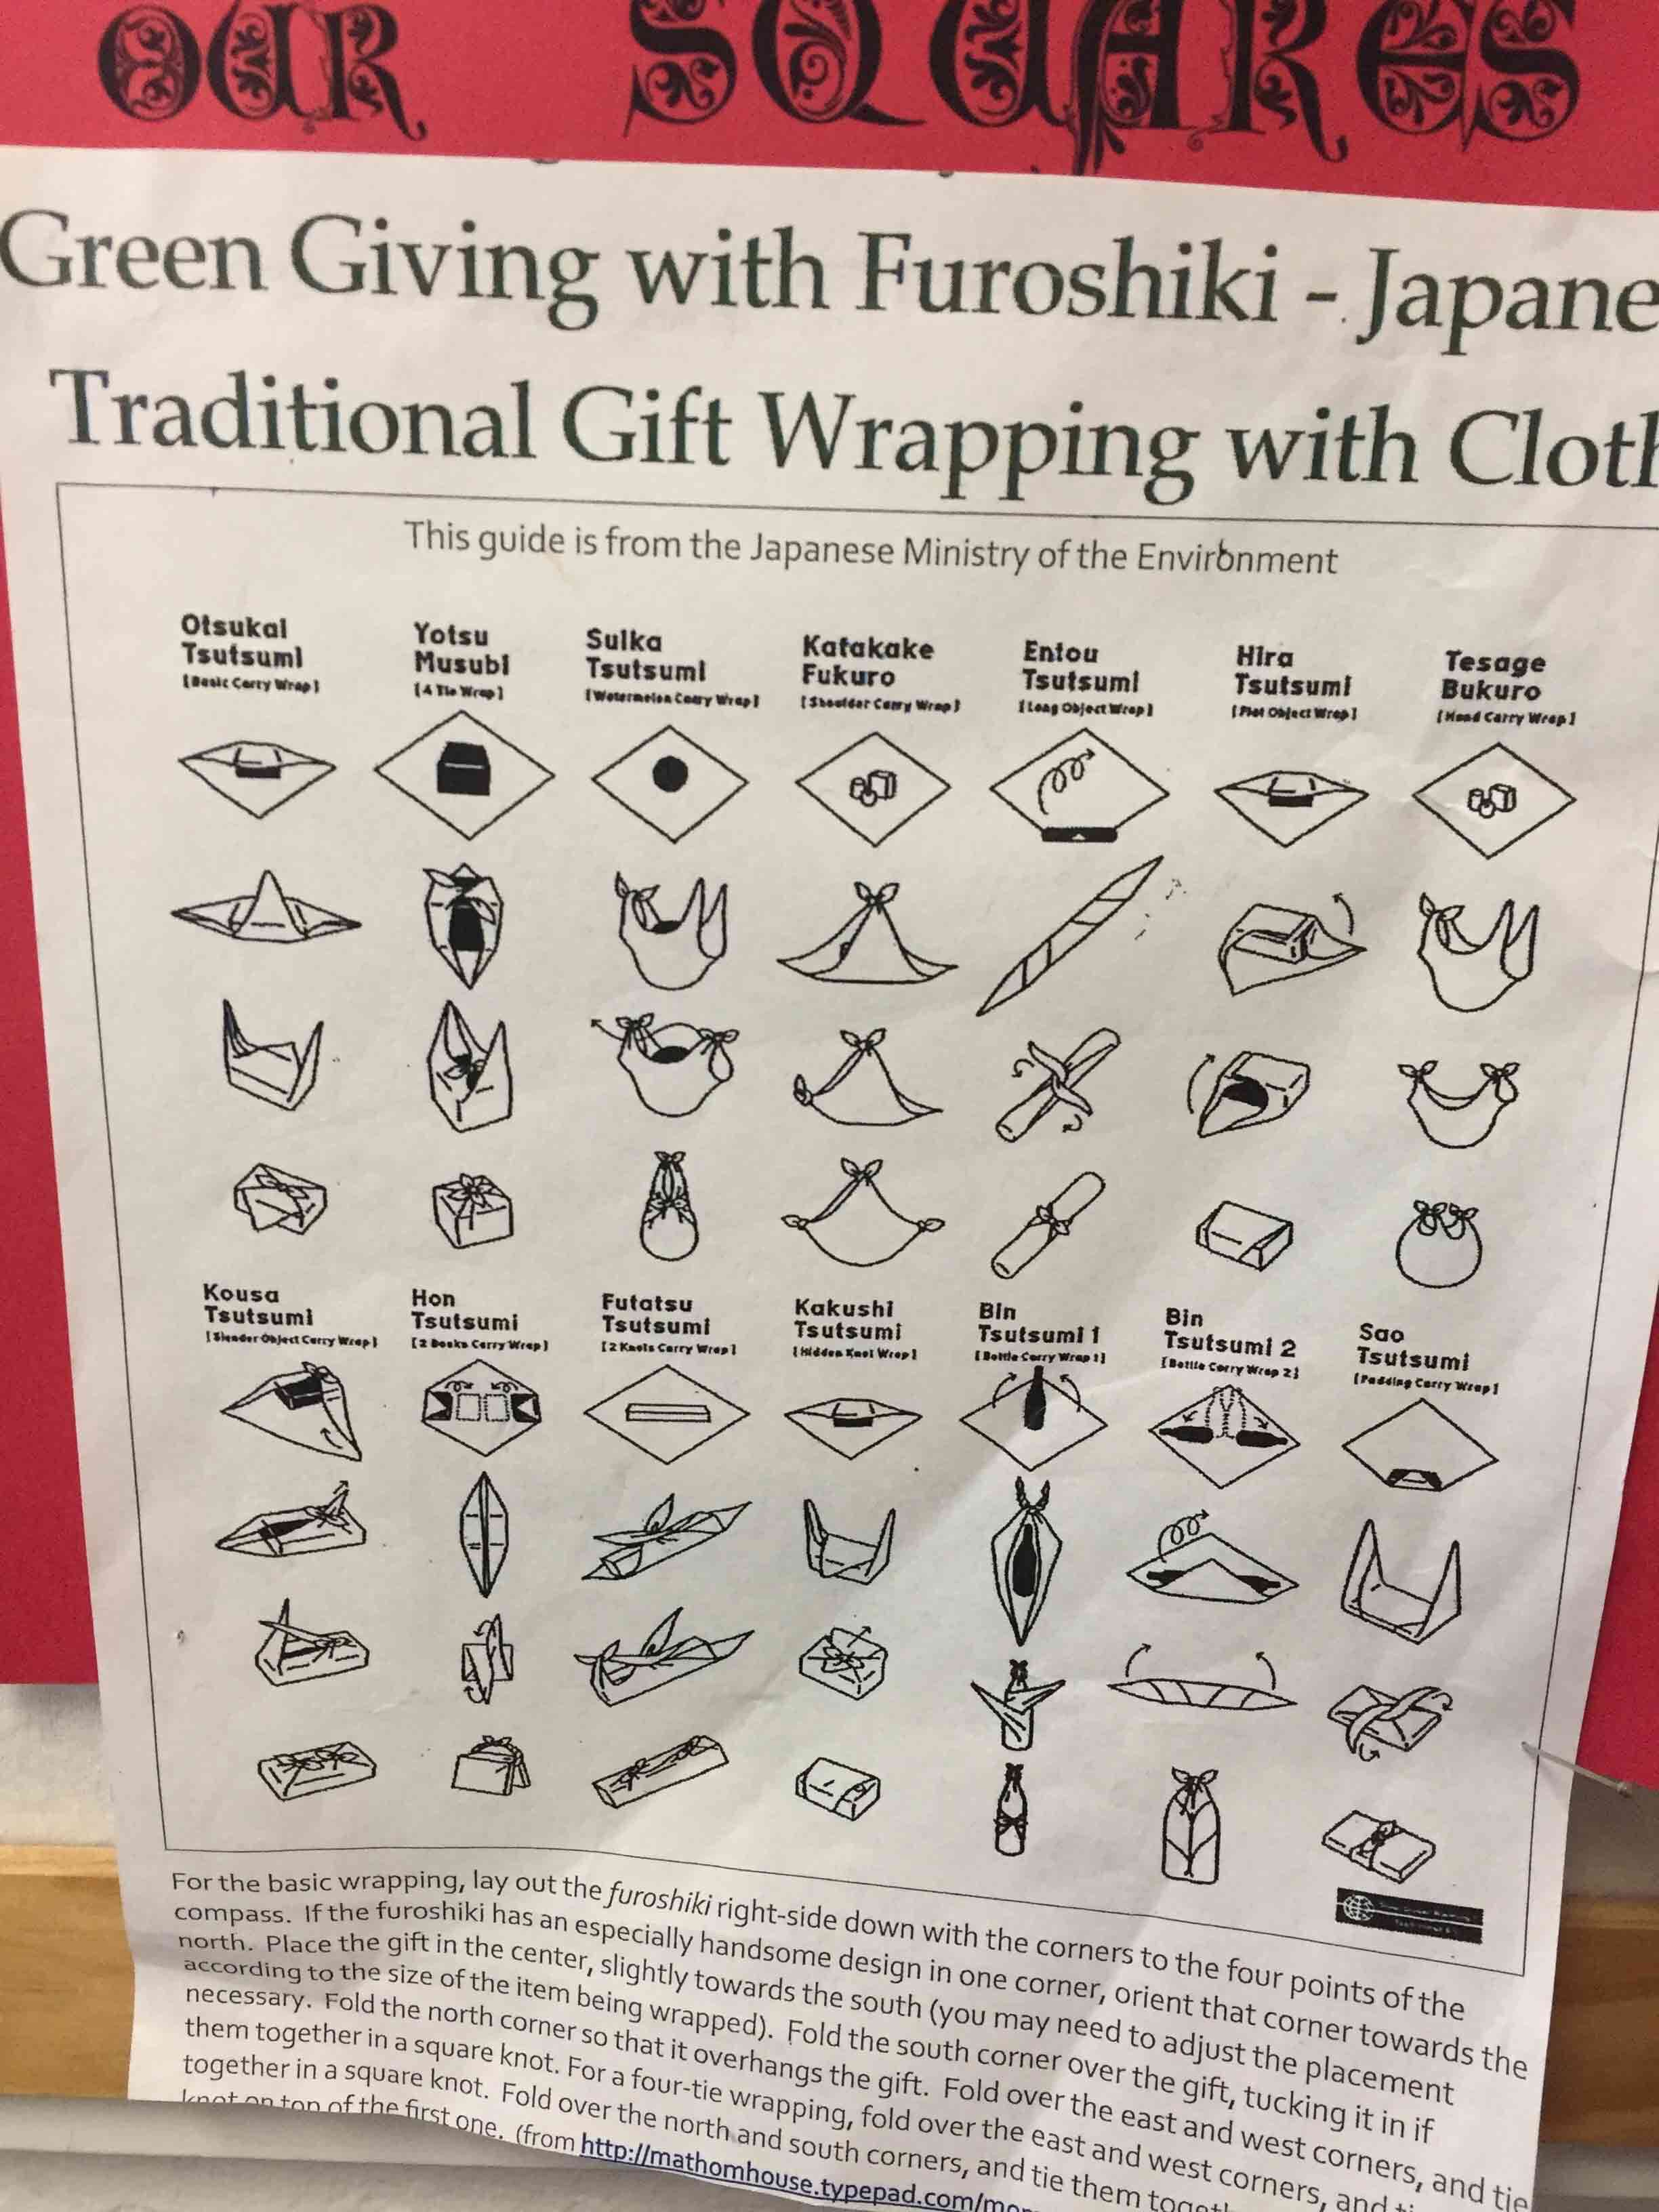
Get your supplies together (at Fabmo or find another spontaneous up cycling opportunity). Or you could wear a bandana and use traditional Japanese folk wisdom to tie a bag into shape without any further sewing required.
Tote-a-go-go Instructions
How to make a nylon shoulder bag that clips on and tucks away. Snap, click, tug and you are ready to load it with your stuff or new stuff.
Supply List
Sewing scissors
sewing thread
sewing machine
metal spring carabiner clip
woven trim about 1/2” x 6”
Fabric:
4 way stretch (swim suit fabric) 9″ x 5″ approximately
rip stop nylon or other light weight sturdy cloth 1/2 yard of (18” x 42”).
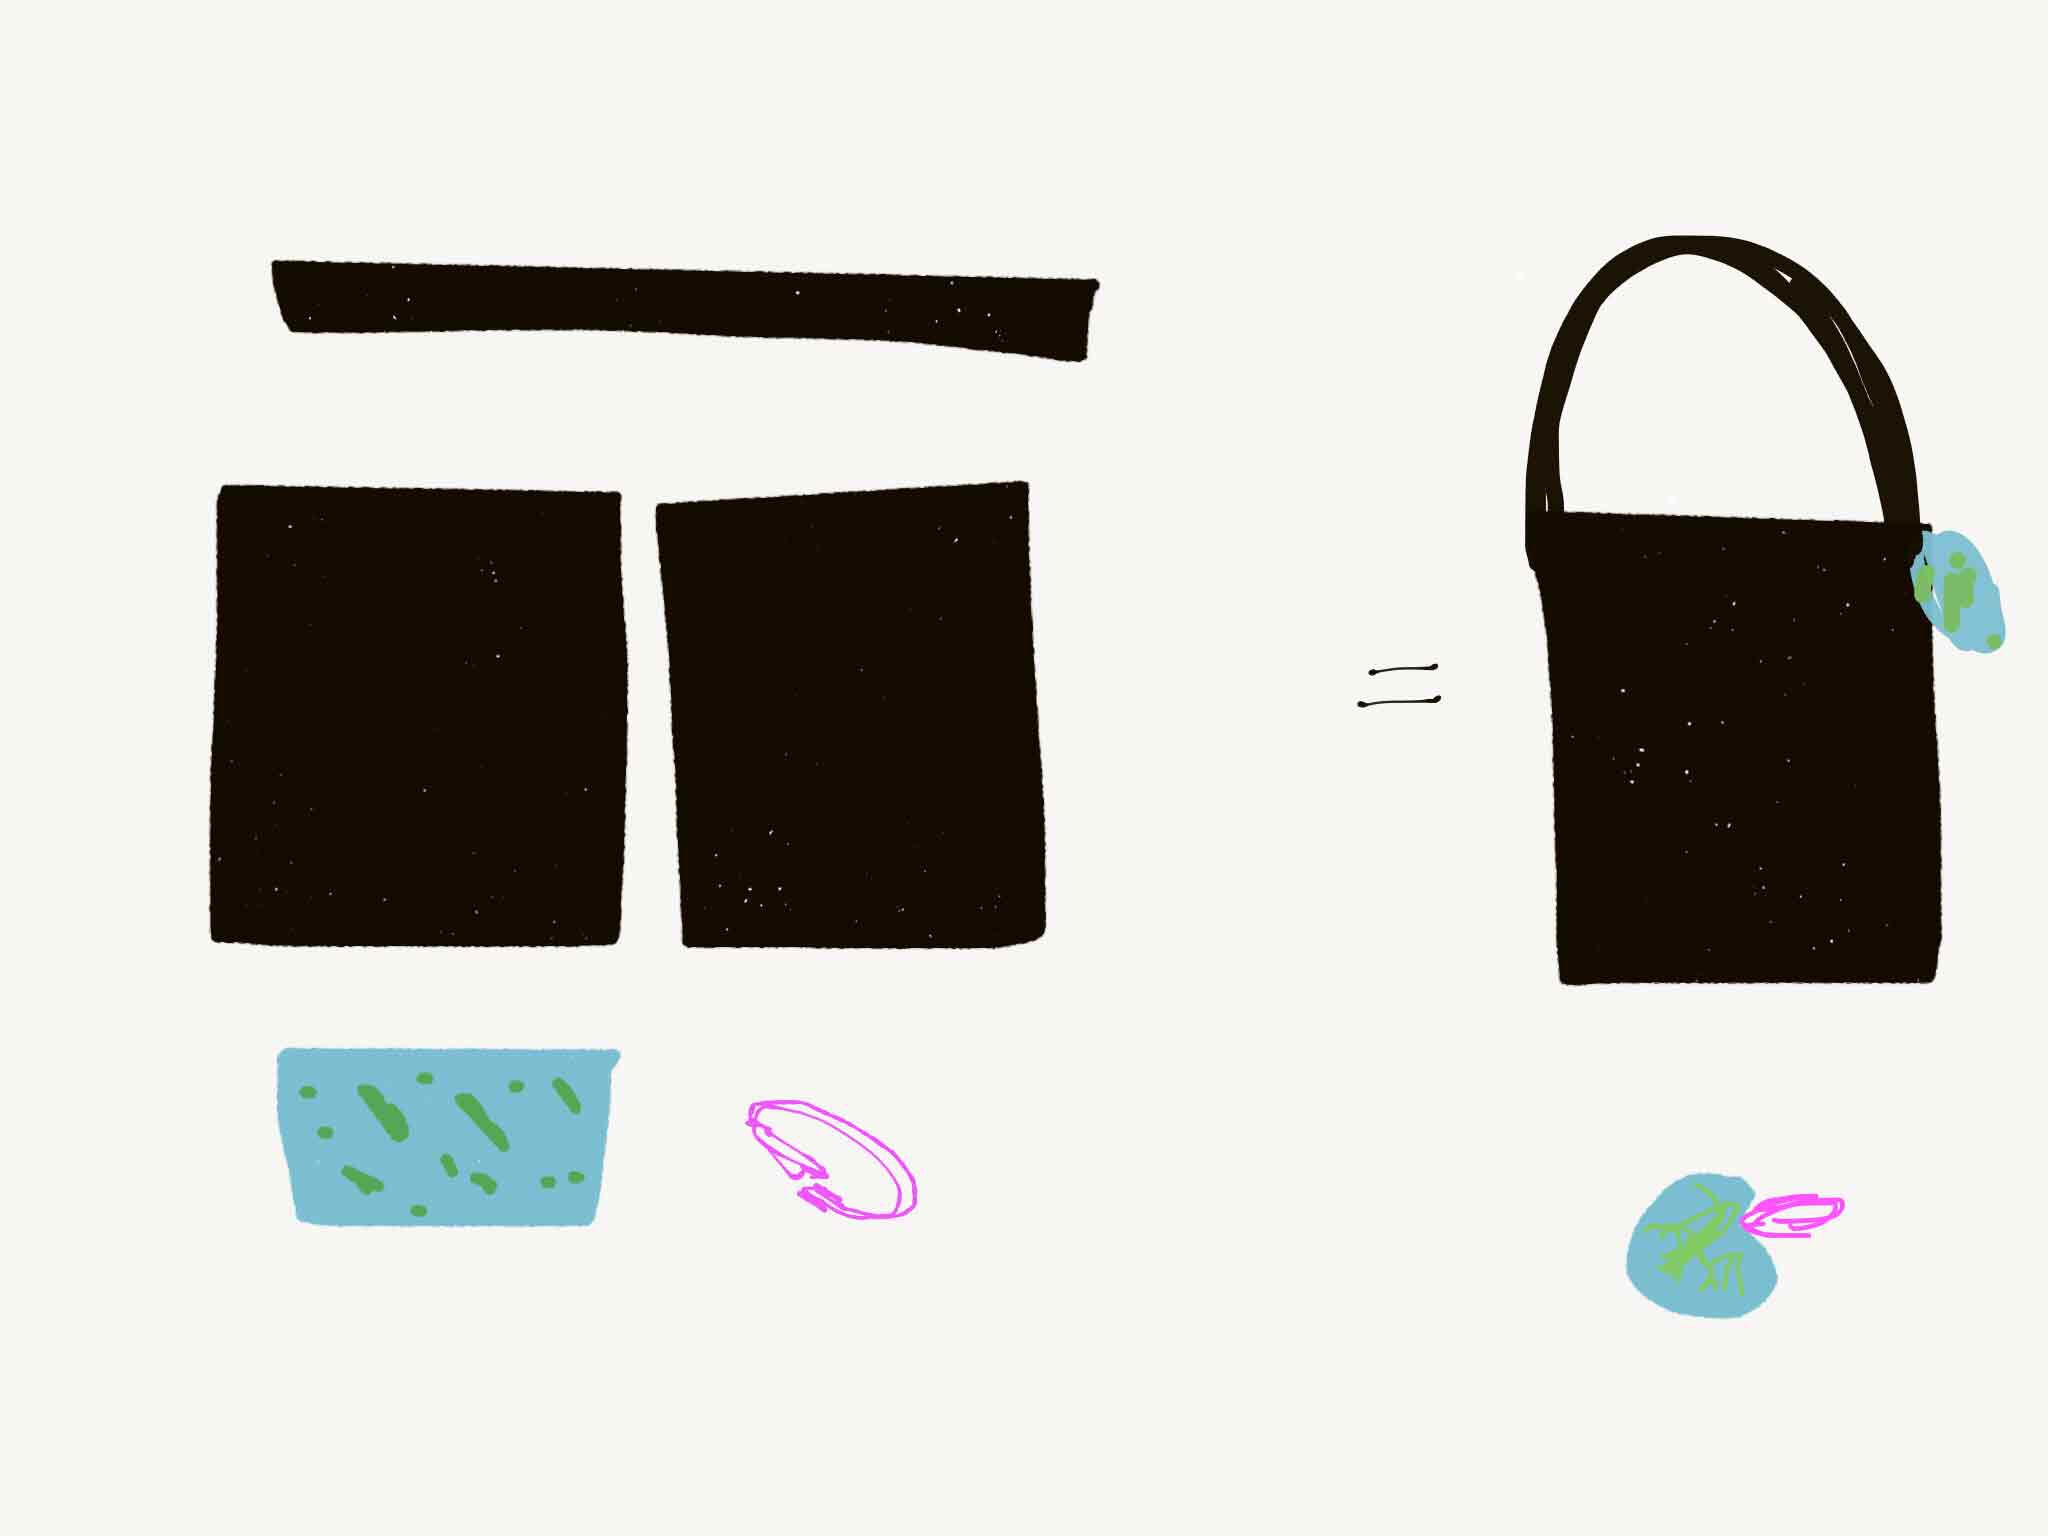
Cut Two squares of 14 ” or fold a long rectangle 14” x 28″, and a strap, cut a rectangle of 4” x 42” (or shorter or wider can work)
Construction
For the strap; the long rectangle of 4” x 42” nylon is folded right side facing IN. Stitch the long edge closed. Hand finish turning so the right side is facing OUT. Guide a safety pin through the tube to speed this along. Tuck in ends with a small 1/2 turn to make a seam allowance for strap attachment later.
French seams are the recommended method of construction to create a sealed edge seam that encases raw edges and prevent unraveling. If you have never used this method before you can watch a quick video for support. How to sew French Seams
Assembly
Place the nylon squares or rectangle so that right sides face OUT. First pass, the sides are stitched with a narrow seam allowance. Trim it down to 1/4″ outside of the stitch line.
Next turn the bag so wrong sides face OUT. Second pass, stitch the sides a second time encasing the previous seam and cut edge.
Turn bag right side out, hem the top of the bag turning the top down two 1/2 inch turns, stitch to finish.
Pin the strap to sides. Use the hem and side seam as the attachment zone. Put the bag on your shoulder to test the strap length.
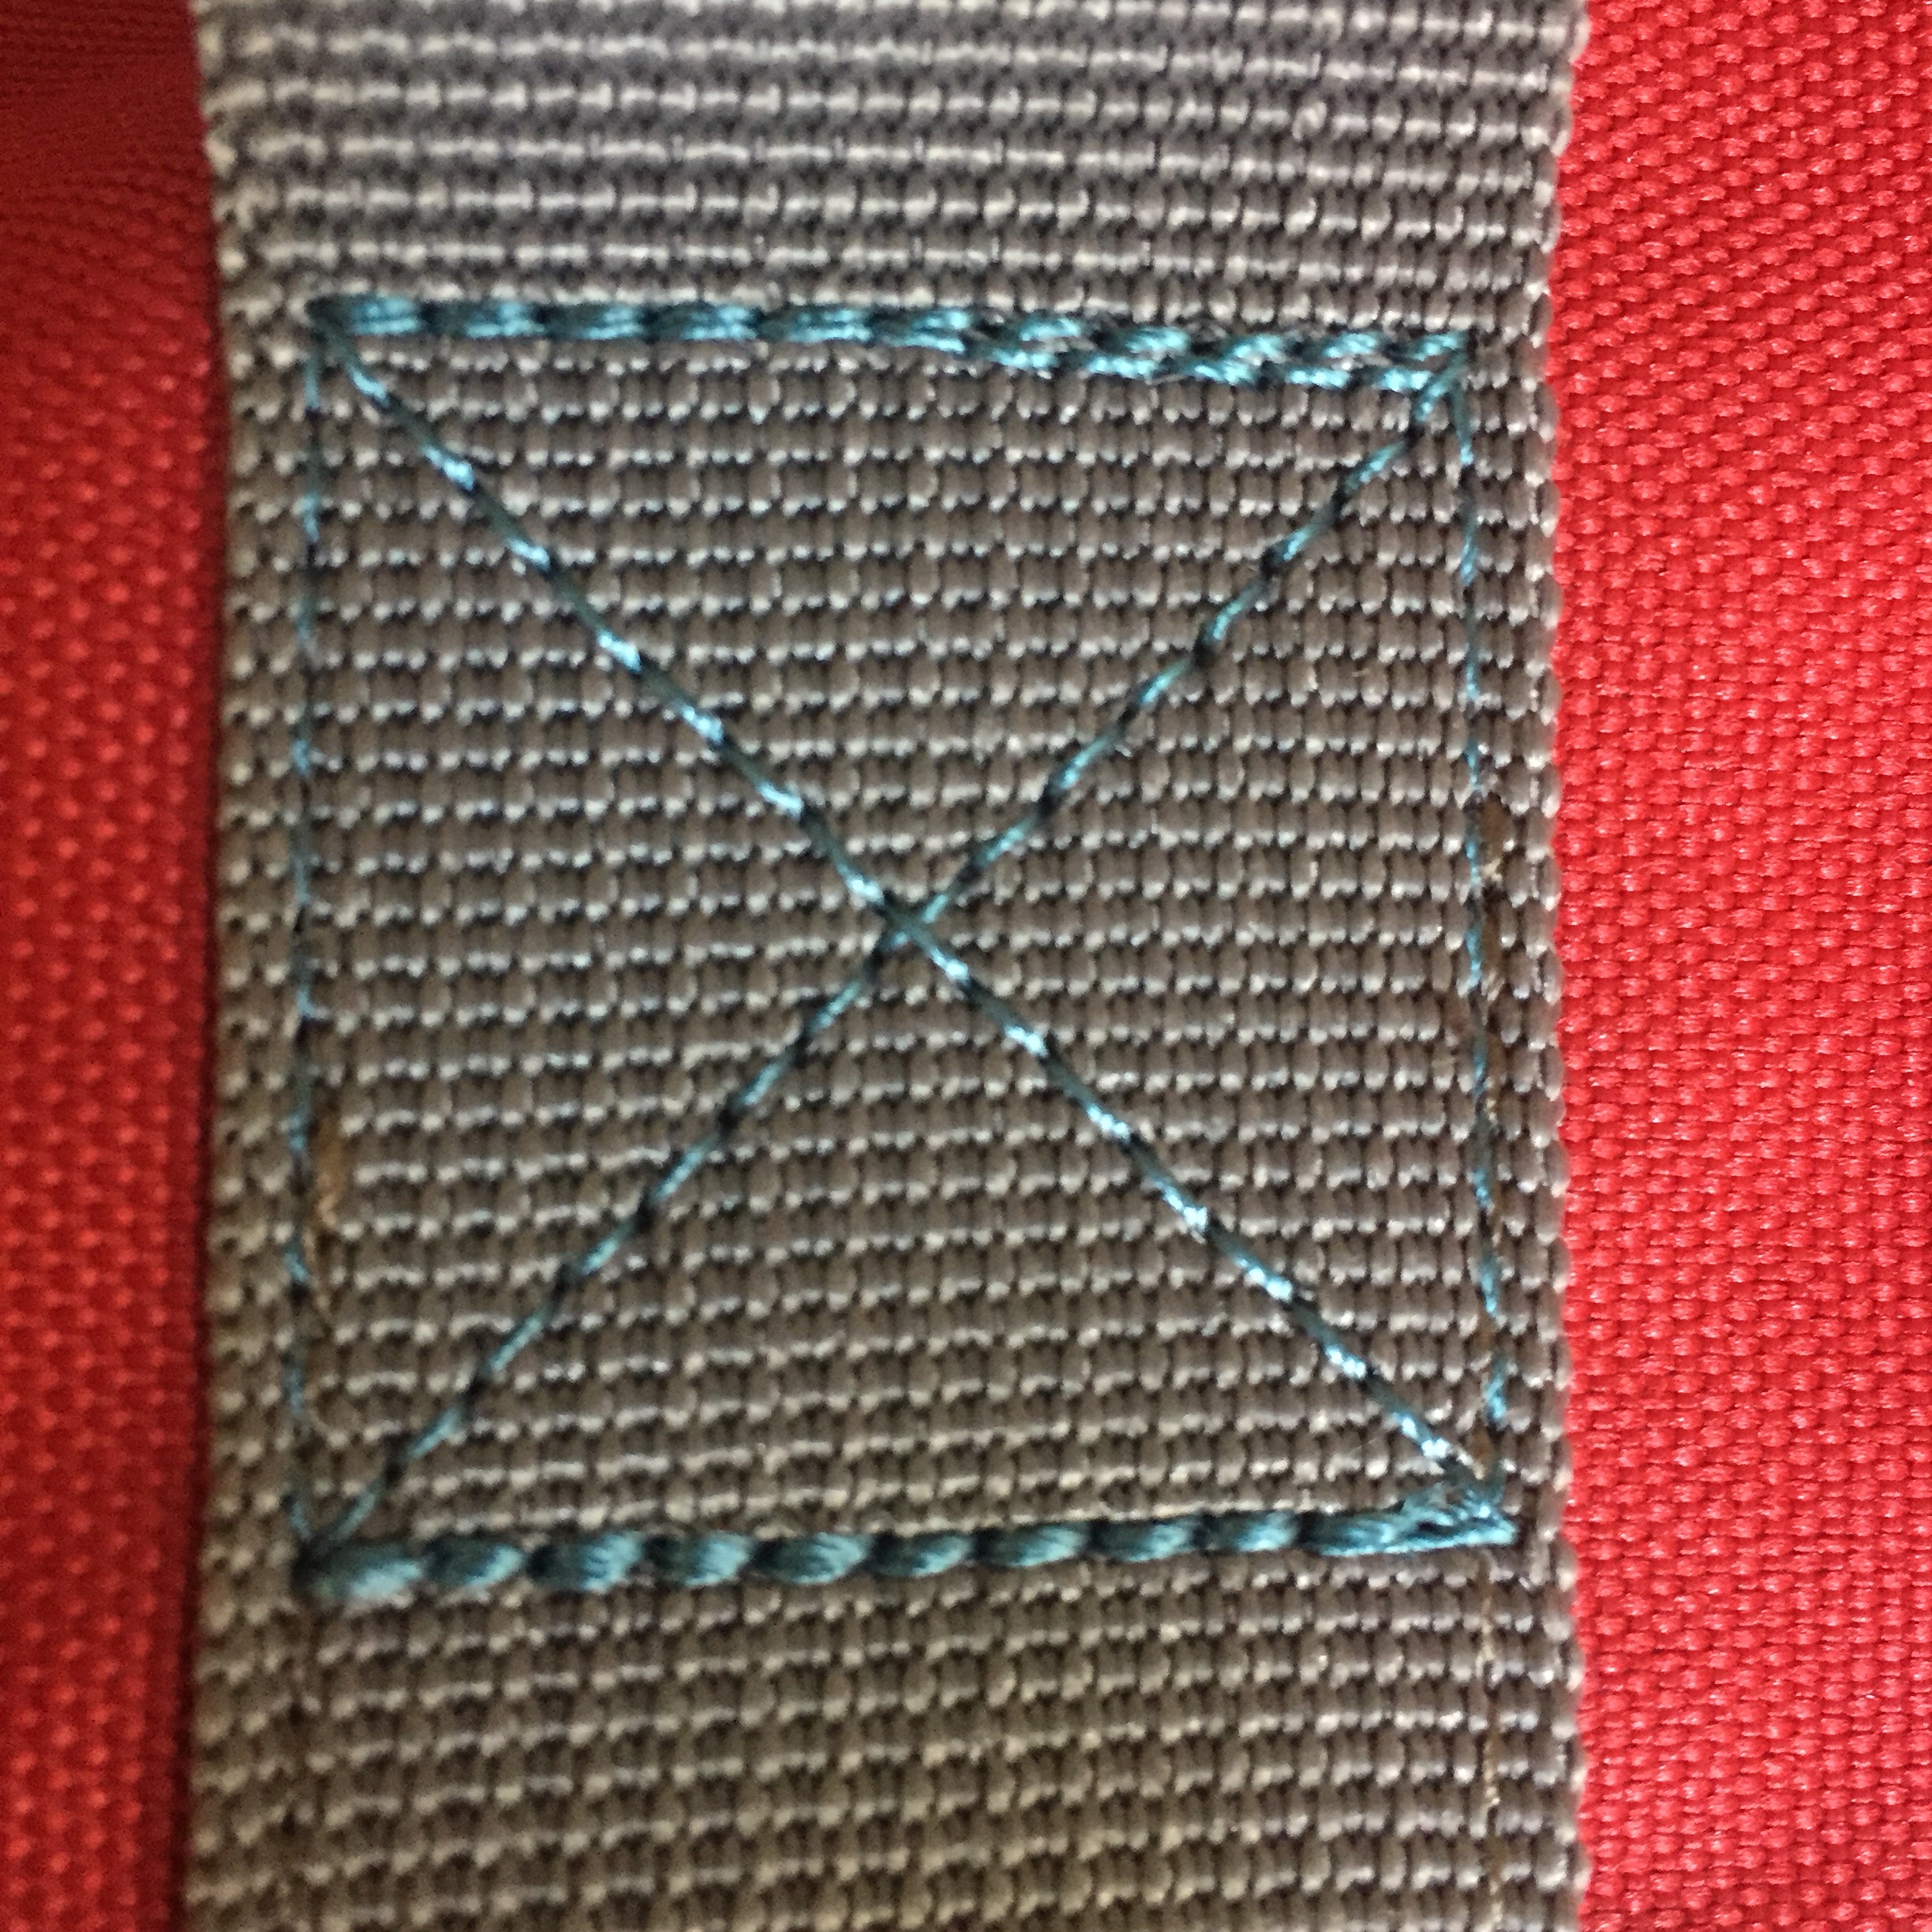
Anchor the strap to the INSIDE of the bag. Reinforce with a square of stitches nearly as wide as the strap. Sew an x pattern inside the square of reinforced stitches as is used to attach a webbing strap in a commercial heavy weight nylon tote bag.
Prepare the stretch pouch by finishing the short ends making narrow finished hems on two 5″ edges.
Fold the cloth into thirds like a letter with the fabric print on the inside. Under two folded narrow hemmed flaps tuck the woven trim, bent in half to form a loop. The cut ends of trim stick out as the loop is pinned onto the seam line.
Pin shut the other end. Baste the ends closed with a curved stitch line to create a rounded circular pouch effect.
Turn pouch right side out to test the fit before finalizing with tighter stitches. Snug the pouch over the compressed nylon bag to form tight a ball shape. Adjust the pouch size if need before finishing seams and trimming off any excess stretch fabric.
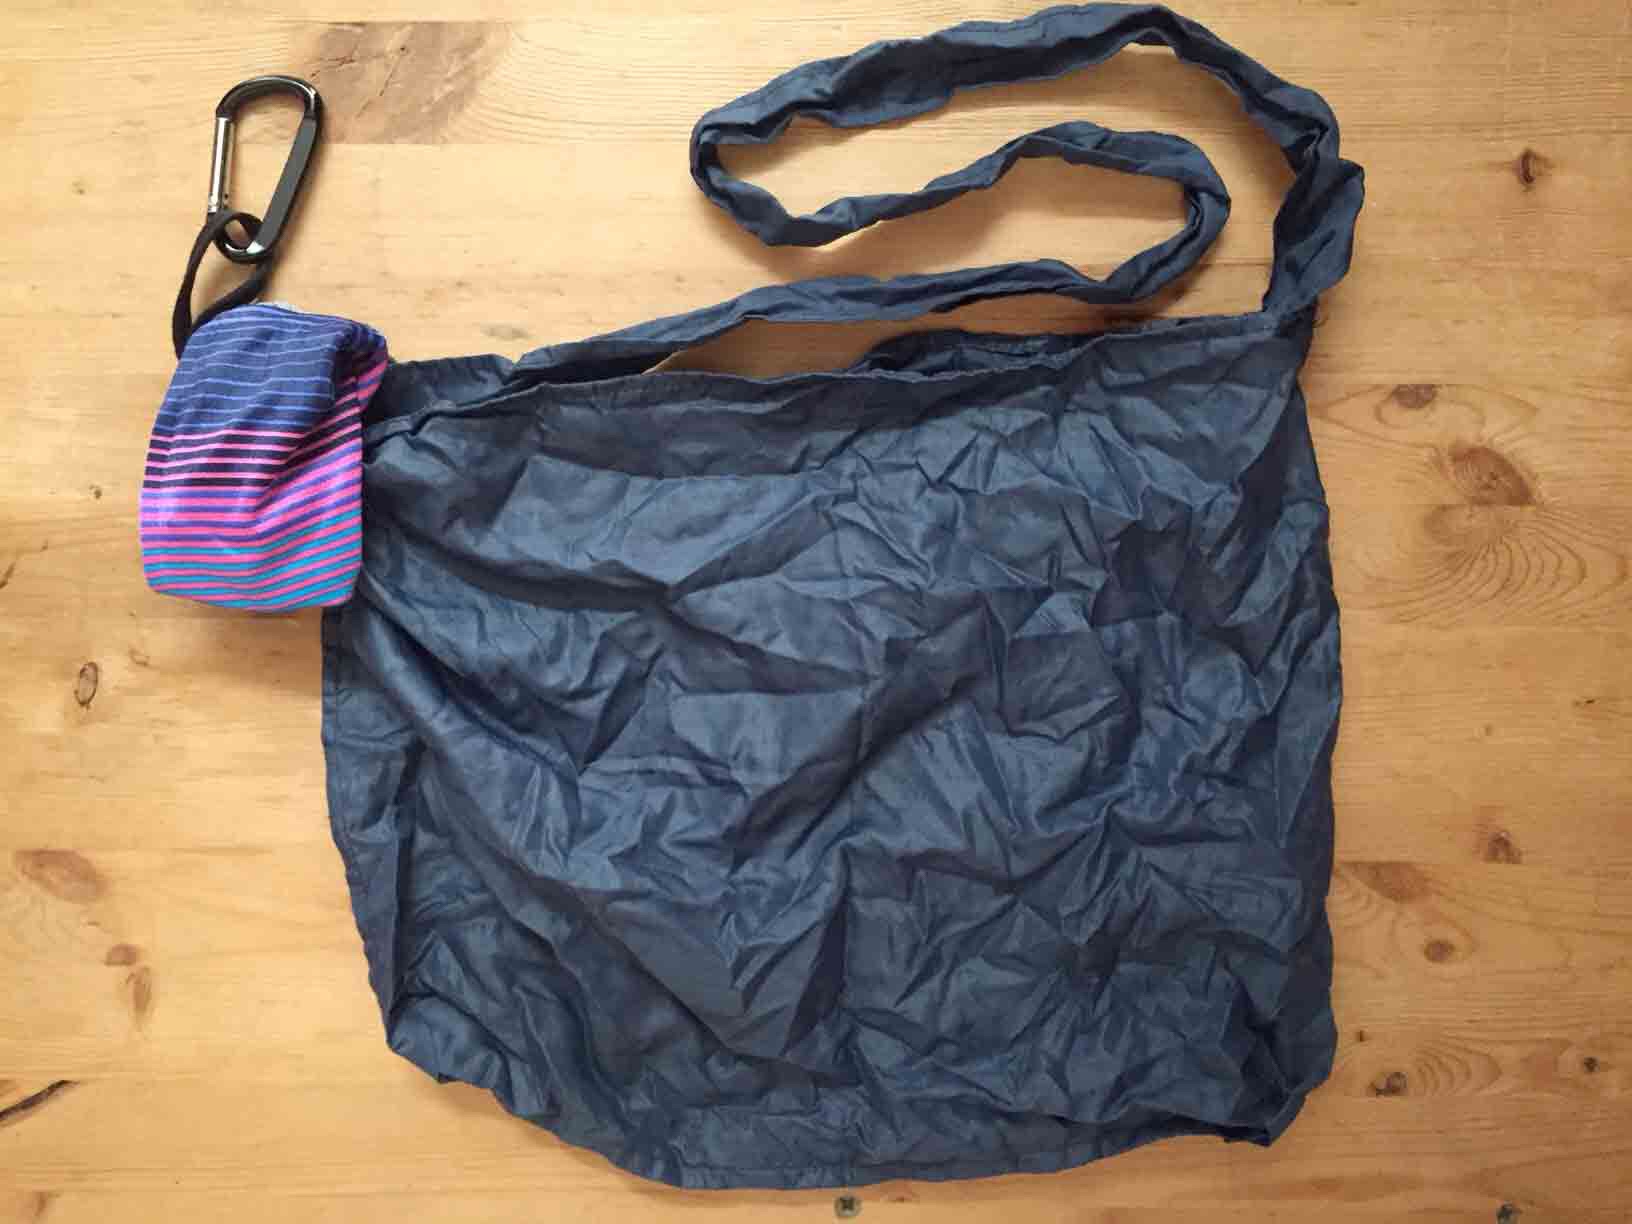
Secure the stretch pouch to an interior side seam. Place it two inches down from the top of the bag just below the strap attachment.
Turn stretch pouch right side out and stuff the tote. Slide the metal spring clip through the trim loop to complete. Enjoy, perhaps make a second one as a gift.
