Monkey around with wood

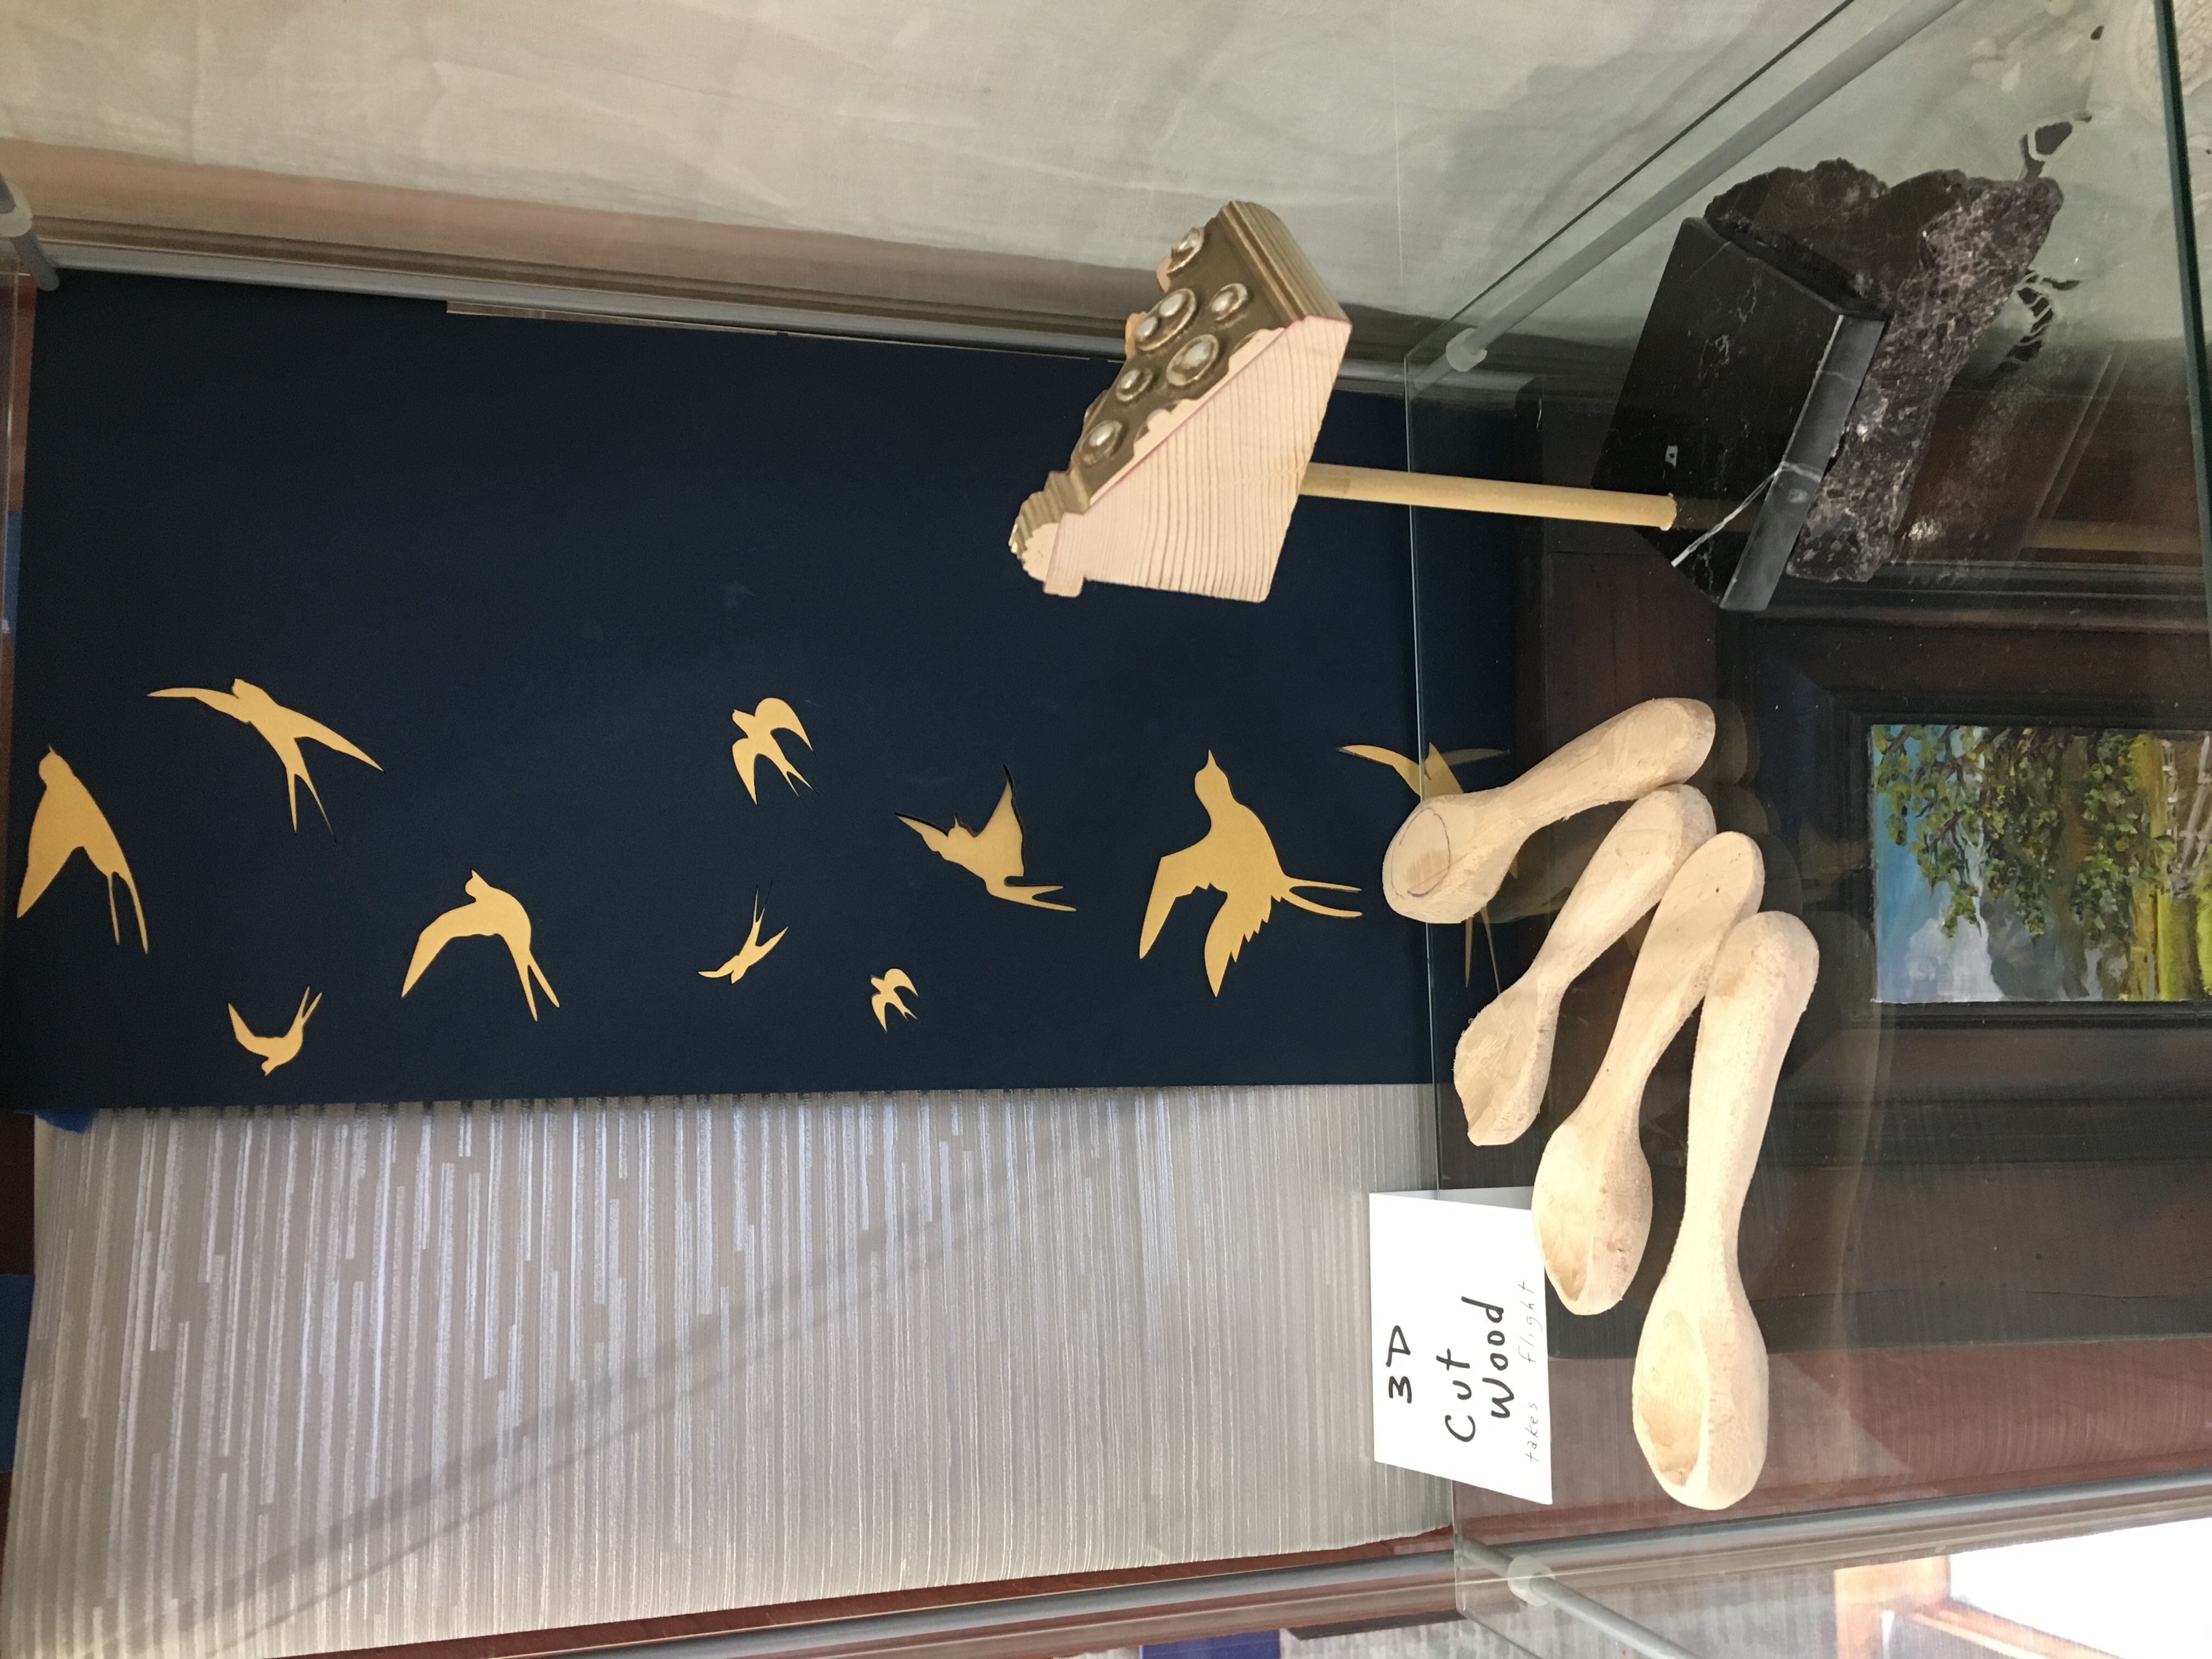
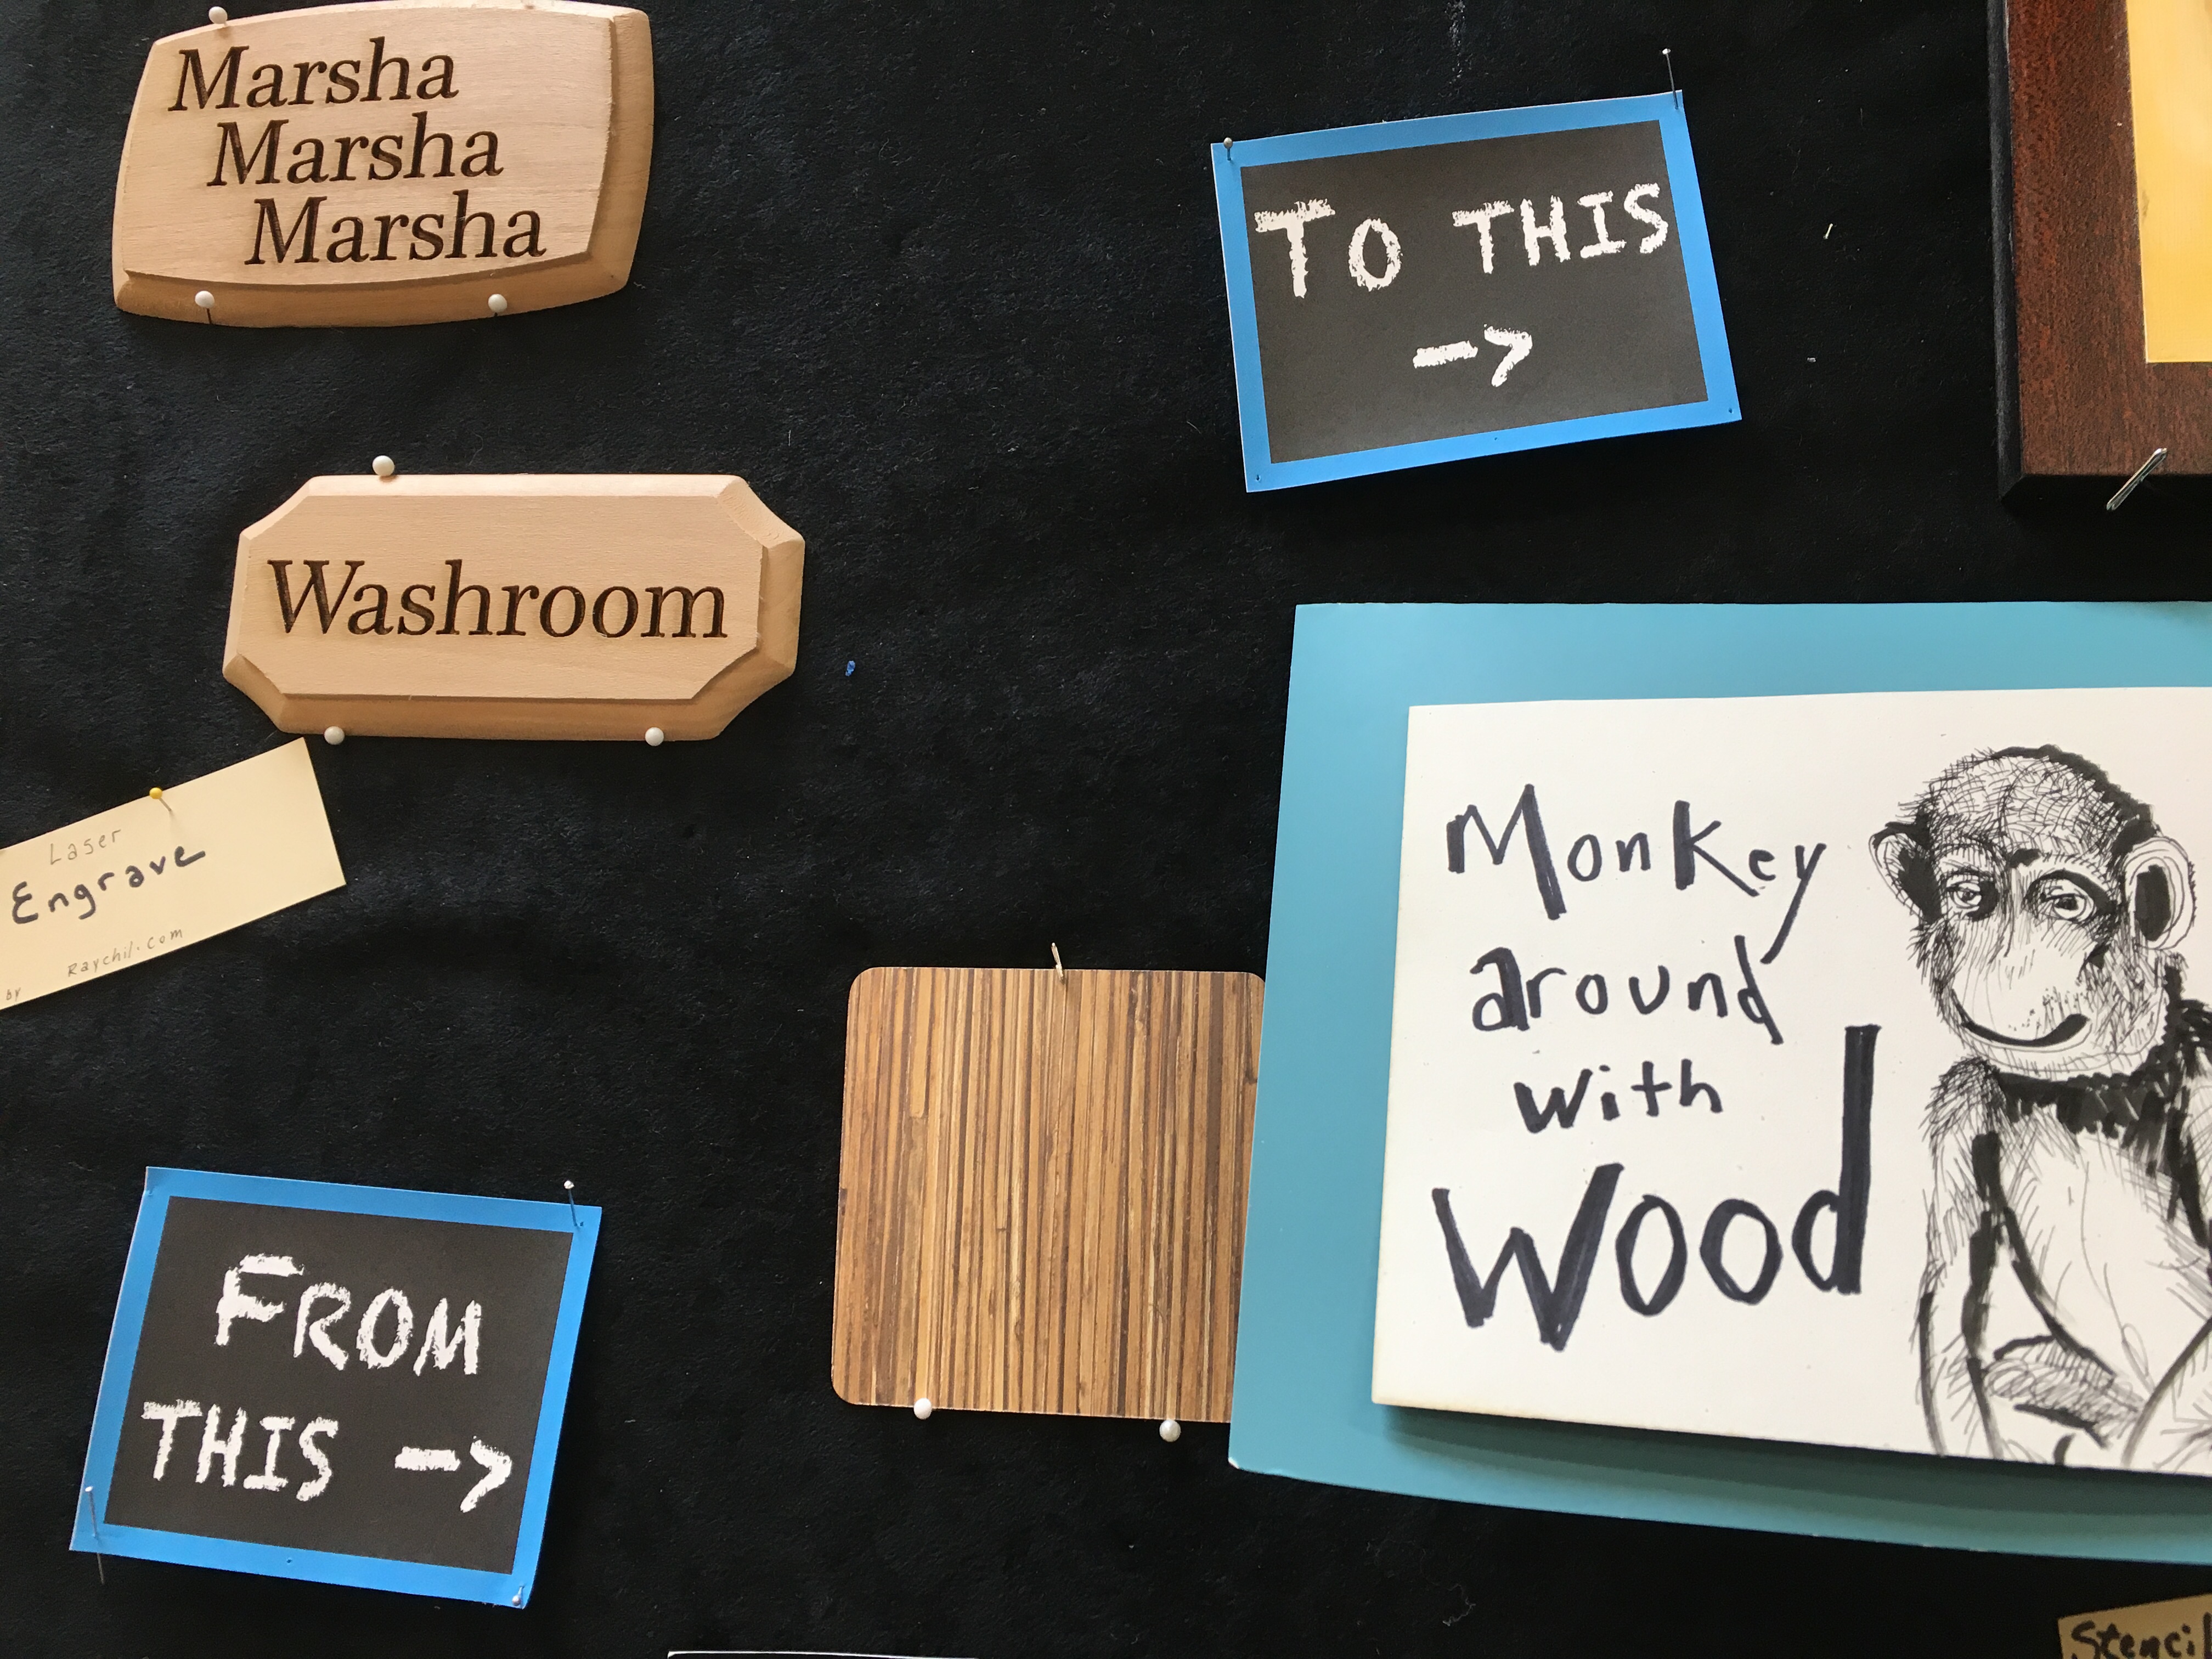
This month I have installed a new art show for inspiring creative reuse of wood samples and scrap. It was initiated by FabMo the amazing clearing house of up cycled materials to bridge the gap between Christmas and valentines displays. Many thanks go to my partner John Montbriand for his expert etching skills also featured in this exhibition.

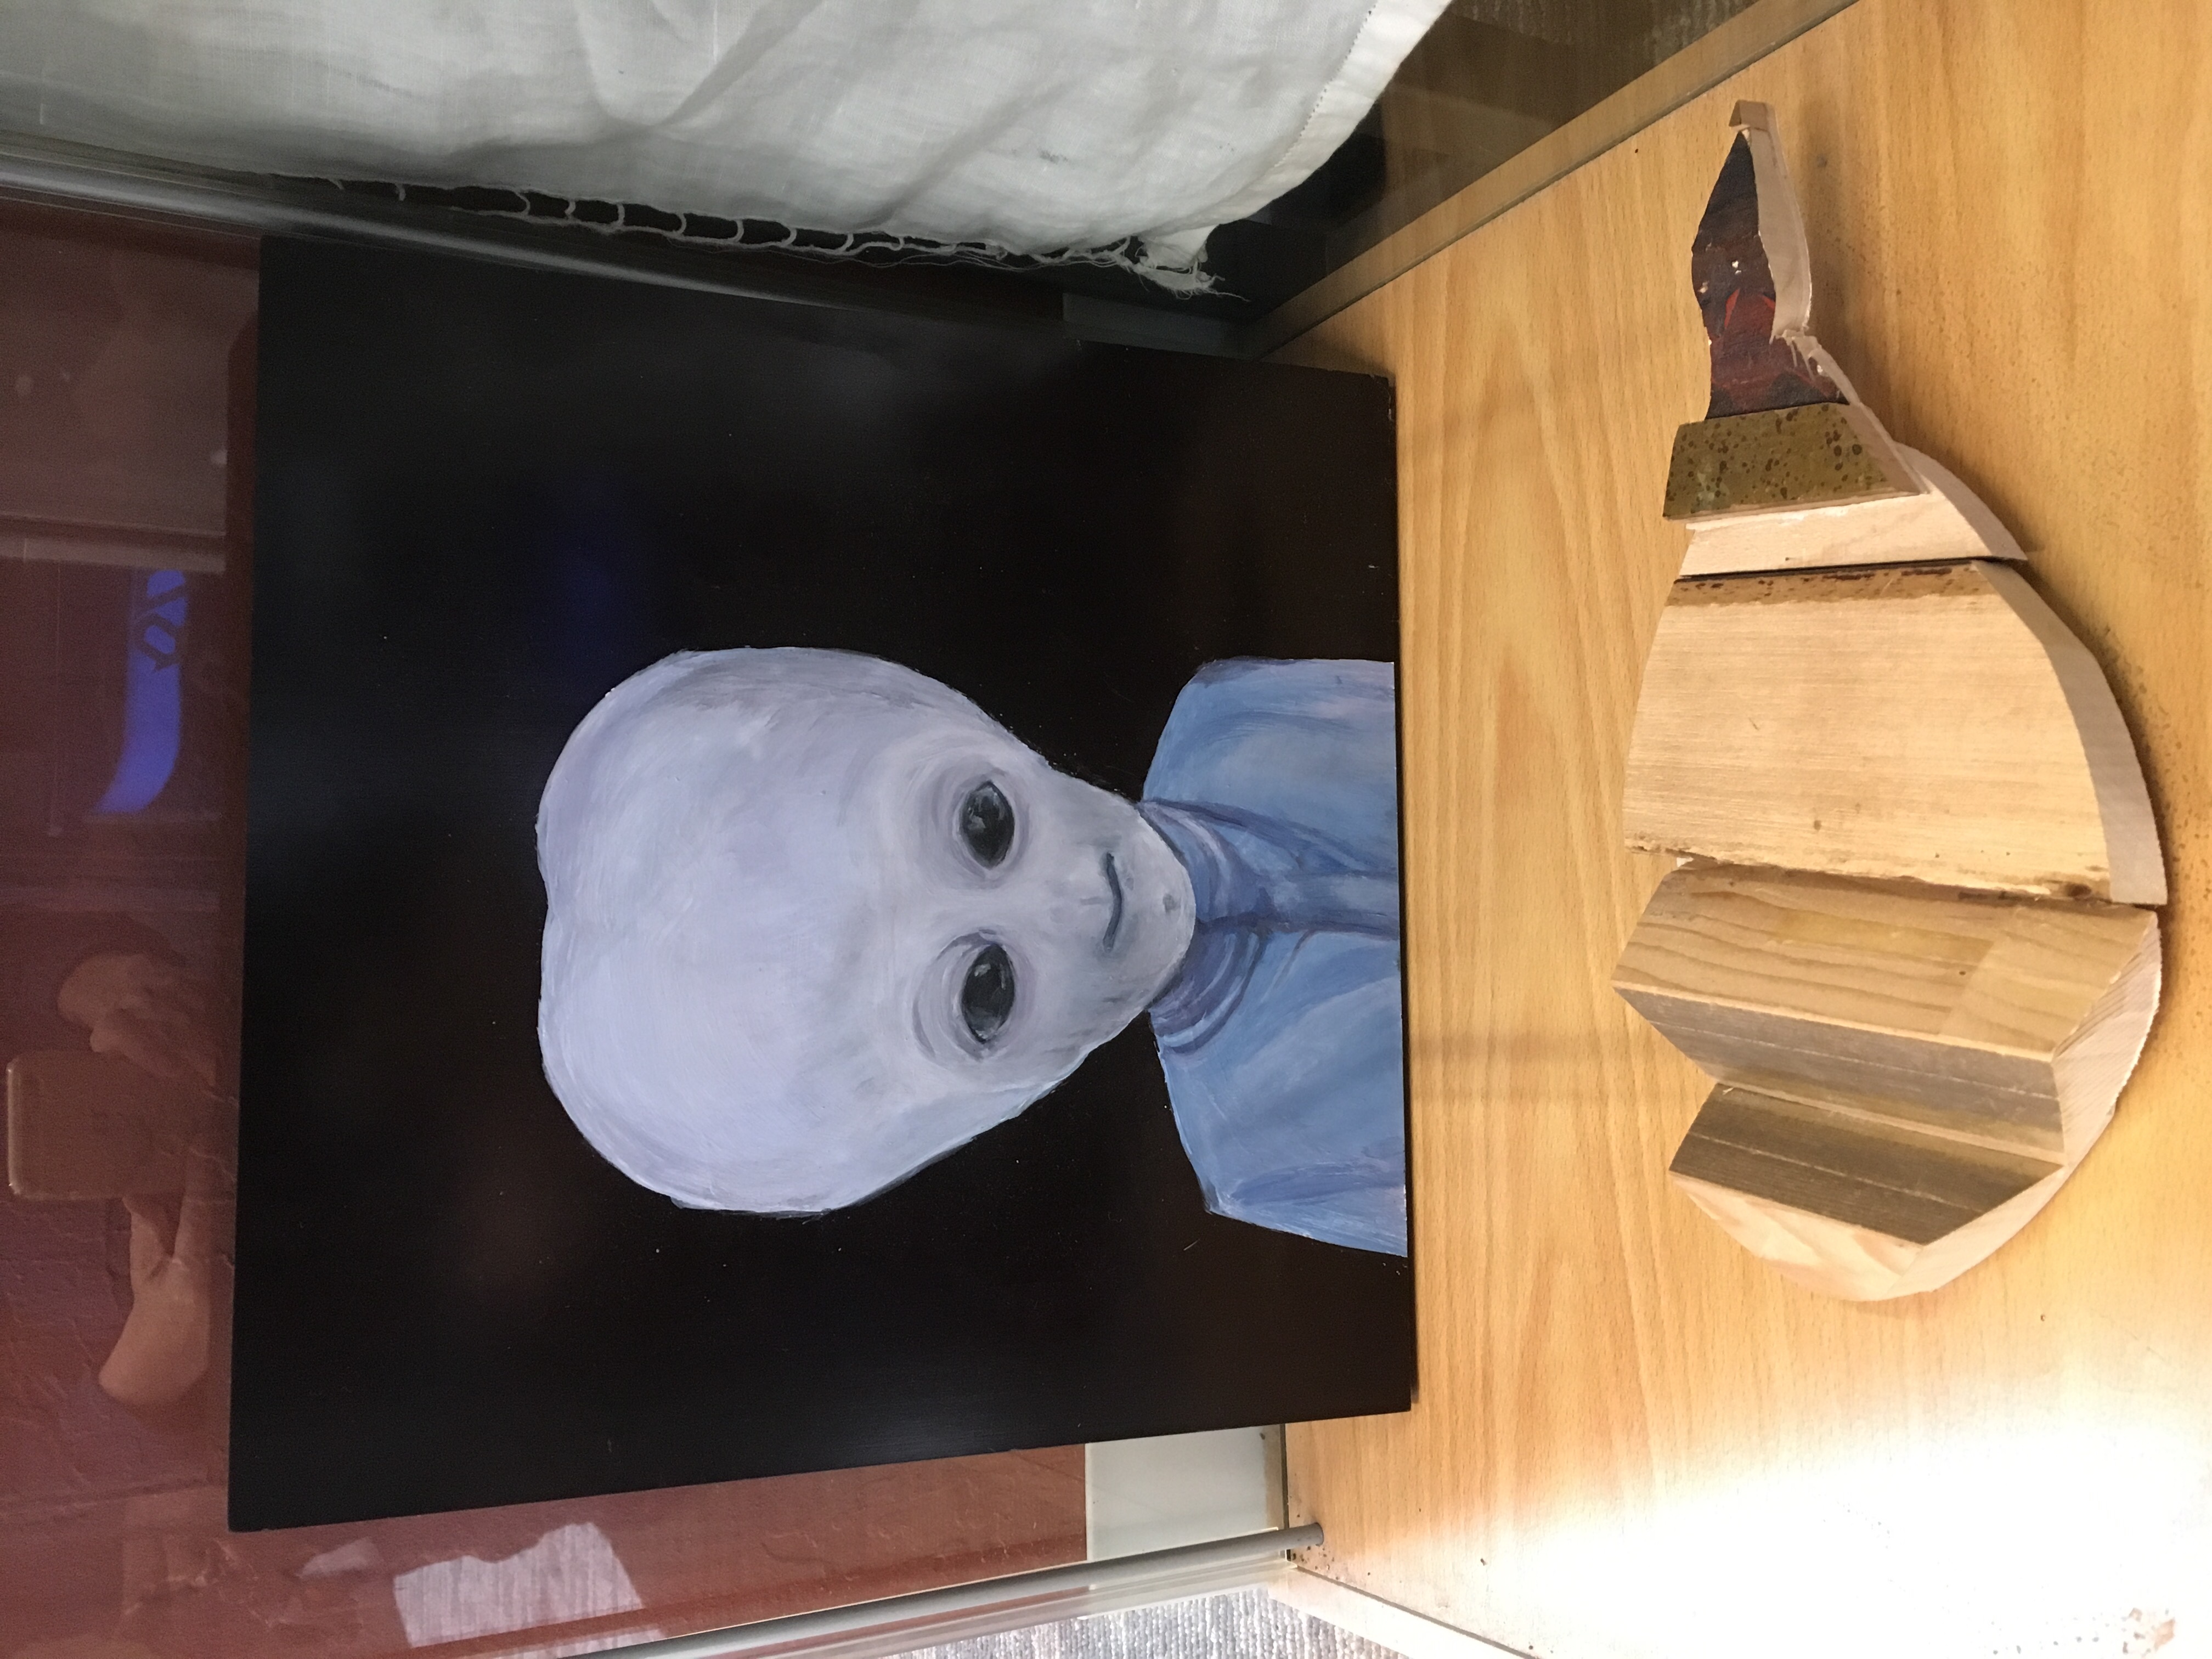
For custom laser etching or if you would like to own the alien Jeff featured below email

Rp@raychil.com

Wood working at home check this out

Tote-a-go-go

Today I am very pleased to share my new favorite hand made accessory. It is a compressed nylon bag that tucks into a tiny ball. I like and so cary it every day and so actually make good use of it.
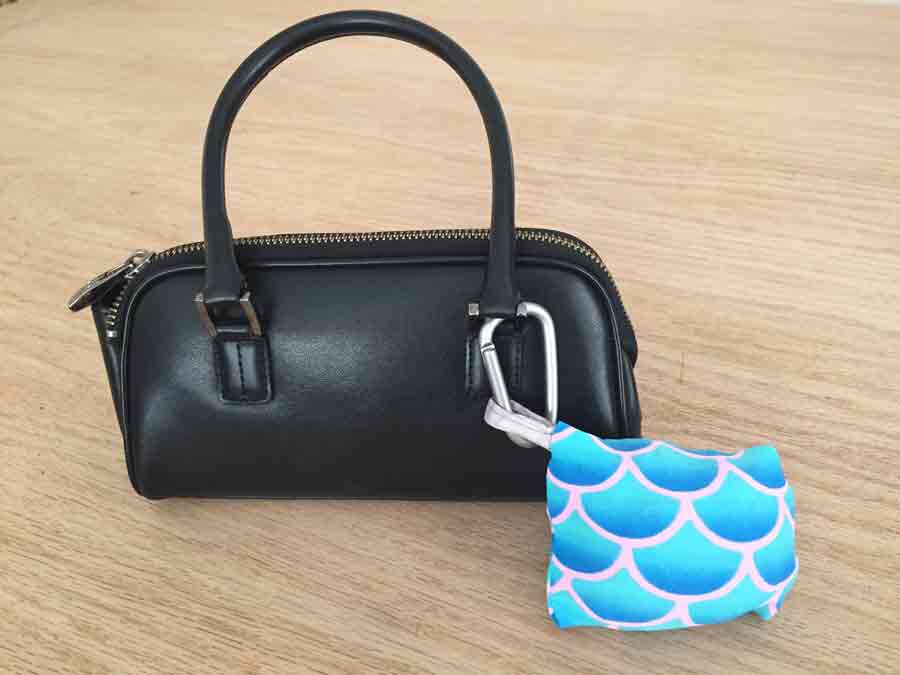
This is my own hand made nylon bag. You can buy similar bags but I prefer using found materials and customizing details like mermaid scales instead of flashing corporate logos.

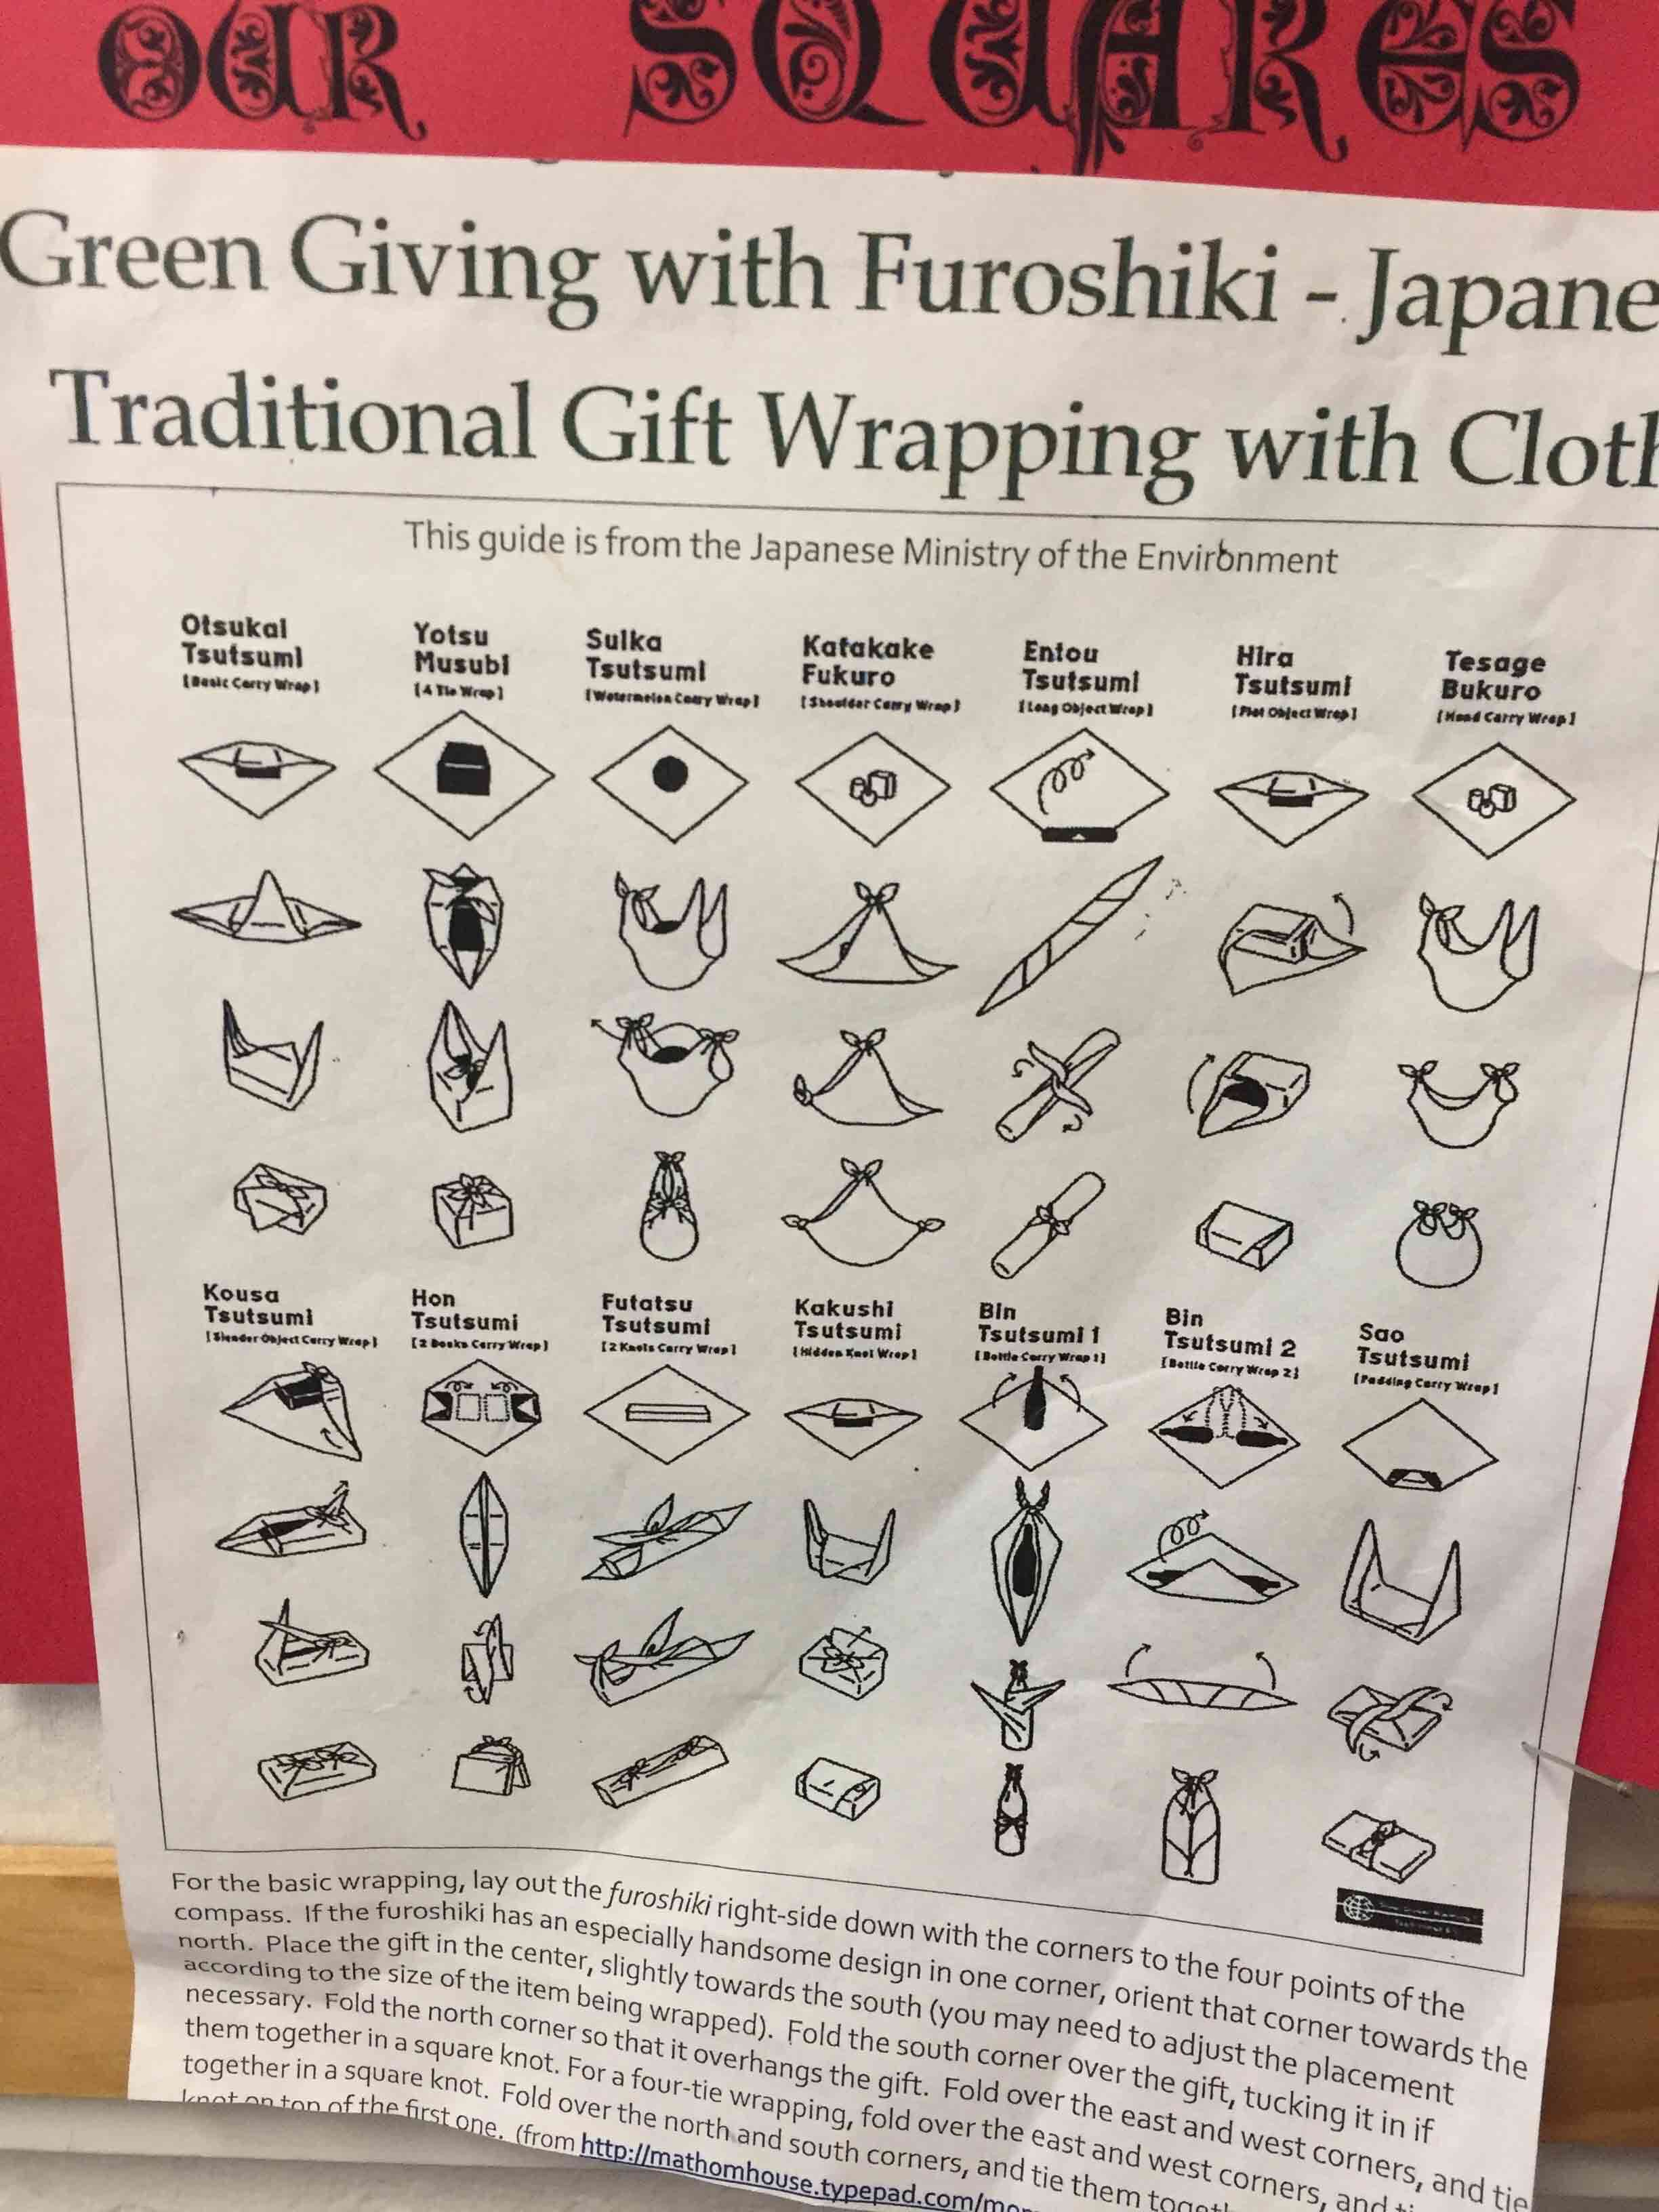
Get your supplies together (at Fabmo or find another spontaneous up cycling opportunity). Or you could wear a bandana and use traditional Japanese folk wisdom to tie a bag into shape without any further sewing required.
Tote-a-go-go Instructions

How to make a nylon shoulder bag that clips on and tucks away. Snap, click, tug and you are ready to load it with your stuff or new stuff.

Supply List

Sewing scissors

sewing thread

sewing machine

metal spring carabiner clip

woven trim about 1/2” x 6”

Fabric:

4 way stretch (swim suit fabric) 9″ x 5″ approximately

rip stop nylon or other light weight sturdy cloth 1/2 yard of (18” x 42”).

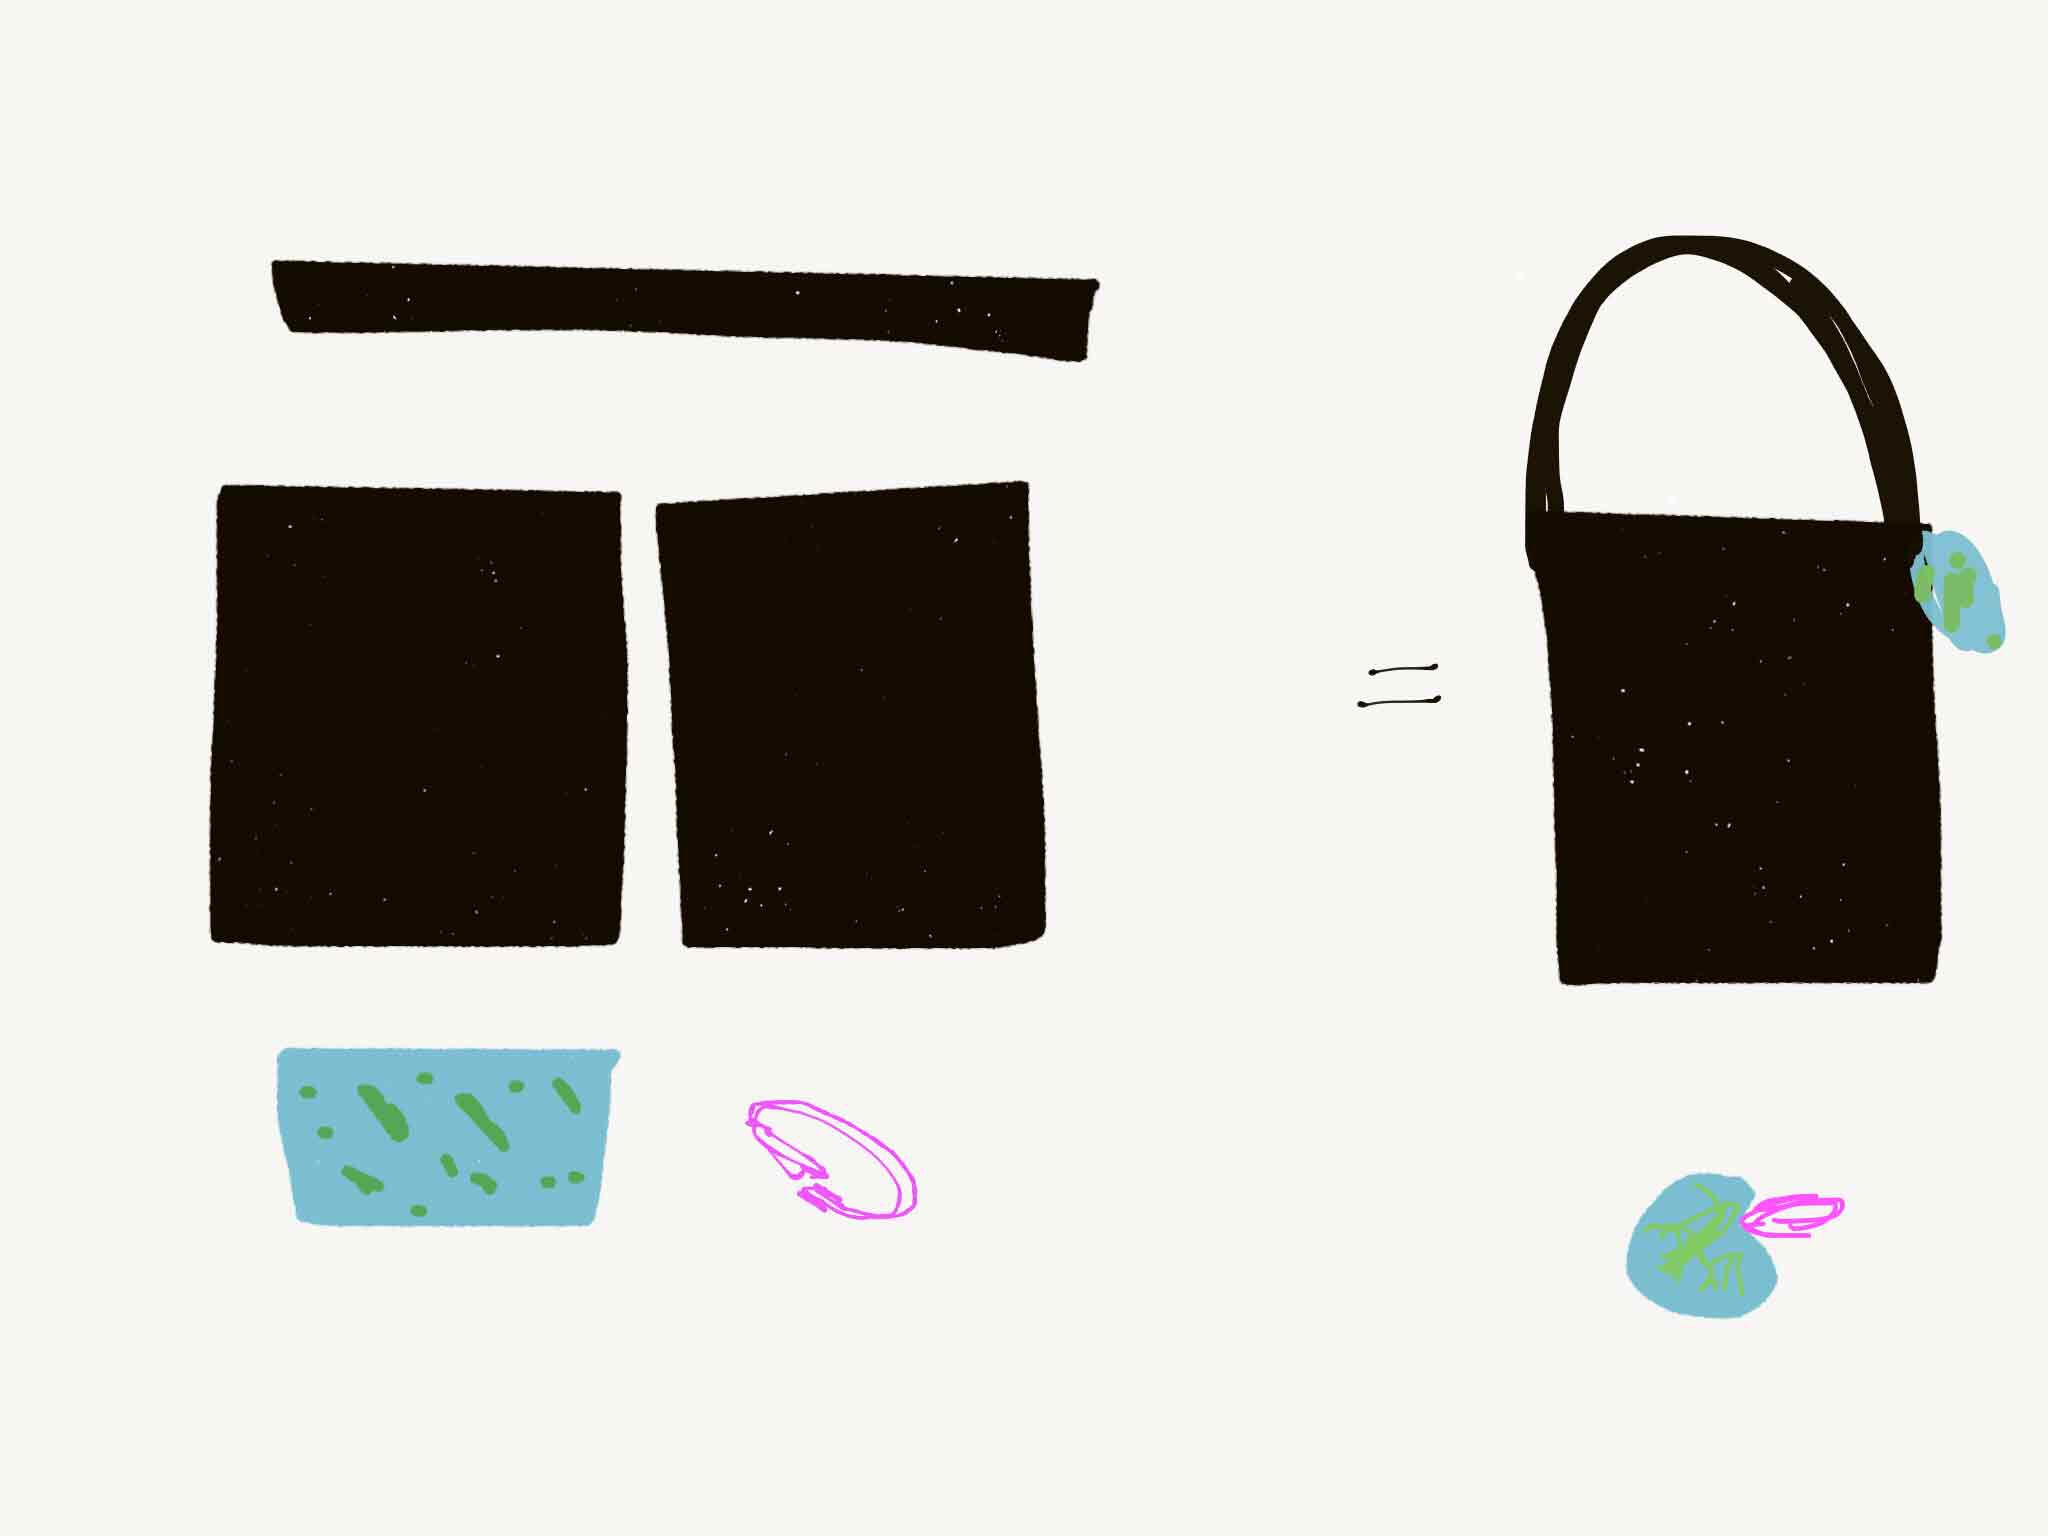
Cut Two squares of 14 ” or fold a long rectangle 14” x 28″, and a strap, cut a rectangle of 4” x  42” (or shorter or wider can work)
Construction

For the strap; the long rectangle of 4” x  42” nylon is folded right side facing IN. Stitch the long edge closed. Hand finish turning so the right side is facing OUT. Guide a safety pin through the tube to speed this along. Tuck in ends with a small 1/2 turn to make a seam allowance for strap attachment later.

French seams are the recommended method of construction to create a sealed edge seam that encases raw edges and prevent unraveling. If you have never used this method before you can watch a quick video for support. How to sew French Seams

Assembly

Place the nylon squares or rectangle so that right sides face OUT. First pass, the sides are stitched with a narrow seam allowance. Trim it down to 1/4″ outside of the stitch line.

Next turn the bag so wrong sides face OUT. Second pass, stitch the sides a second time encasing the previous seam and cut edge.

Turn bag right side out, hem the top of the bag turning the top down two 1/2 inch turns, stitch to finish.

Pin the strap to sides. Use the hem and side seam as the attachment zone. Put the bag on your shoulder to test the strap length.

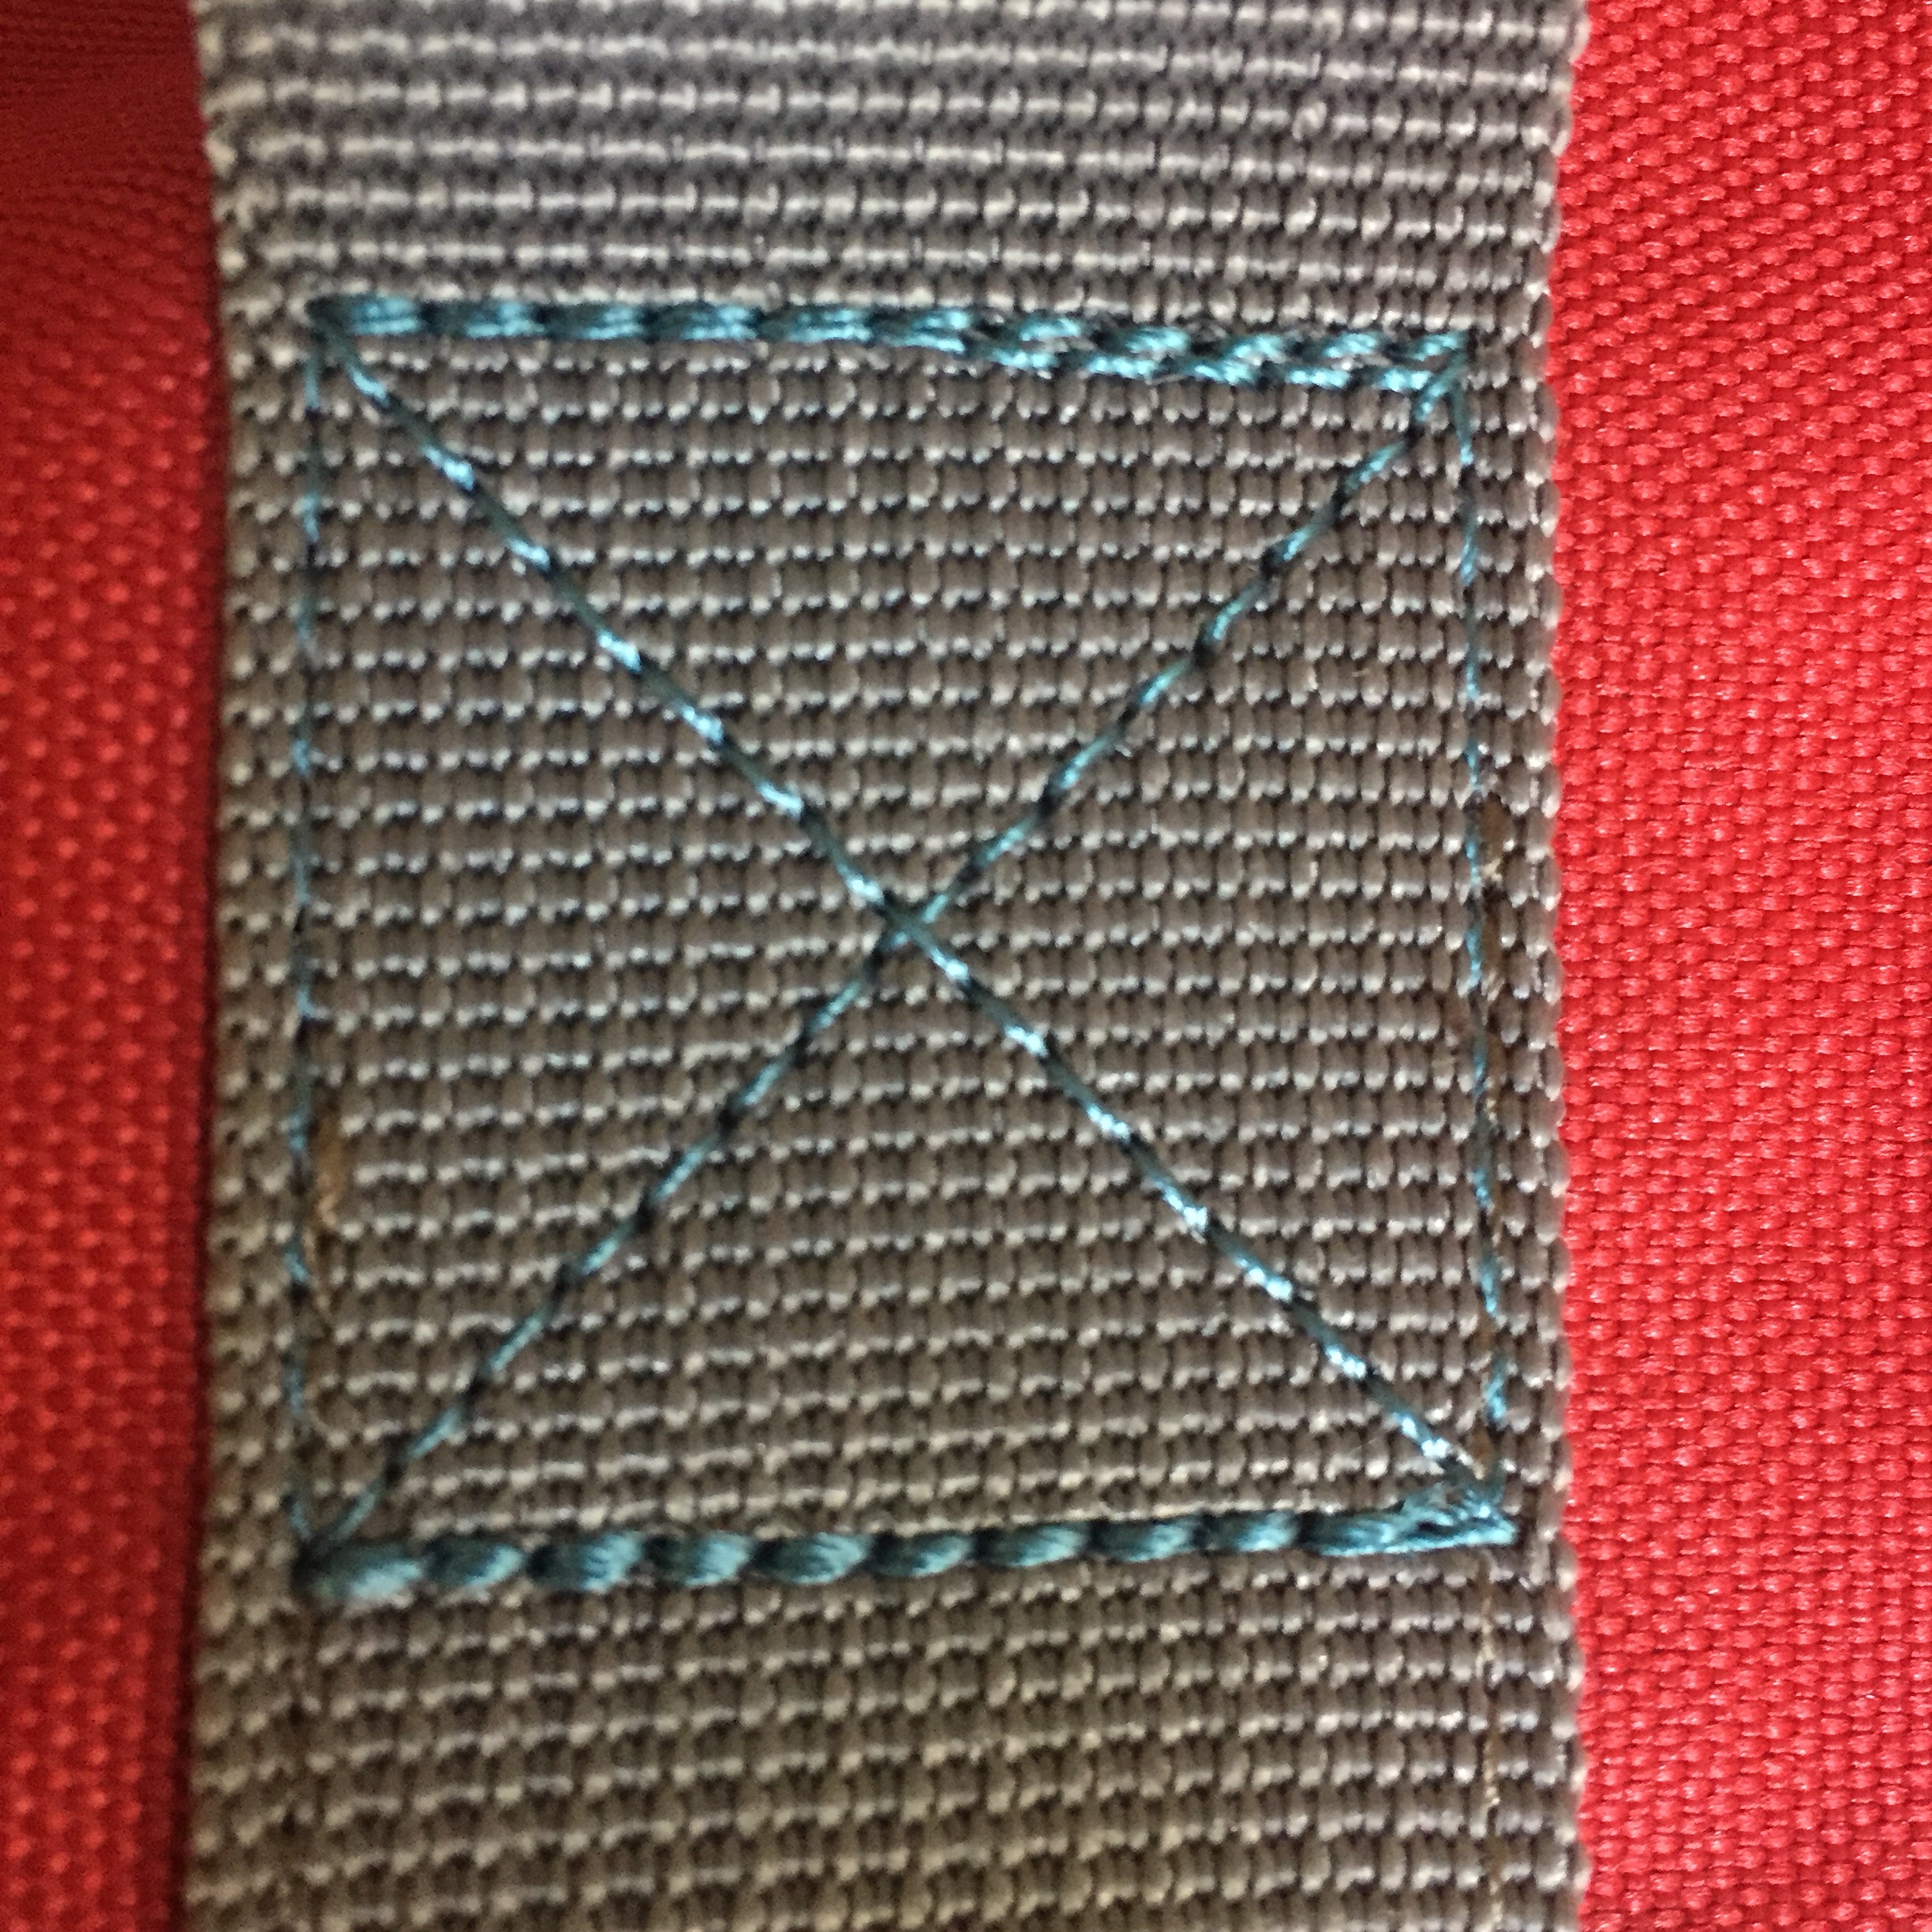
Anchor the strap to the INSIDE of the bag. Reinforce with a square of stitches nearly as wide as the strap. Sew an x pattern inside the square of reinforced stitches as is used to attach a webbing strap in a commercial heavy weight nylon tote bag.
Prepare the stretch pouch by finishing the short ends making narrow finished hems on two 5″ edges.

Fold the cloth into thirds like a letter with the fabric print on the inside. Under two folded narrow hemmed flaps tuck the woven trim, bent in half to form a loop. The cut ends of trim stick out as the loop is pinned onto the seam line.

Pin shut the other end. Baste the ends closed with a curved stitch line to create a rounded circular pouch effect.

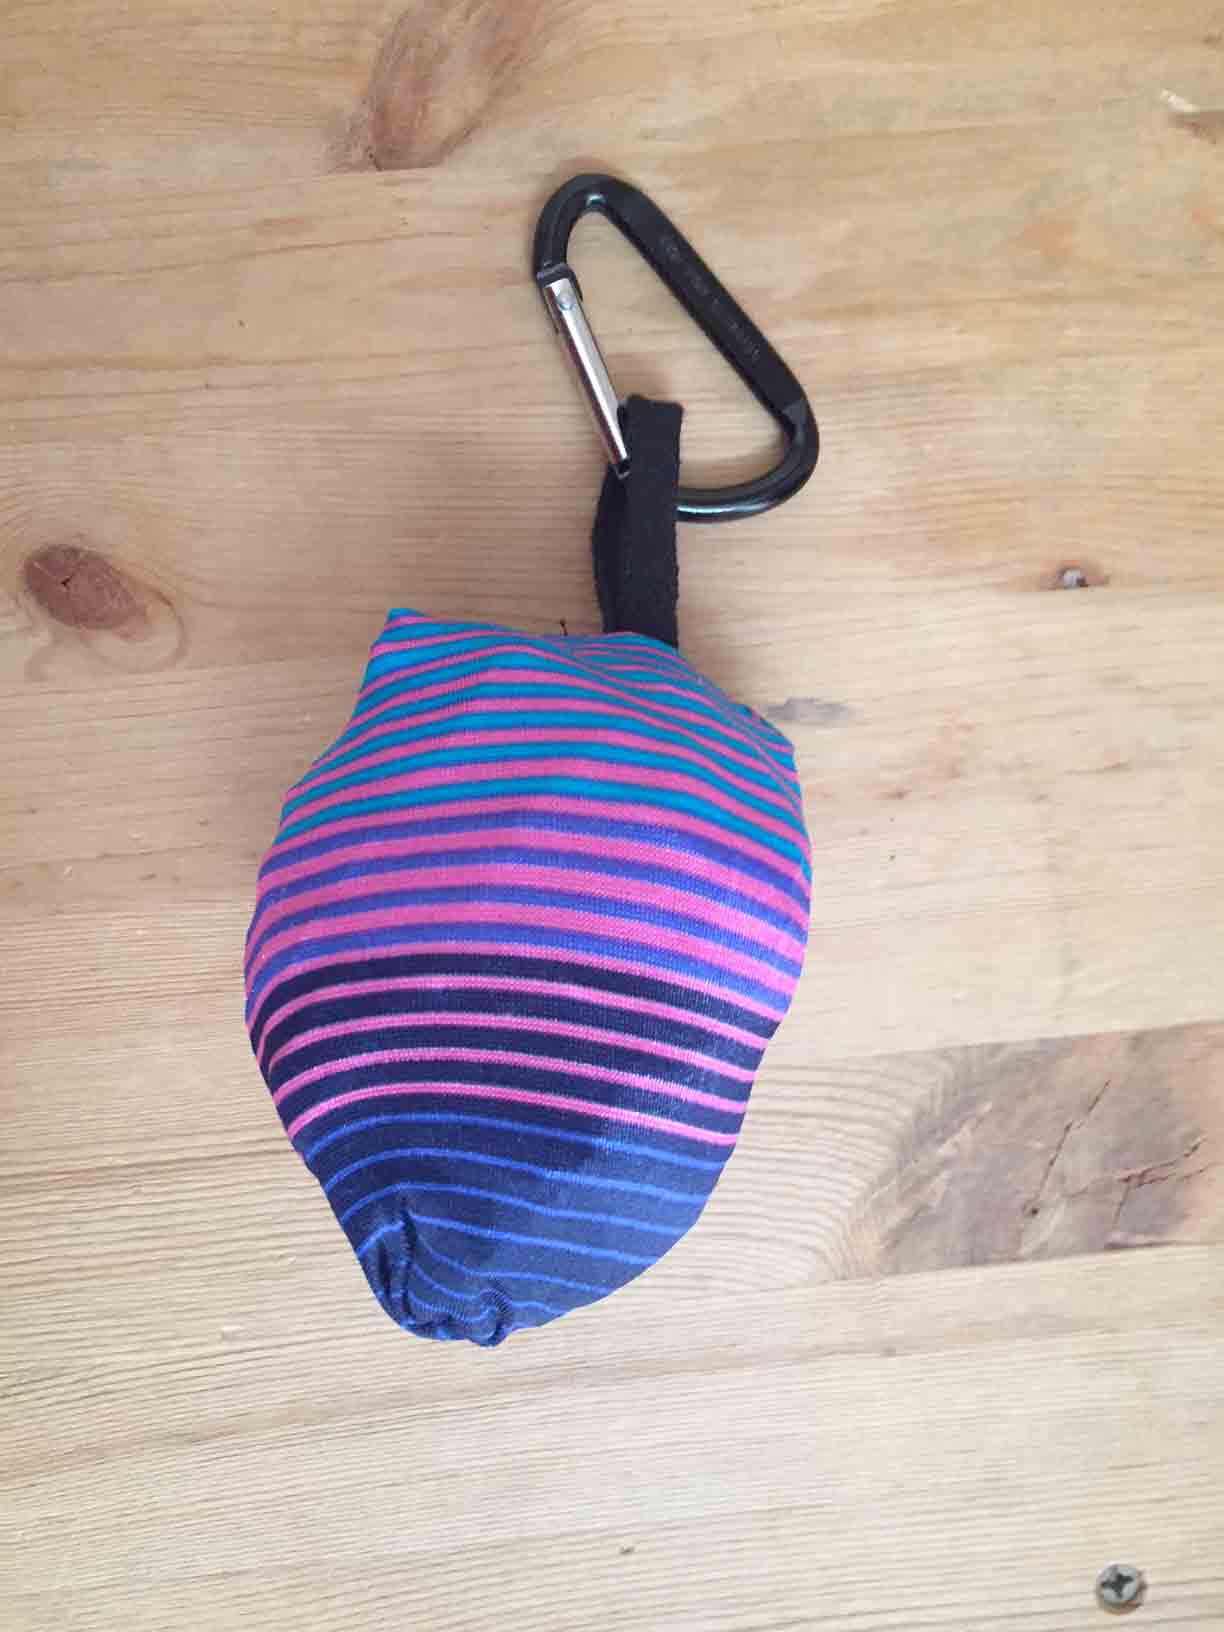
Turn pouch right side out to test the fit before finalizing with tighter stitches. Snug the pouch over the compressed nylon bag to form tight a ball shape. Adjust the pouch size if need before finishing seams and trimming off any excess stretch fabric.
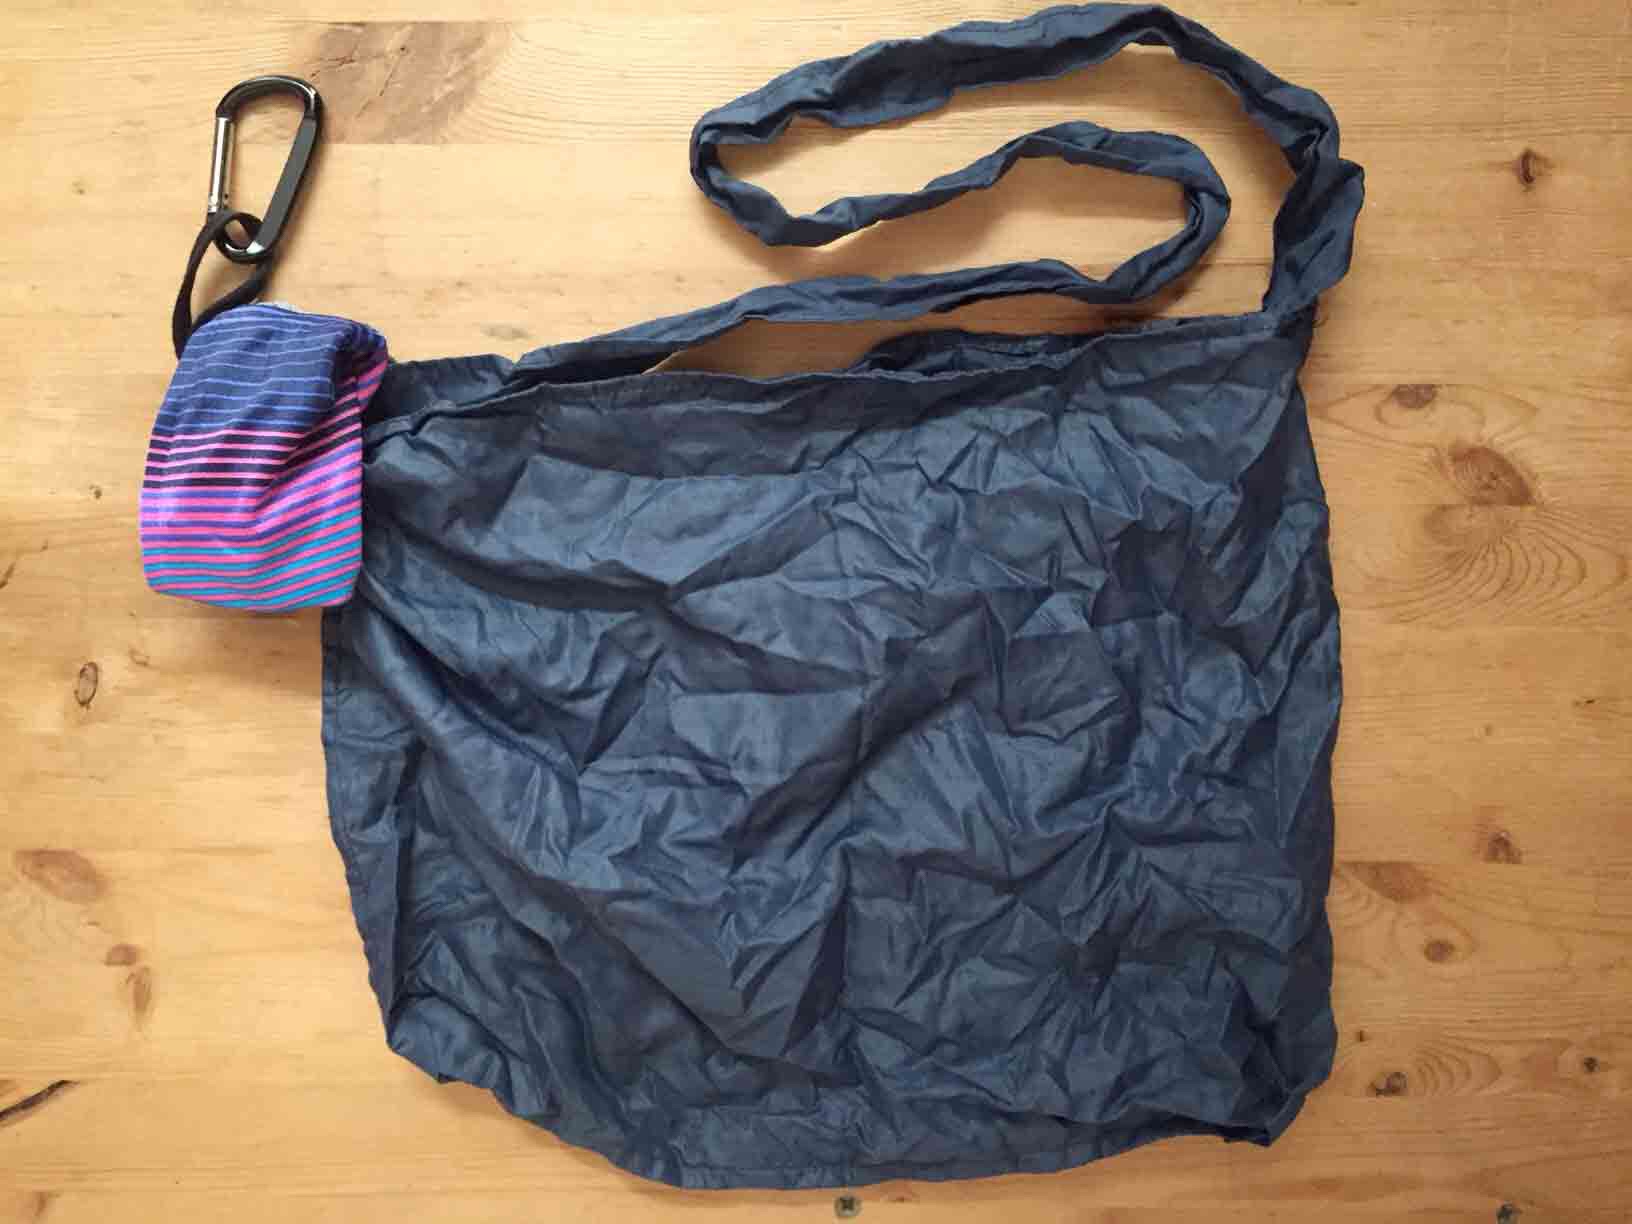
Secure the stretch pouch to an interior side seam. Place it two inches down from the top of the bag just below the strap attachment.

Turn stretch pouch right side out and stuff the tote. Slide the metal spring clip through the trim loop to complete. Enjoy, perhaps make a second one as a gift.
Thoughts on Father’s Day

So like many people my father is no longer alive. This year as Father’s Day approaches and I notice many glossy advertisements for appropriate mid June gifts. I smile and know he never liked most of the items rounded up for these occasions. For example we saw pictures in the newspaper advertising bracelets for men. Dad was outraged that such emasculating frippery was being pushed forward as a great gift idea.

John D. Philips would have preferred an outing like a trail hike or a trip to the camping store then to having something engraved at Tiffany’s to put in his pocket or on top of his desk. In honor of Father’s Day this year I propose reflection upon existing collections of things either from your dad or for your dad that he really appreciates.

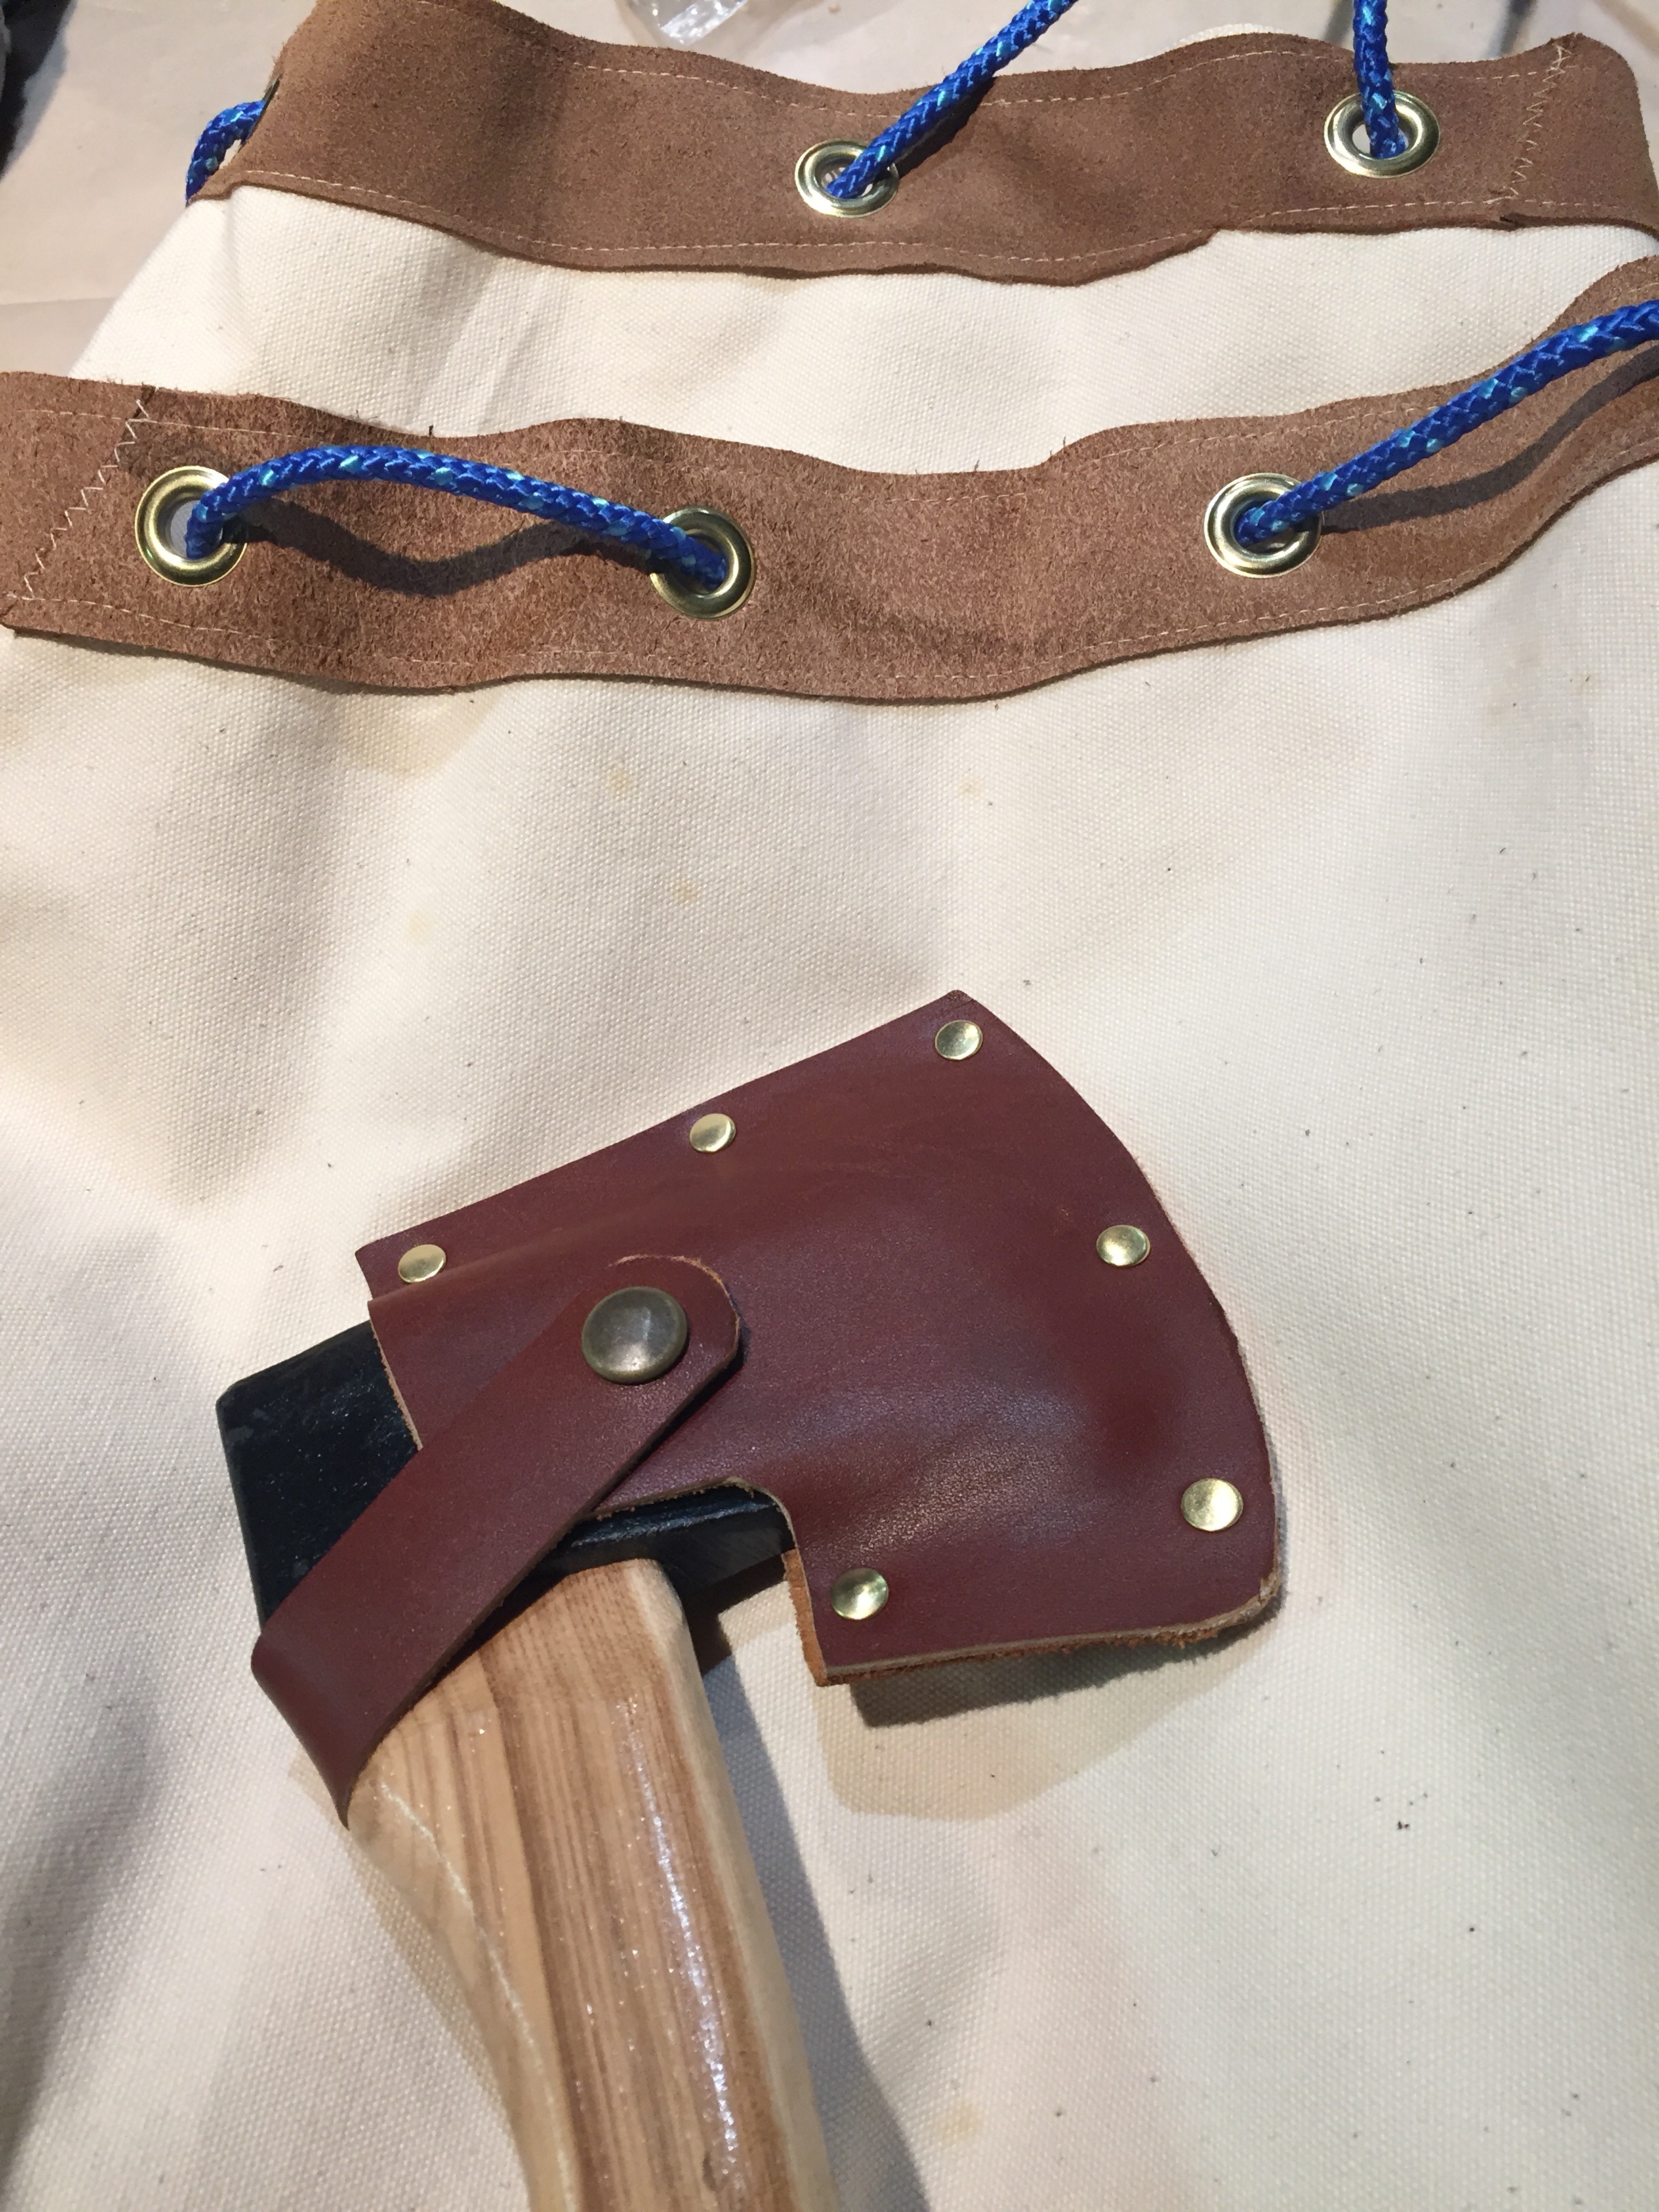
Pictured above an old ax is given new life with a handcrafted leather sheath. Custom cut from scraps of heavy saddle leather, glued, riveted and a snap closure protect the blade while not in use. It makes it safer to handle, toss into the car or stash in a bag than if it did not have that sheath.

On that note I also made some sturdy draw string canvas bags. Nothing too original a very old sack of an idea that works well for keeping stuff tidy even on the go in the trunk of the car.

I stitched a layer of medium weight leather around the top of a 17″ wide by 20″ high sack. This version has metal grommets to reinforce the drawstring. Burning the ends of a nylon rope as my camping loving family taught the line glides threw. Next tie a square knot to join the ends and tote your bulky stuff with ease.

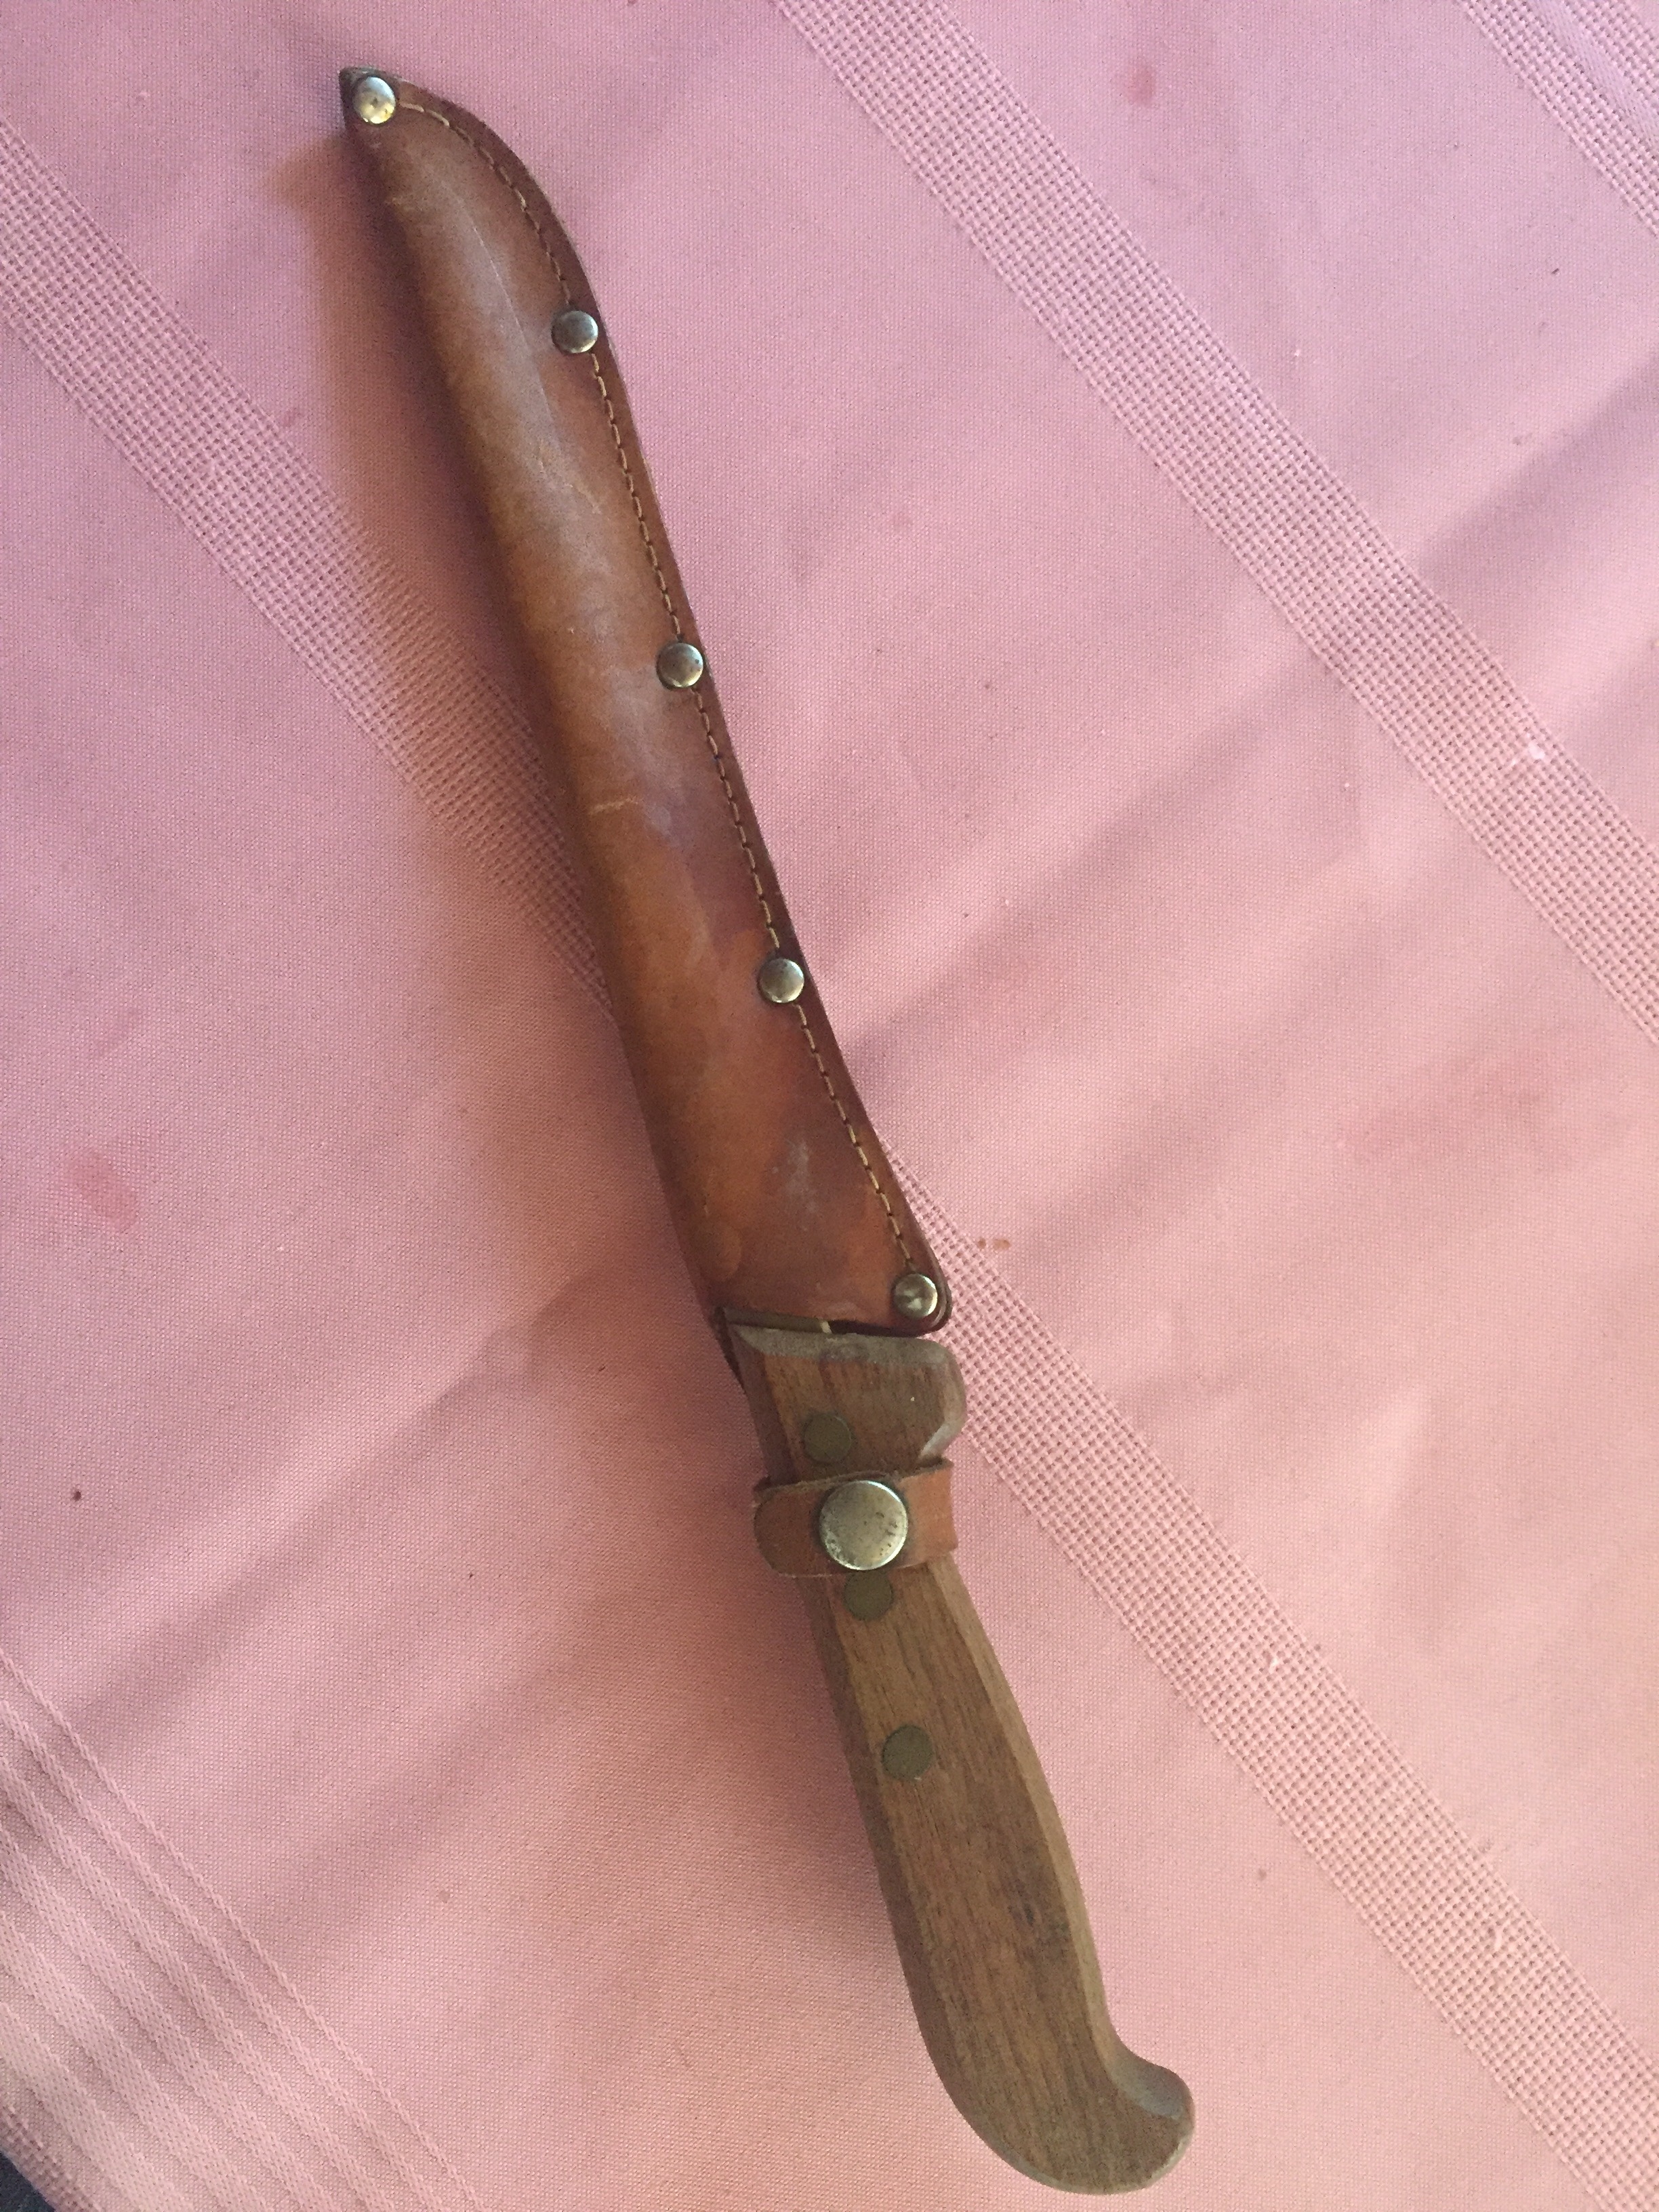
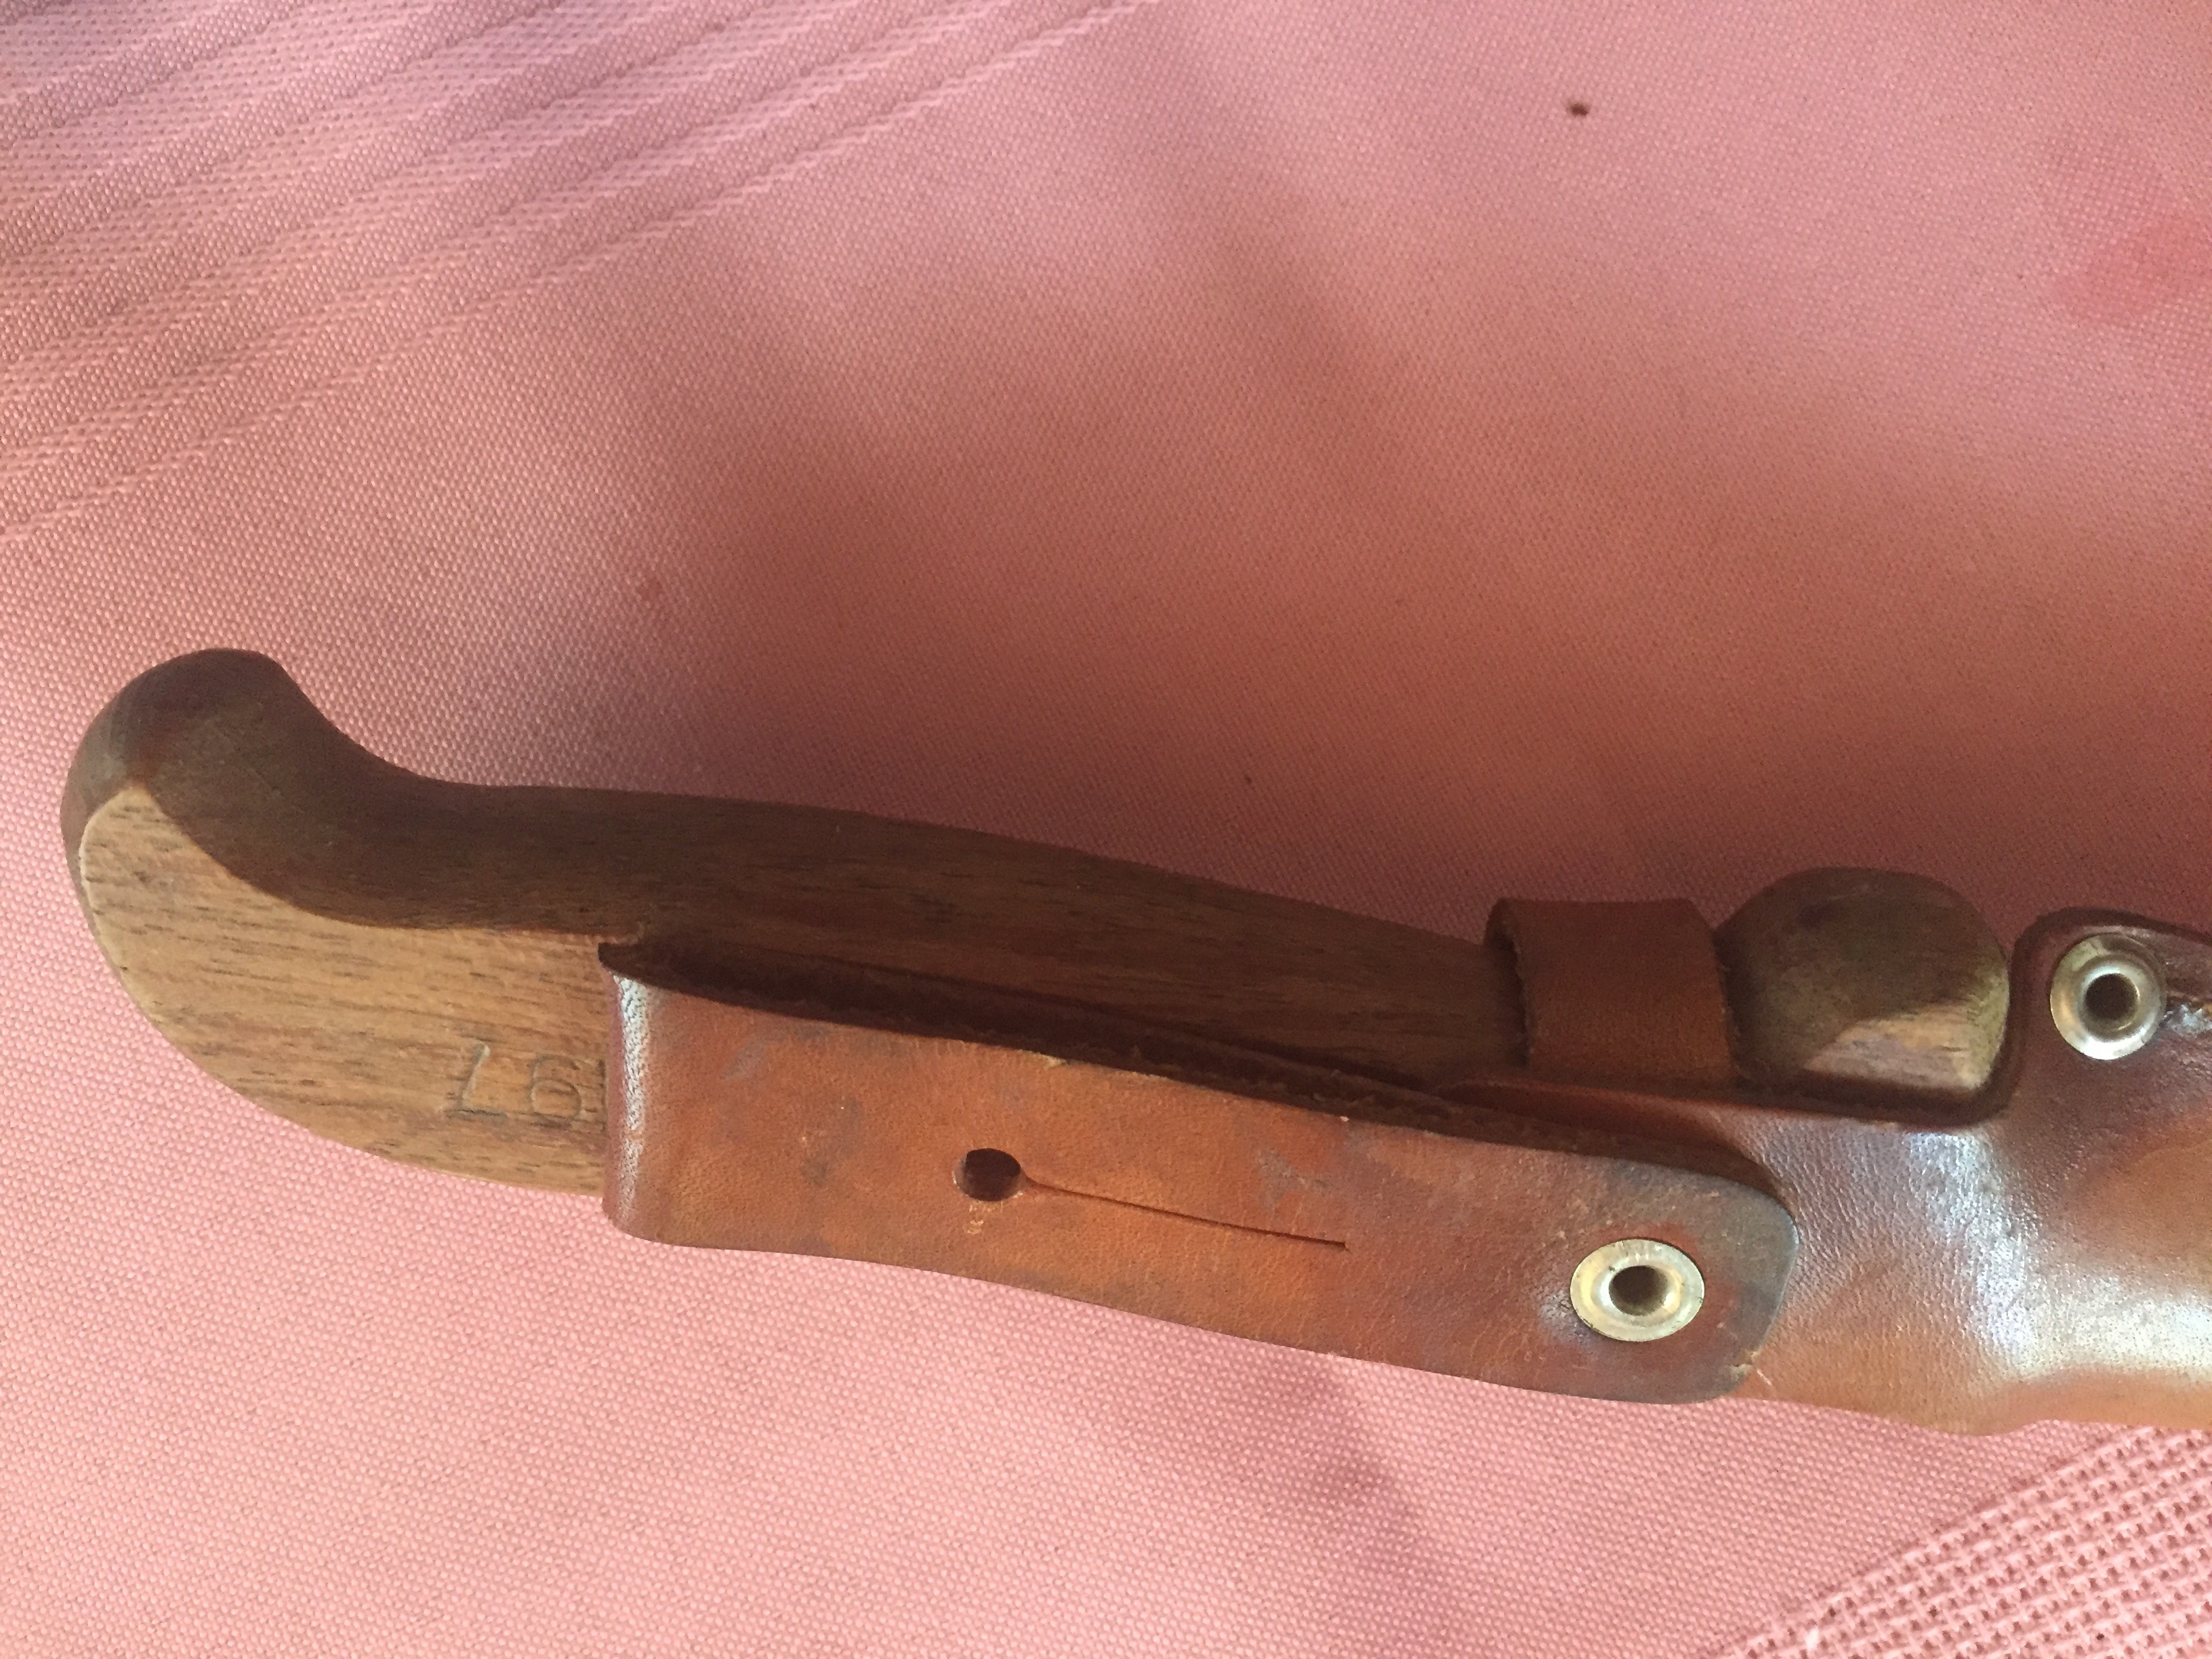
Canadian grandpas’ fishing knife has a trim sheath with a handy belt loop attachment. Just looking at photos of this old tool your hand can imagine how it would feel to handle it. While I never met the owner interacting with it conjures him up for me.

Hope your memories of family bring you something useful to work with. Heading towards shopping? Why not opt for experiences and sharing some time together over augmenting piles of stuff? Enjoy these last sweet days of May.

If the vegans are coming…

If you are hosting a holiday gathering and have friends and family who eat mostly plants there is a new resource you should know about to bring ease and  harmony to your gathering.

Amazon
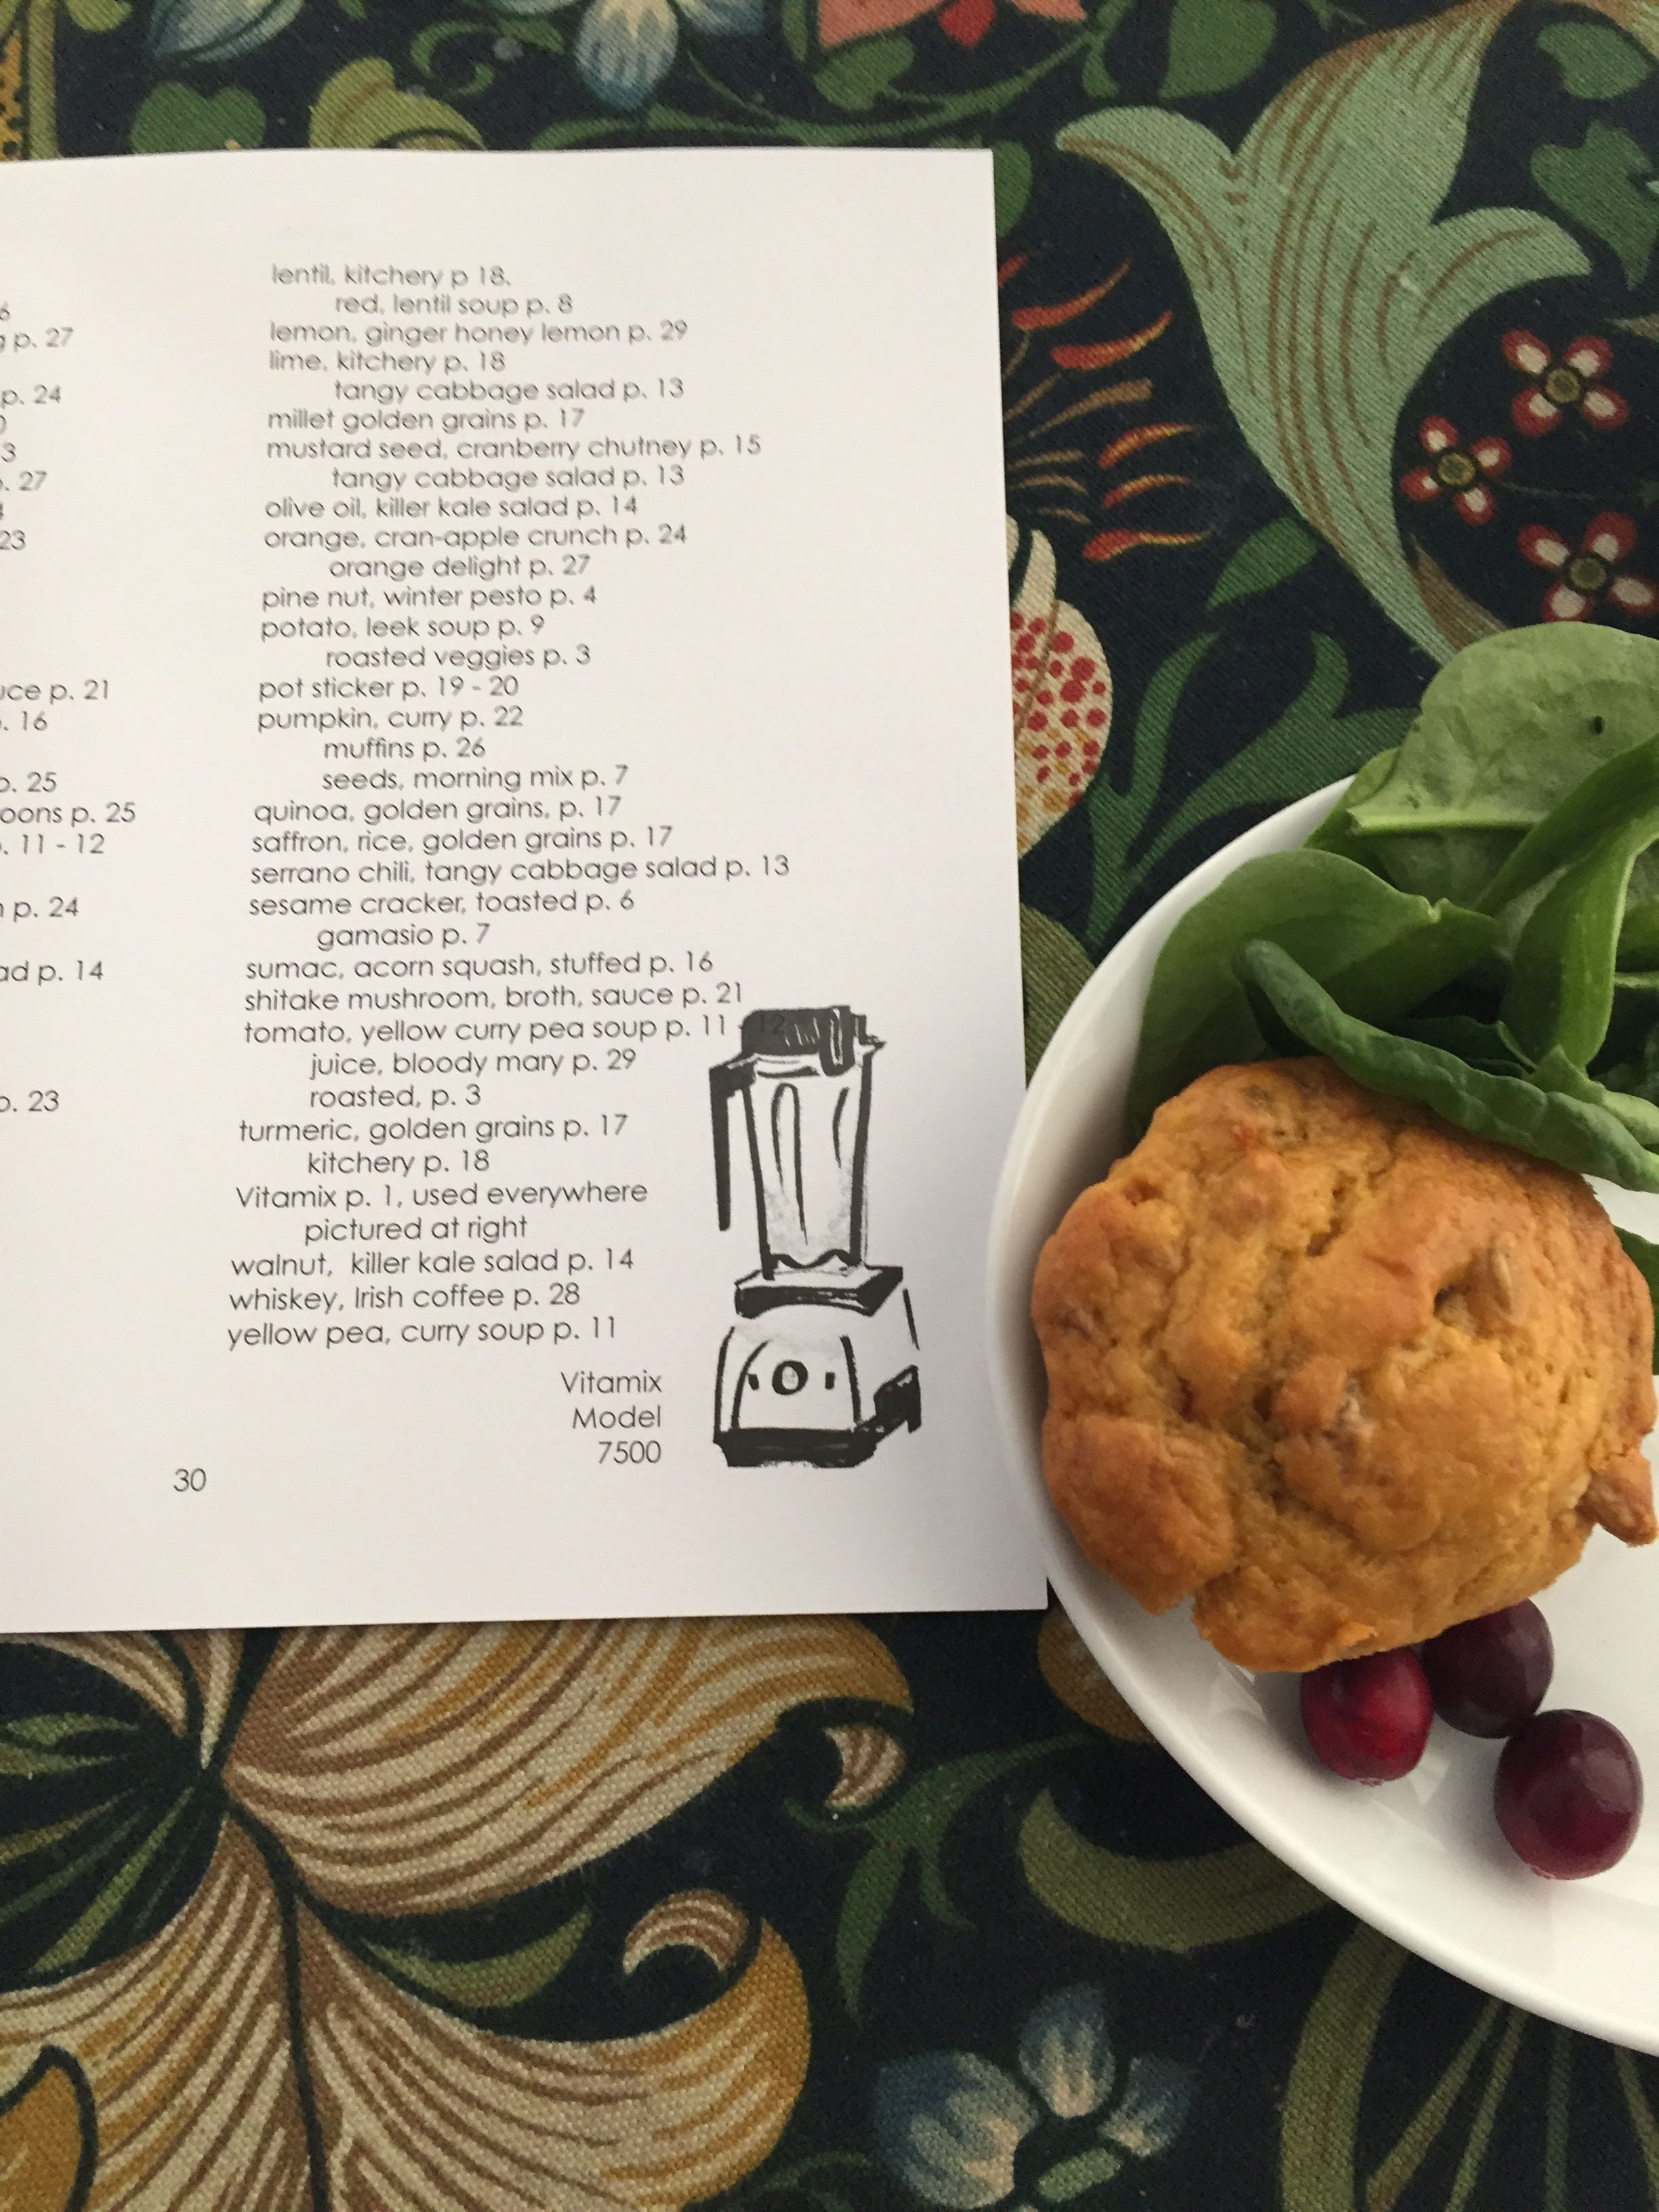
Easy to follow instructions with seasonal ingredients quickly make up menus for a memorable holiday feast. All of the recipients are Soup House favorites and sure to please the friends and family gathered around the table.

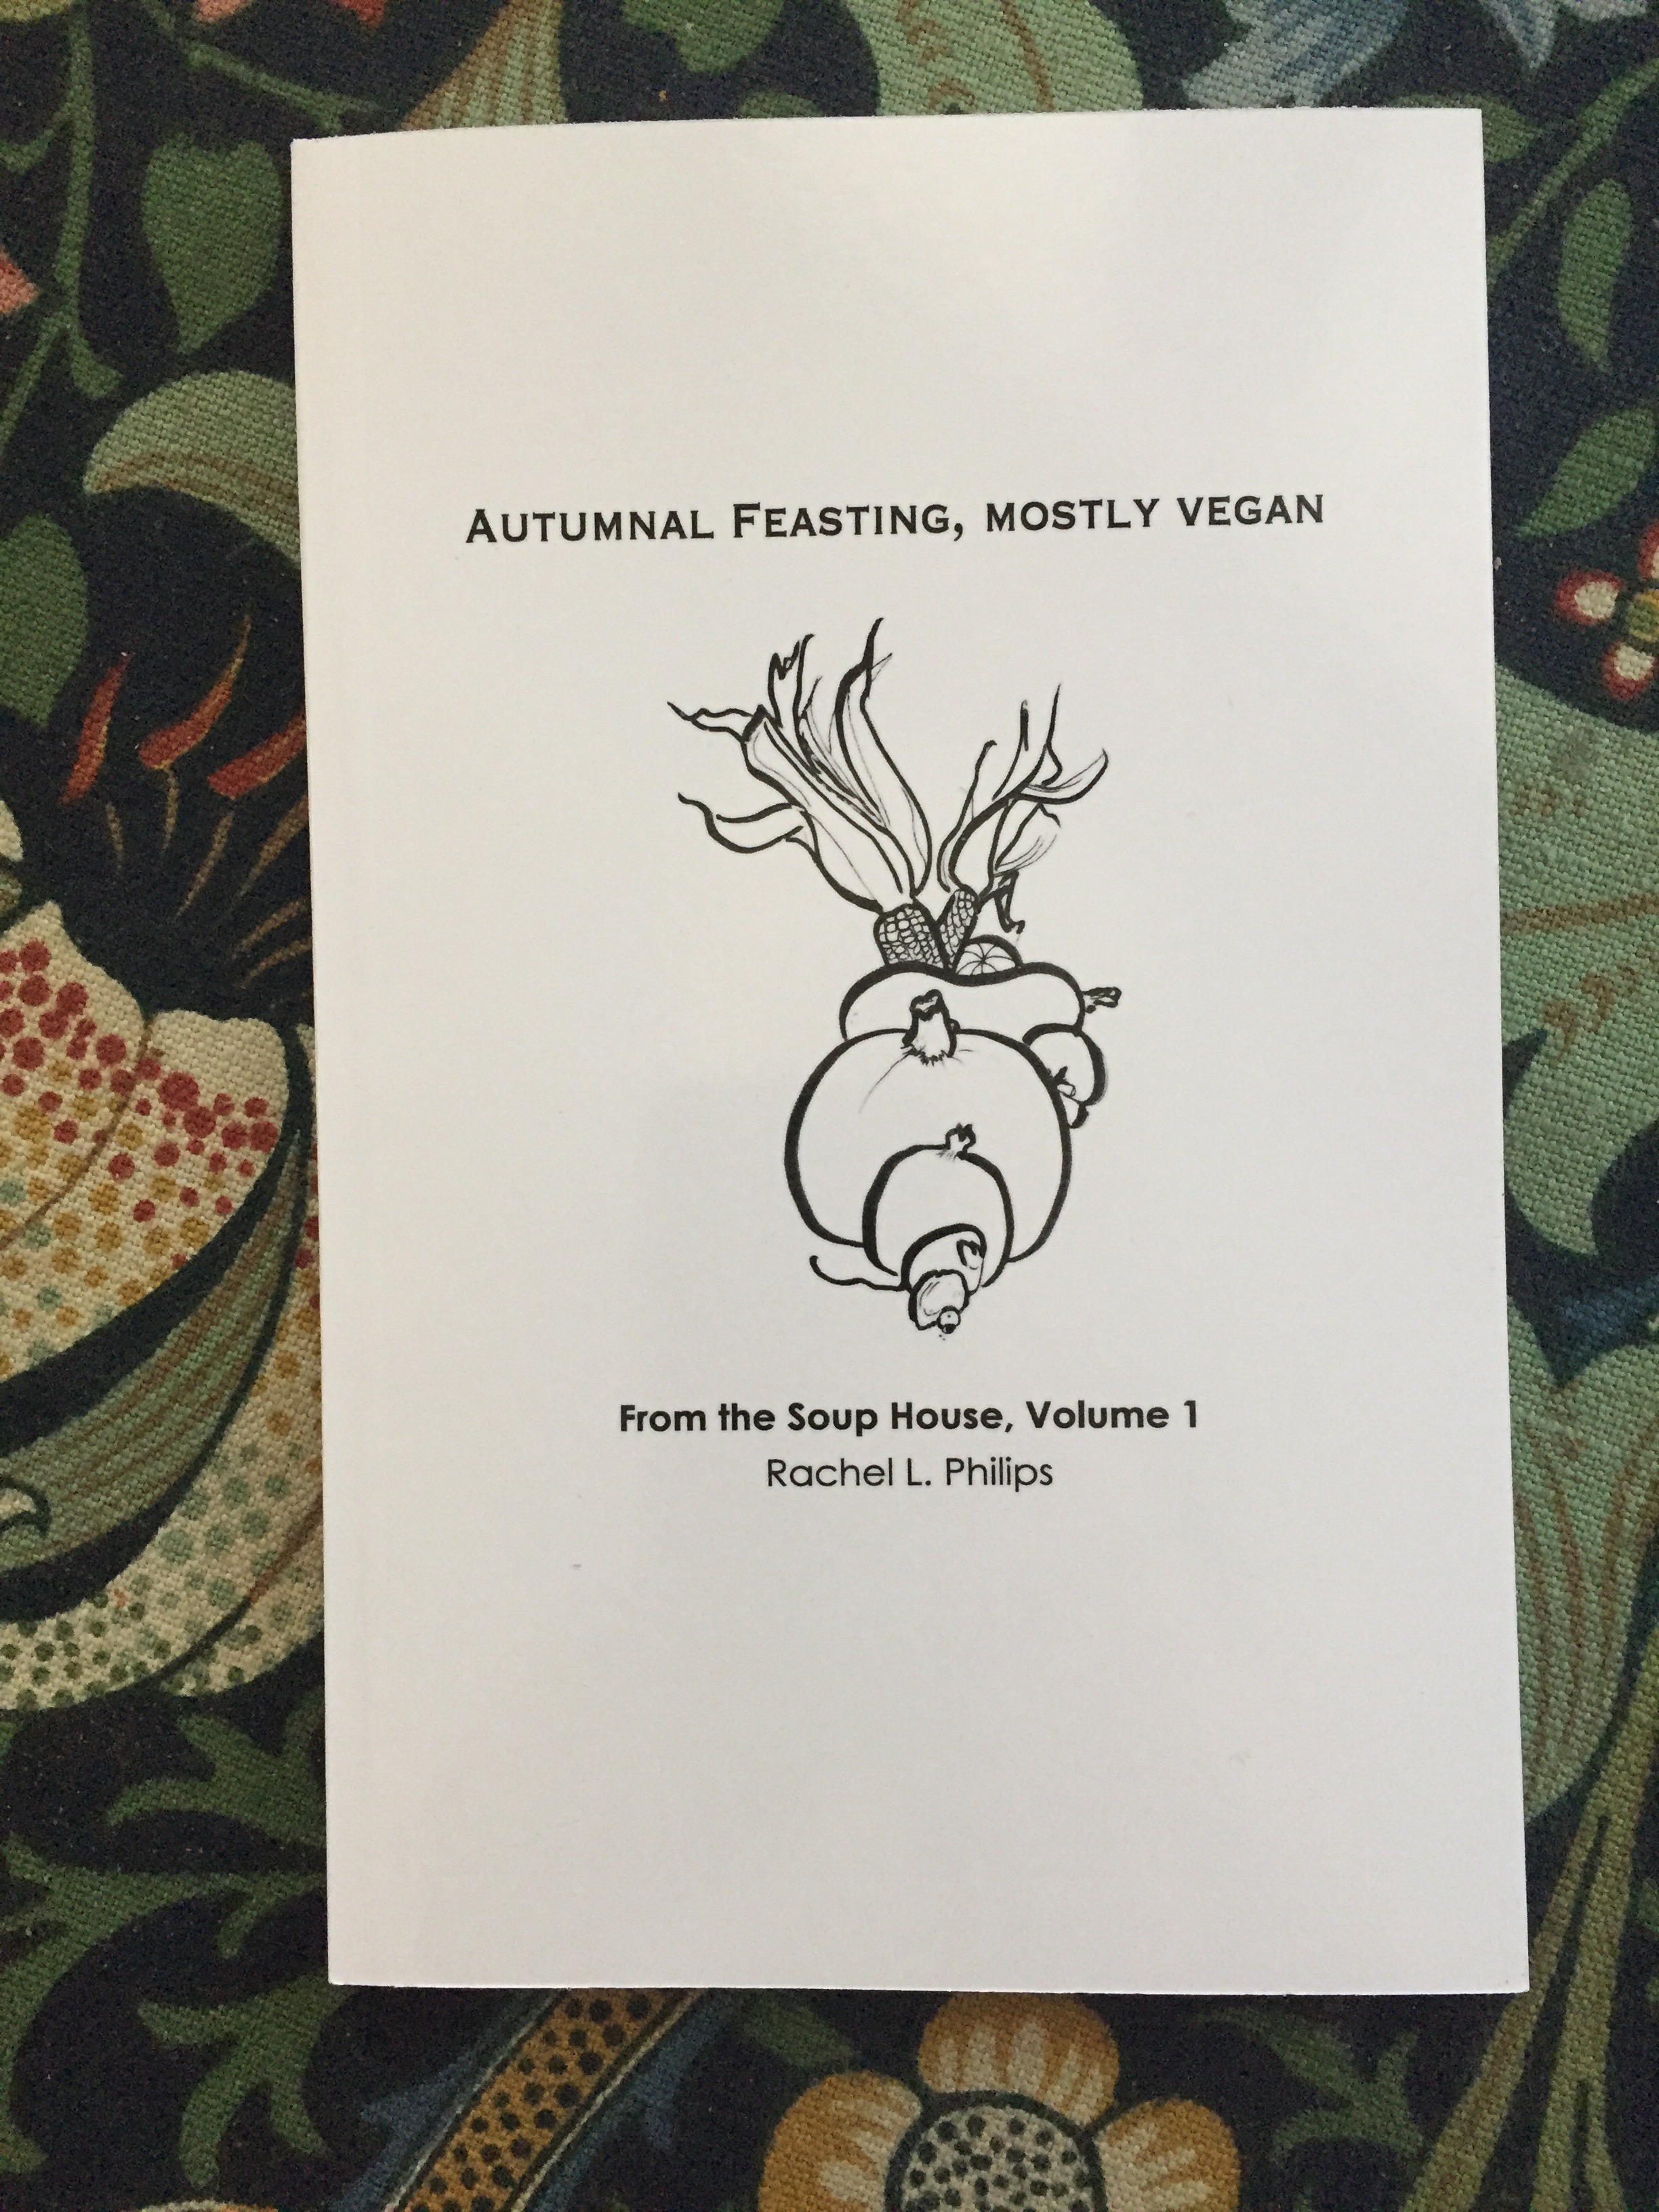
Autumnal Feasting, mostly vegan From the Soup House , Volume 1

By Rachel L. Philips

Check it out:  $ 6.99  for a the paperback 5×7 inches black and white with  illustrations by the author

or just $ .99 for the kindle download

This is for you if you own a vitamix or if you want to enjoy eating more vegetables and spend less time on food preparation and more time enjoying tasty offerings.

Warning: this style of cooking promotes feeling healthy, energetic and tends to save a on grocery bills.

Available now on Amazon (free shipping wirh prime) or your favorite bookstore just in time for your feasting. Please write a favorable review if you enjoy the offerings.

Click to link to Amazon

http://a.co/2G7vUEF

Anthropomorphic  Paintings


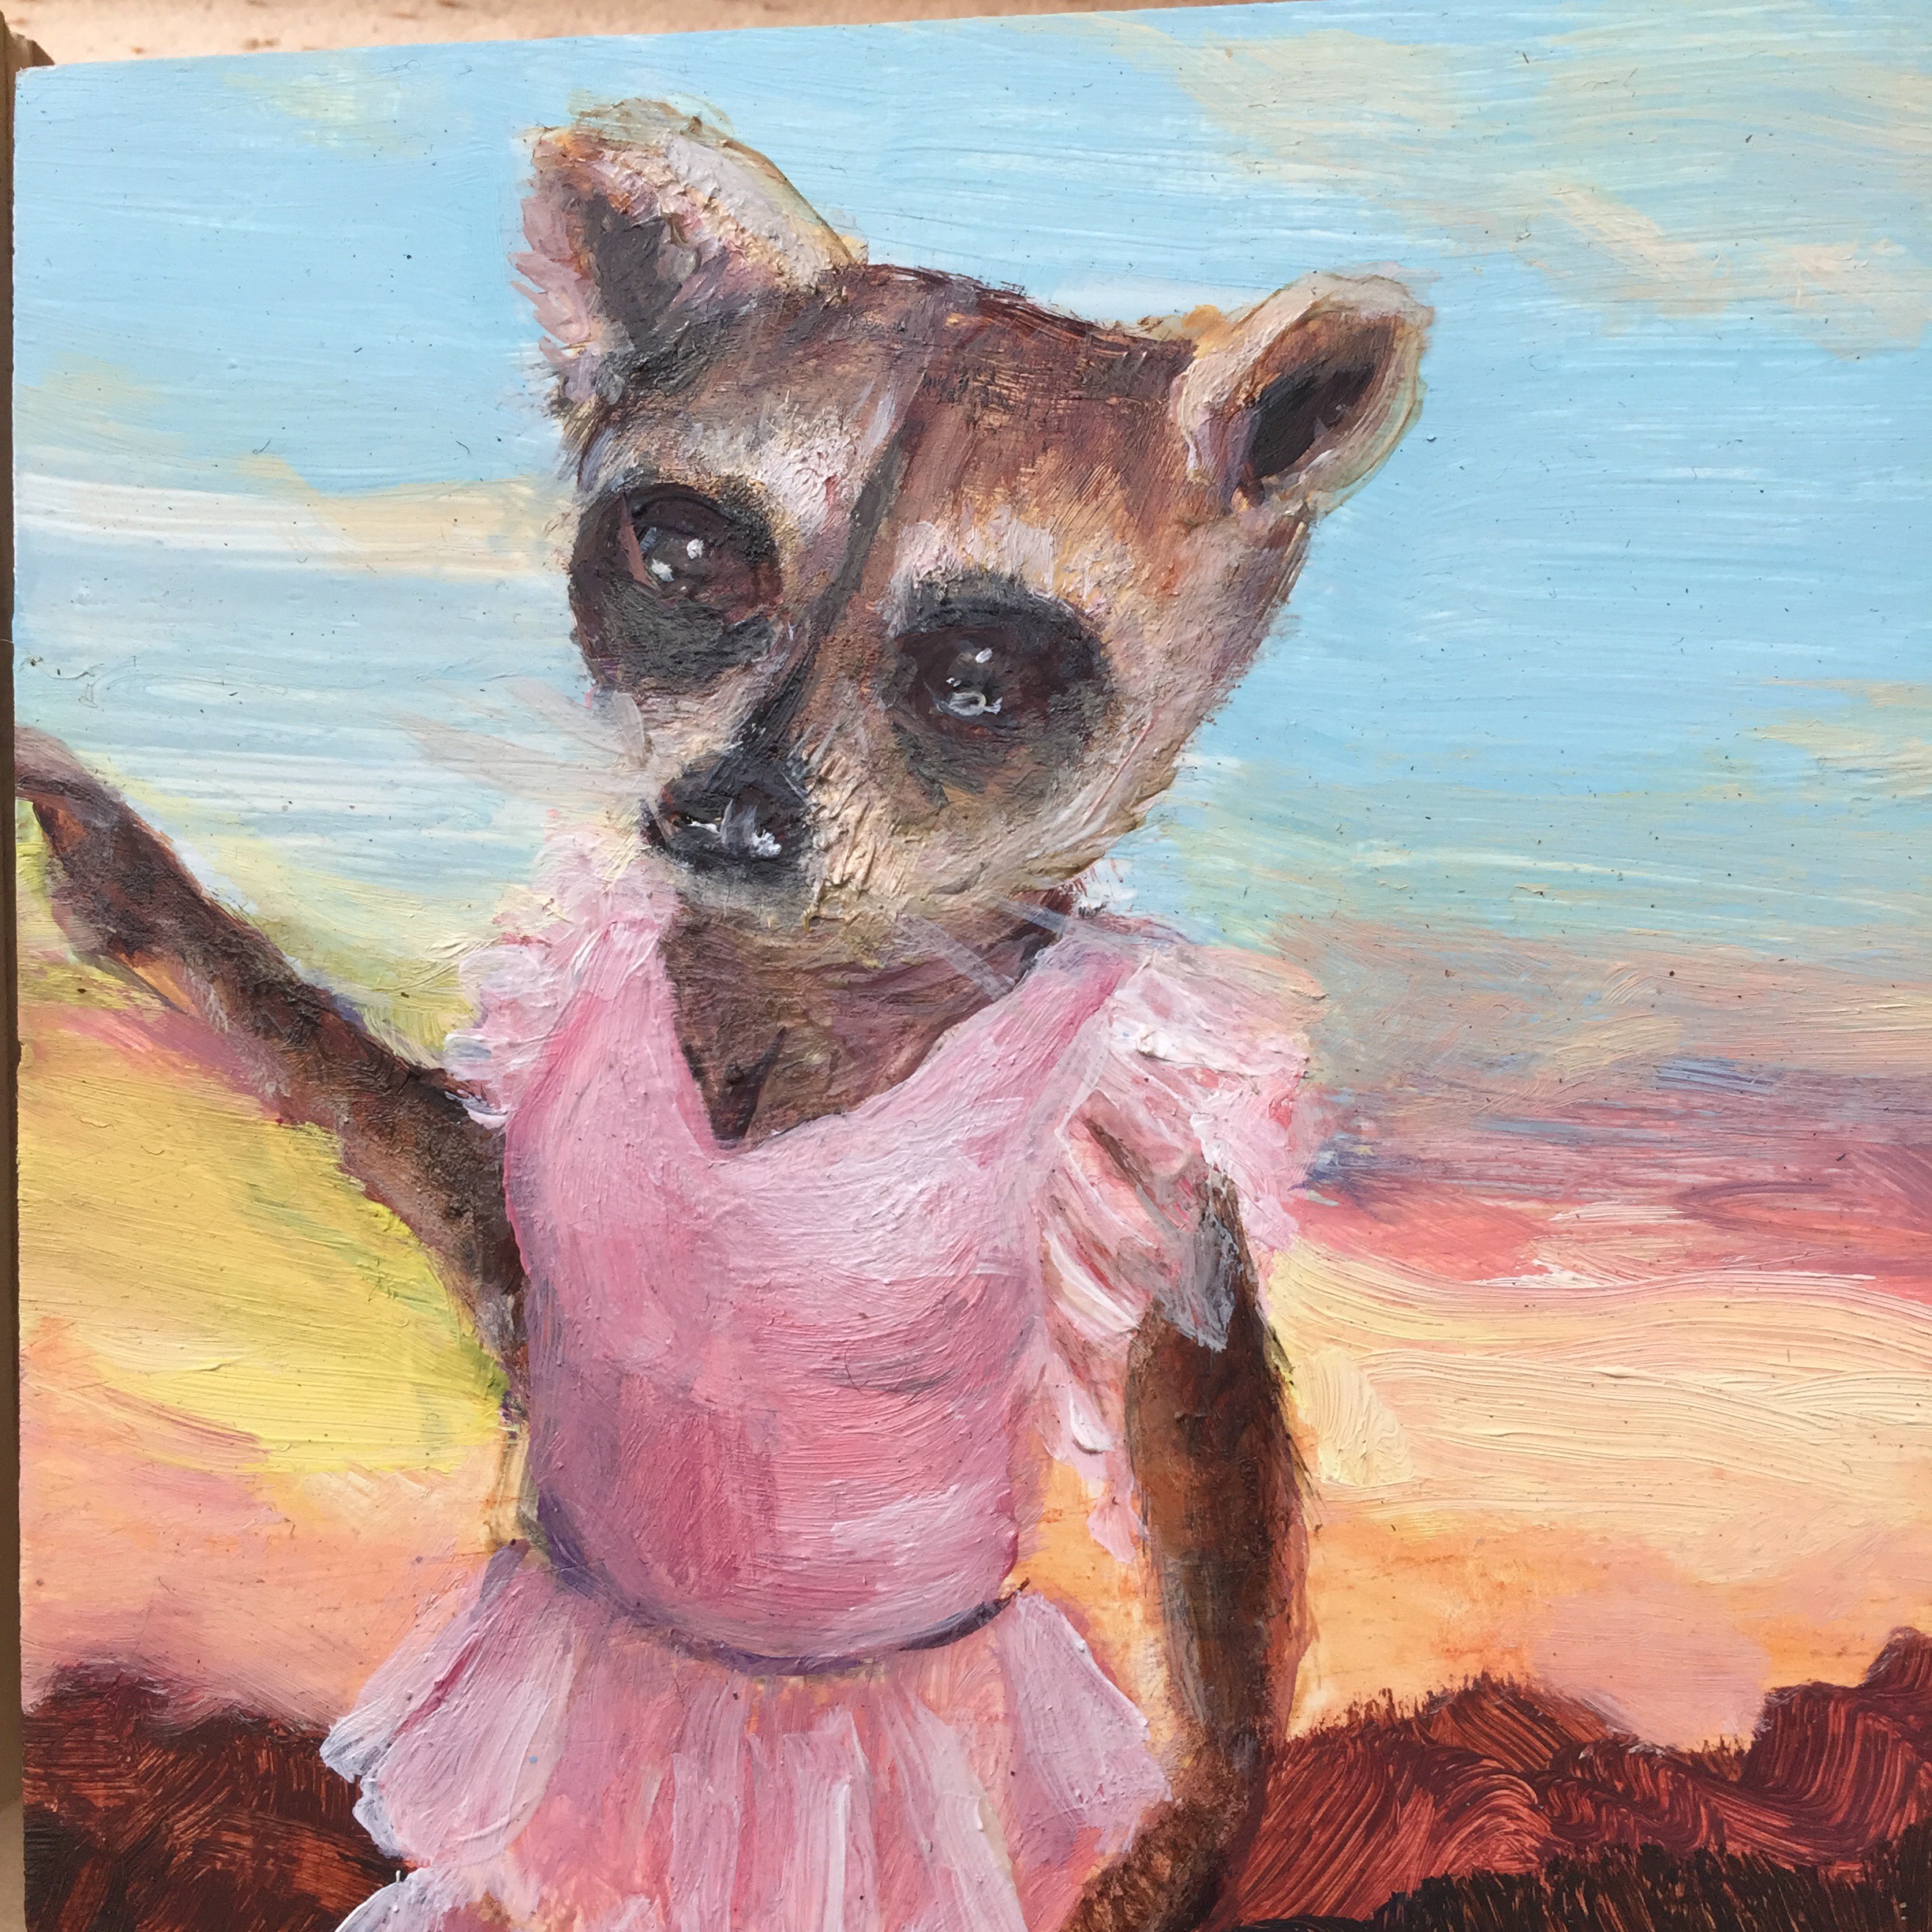
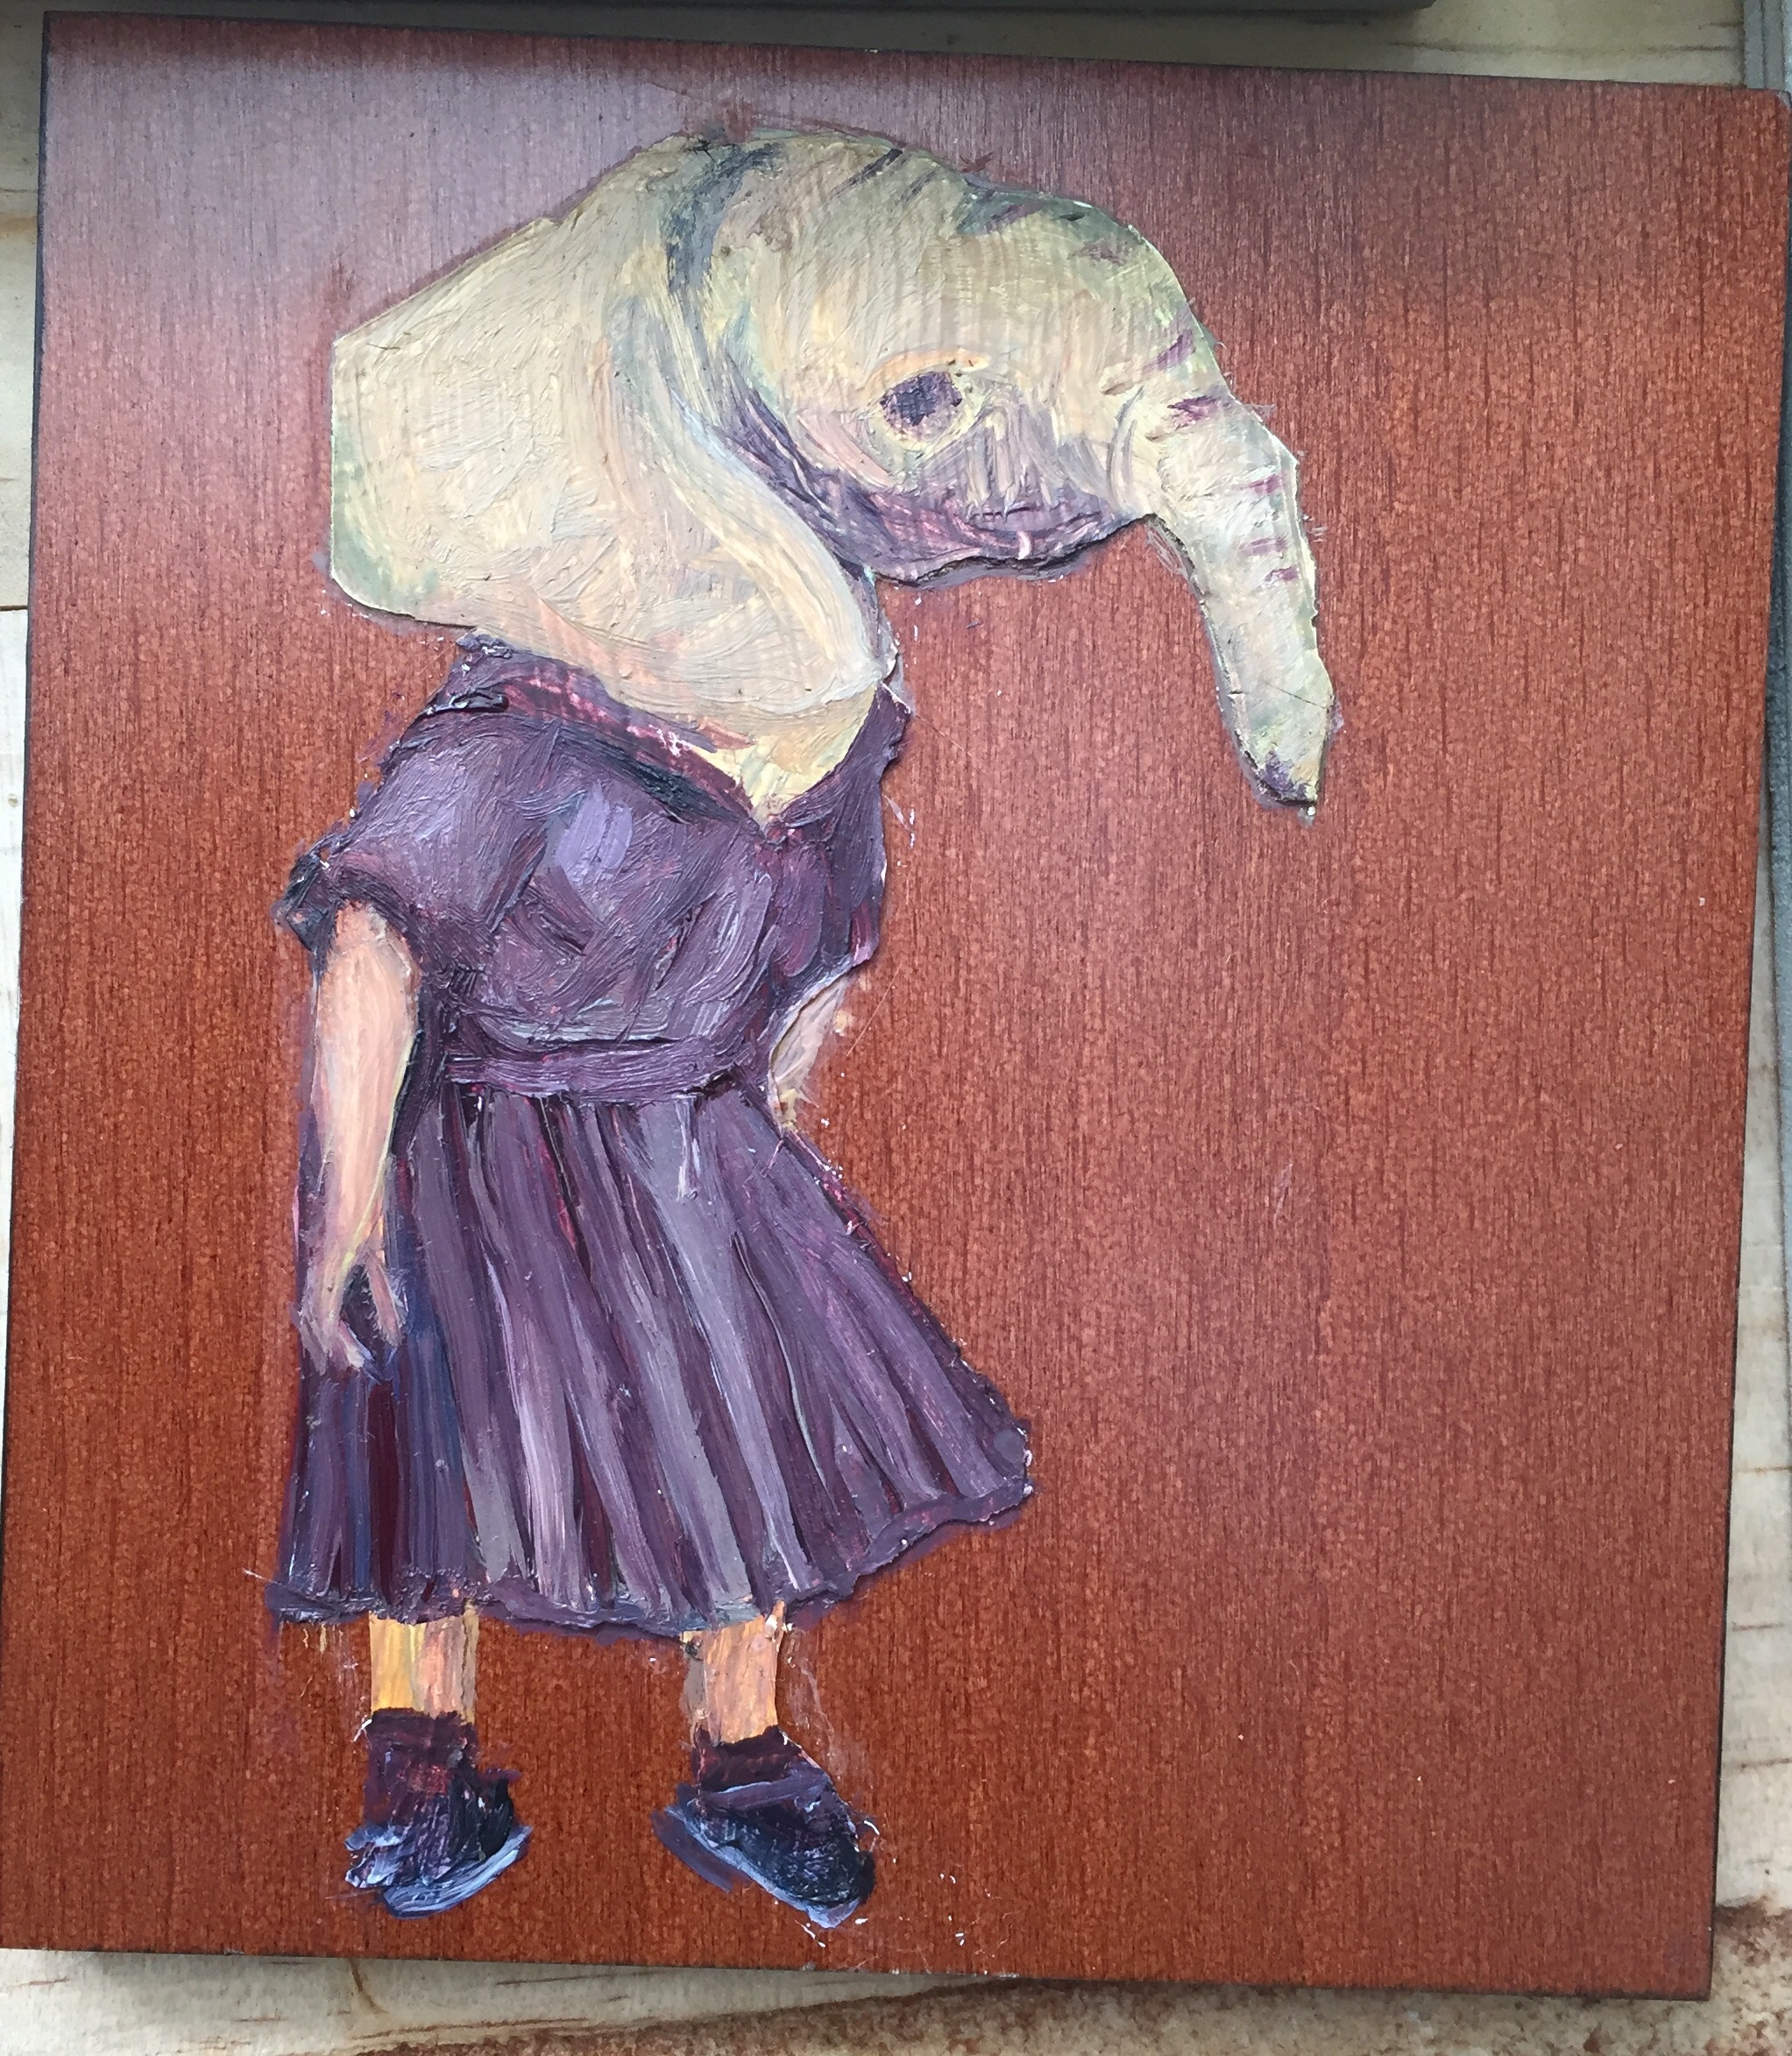
Lately I have been working outdoors in oil paint on small panels. Often it starts with found animal imagery that I mash up and  college into various new characters. Sometimes ladscape or place comes first. Other times I have the new creature and it is independent of a site and then the environment may be a lovely finished wood panel. 

Elephant Girl  4″ x 4″  August 2017

8 Fold Book

Once a dear friend showed me how to create a small book from one sheet of paper. It was like origami only with a letter size paper. It may be a photo copy for a small edition or several sheets could combine to make a larger book.  The  pages could be hand drawn, built using software or found paper content.

Today for a lark I am using this tiny book format with a group of junior high school students. The prompt is a packing list only with a twist, it goes as follows.
Summer Adventure, a Migratory Bird’s
Intangible Essentials Packing List.

Where are you headed, explore three at least three non tangibles, skills or kno
wledge that you need for your journey.

Show it.

In small scale use pictograph communication or simple
images that stand in for ideas. Visual representation of ideas is the oldest form of language, can you think of examples prehistoric pictogram iamges?  Can you recall seeing useful pictographs in use today, how about driving to airports on international signs, or on a poison warning label, maybe you used one today, perhaps an emogie or an icon?

Define your adventure.
Choose a destination, and draw up your intangible packing list.

8.5 x 11 inch paper yields a 2.75 x 4.25 inch book with eight pages

Optional: cut a paper cover for you book of a slightly larger size, hold in place with a rubber band, staple, or sew into place.
Happy travels.

Hippo 3D model

After much foot dragging at last I got a 3D hippo model laser cut. At a TechShop visit I learned a speedy path from a car designing fellow named Ryan I leaned how:
Thingieverse
123D Design

By going to those two websites free 3D models can be had but they are usually for 3D printers and not sized for cardboard scale laser cutting. So with a bit of tweaking and alot of asistantce from my partner we got a few done last night. The big victory after the jigsaw puzzle complexity of assembly was understanding the importance of thickness of material and cutting line and how that impacts the form. Basically the smaller hippo is a bit to elongated and less hippo accurate. The second larger version is nicely detailed but we learned the direction of the planks all should be north to south and putting a few east to west we found the transparency is ruined by the “cross grain” of the coorigation. Lots of fun to be successful. Huge learning curves to make our own forms, but up for the challenge.

Dogs of Fashion


For a while I have been doing figure studies in oil paint from the live model. While I appreciate this line of investigation, almost by accident I found my way of working along rolling into a new body of work. 

The cherry blossoms were on the tree and I painted it from life. I had just stepped out of the session with the model and during a brake I pulled out an image of a Greek torso that seemed to fit nicely into the tree trunk as part of the spring day. It was a fun way to work and I liked how it turned out. 

I started making colleges that became source for paintings during the rainy season. While it is my preference to work landscape outside it is quite soggy and cool so this is a great thing to work on right now. 

See my work in progress slide show, fashion figures new backgrounds and faces for compelling compositions. Goals of the series include:

– full range of value
– limited glazing
– color dab building over blending


Sewing with Circuits


Sewing with circuits 
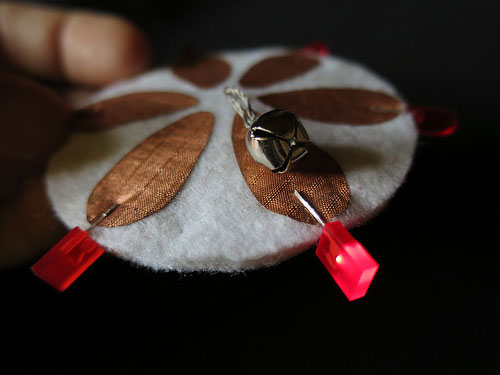
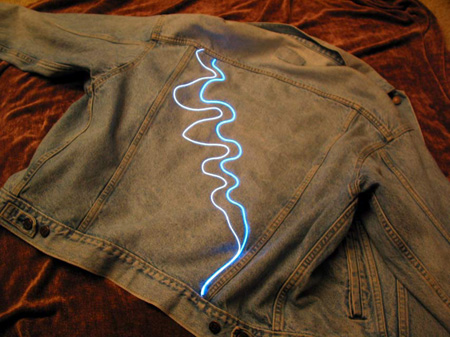
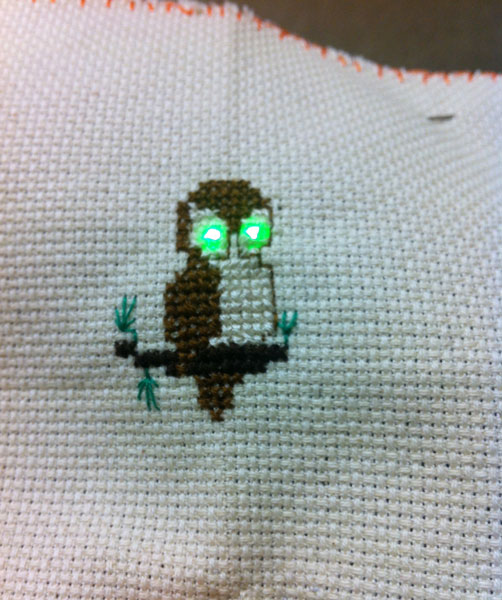
Over the years I have used EL wire and LIly Twinkle products to get some glowing light into my sewn creations. This year I have been introduced to using the raw LED lights directly with conductive thread and hand made coin cel battery holders for a DIY approach that makes the work even more affordable and flexible. Using an LED, a 3V coin cell battery and a metal bell on a conductive thread a negitive power supply form the battery can make a smiple tilt switch that light up when it hits a negitively charged bit of conductive fabric.  Rather than buy lots of switches and fixed parts I want to learn to make my own to be appropriate to conditions and cost constraints. 

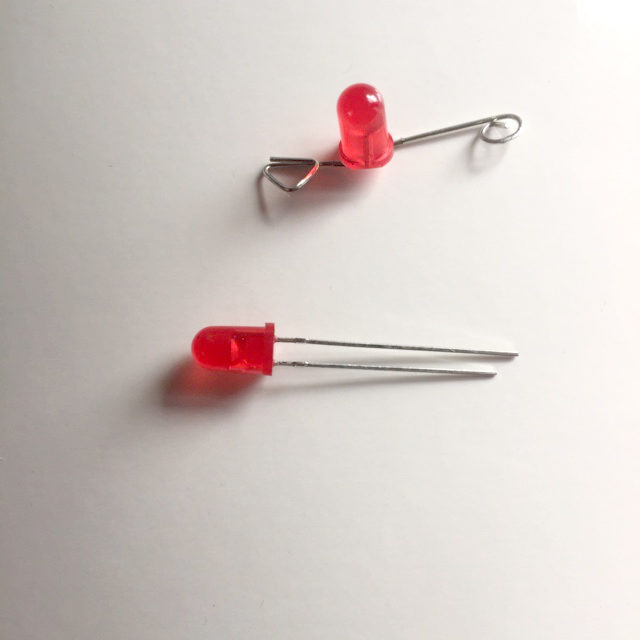
Using  pliers I learned (from the We Are Three, circuit sisters of FabMo) to custom bend the LED for easy identification and to catch into sewn stitches.

positive bends into a  spiral 
negative bends into a triangle

This has been a fun and with some further research I found a nice little project
Tilt demo module, involving a jingle bell as a switch to turn on several LEDs. 

First cut from conductive fabric a battery pocket (on black) I found it has too much surface area and is at risk of shorting out. Next I drew up a simple shape and laser cut a from card stock a coin cel holder for the 3 volts to be safe and not have to use the tiny needles sizes the traditional holders require. 

The original is design is a neat project that I have simplified to fit in to a one hour session for a high school art class this week. It is my hope that everyone will be glowing by the end of the session and they like the idea of building a tilt switch as much as I do.